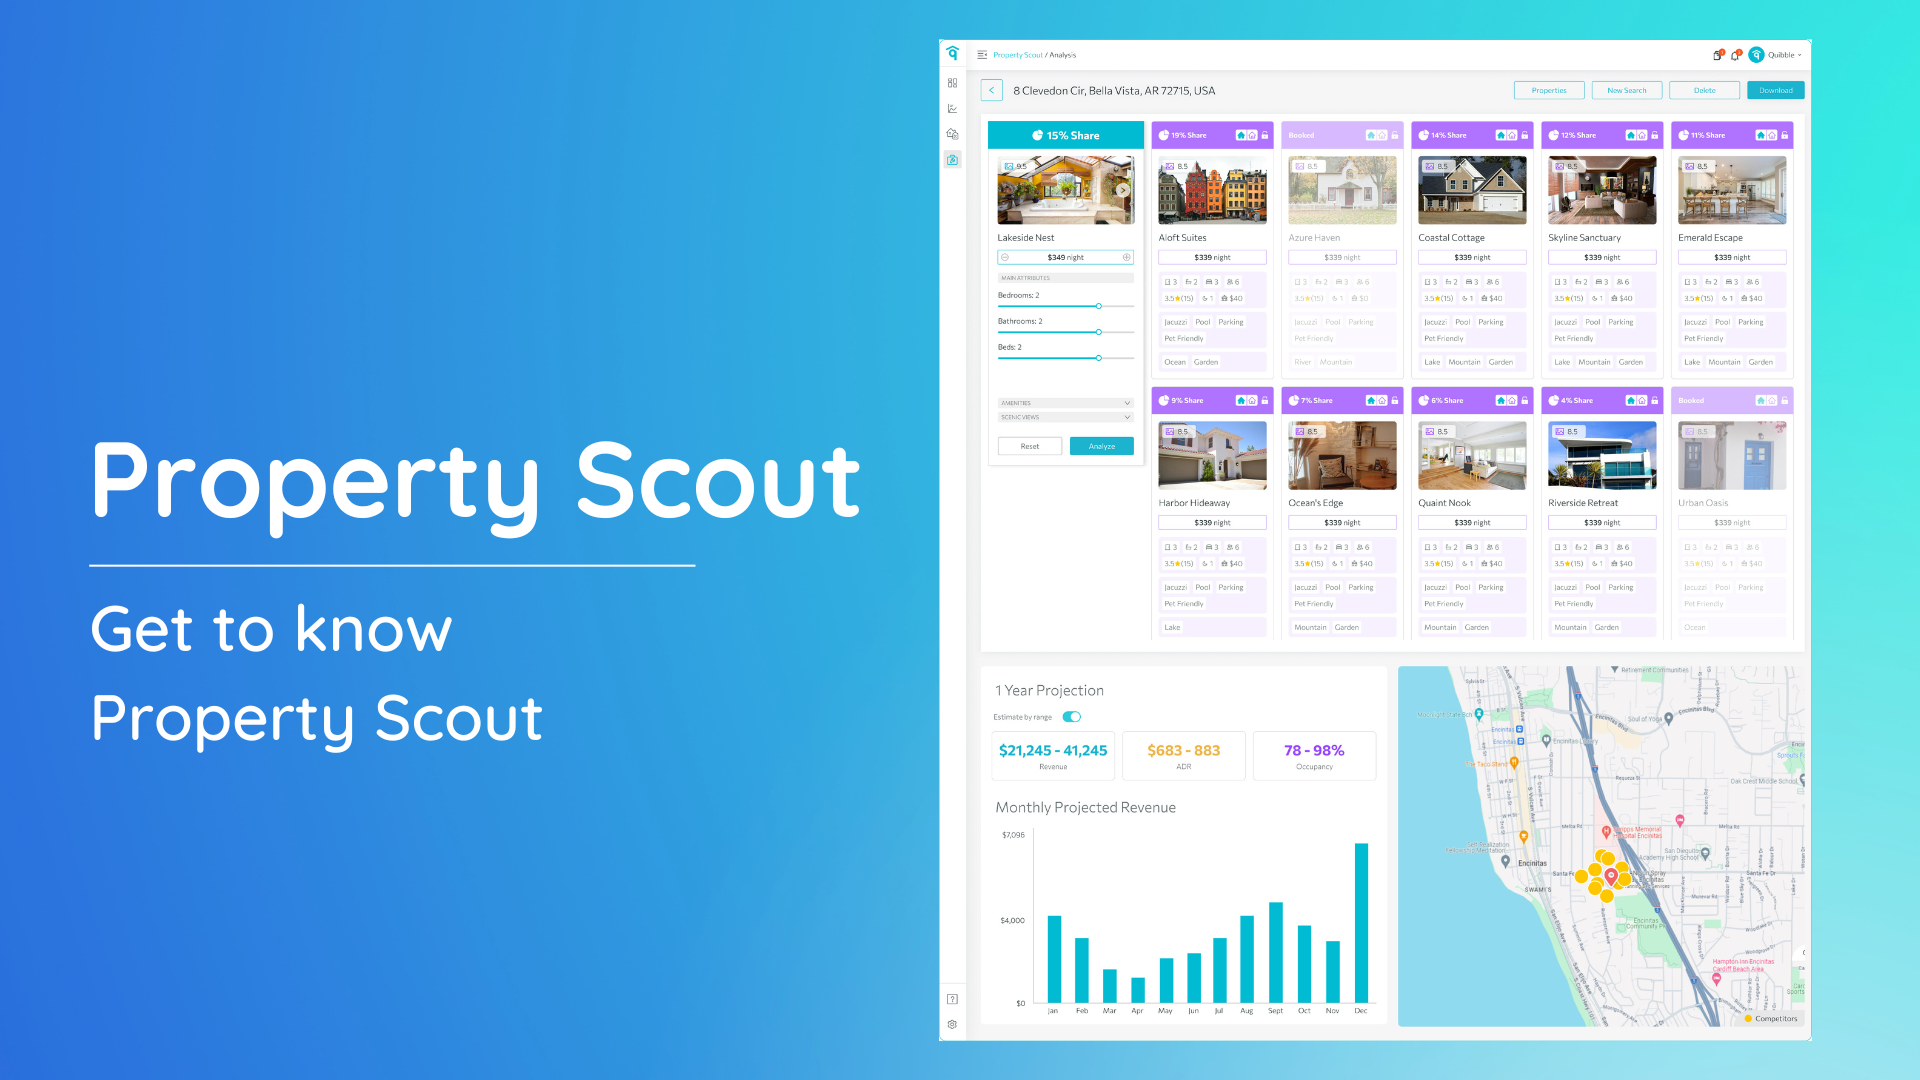
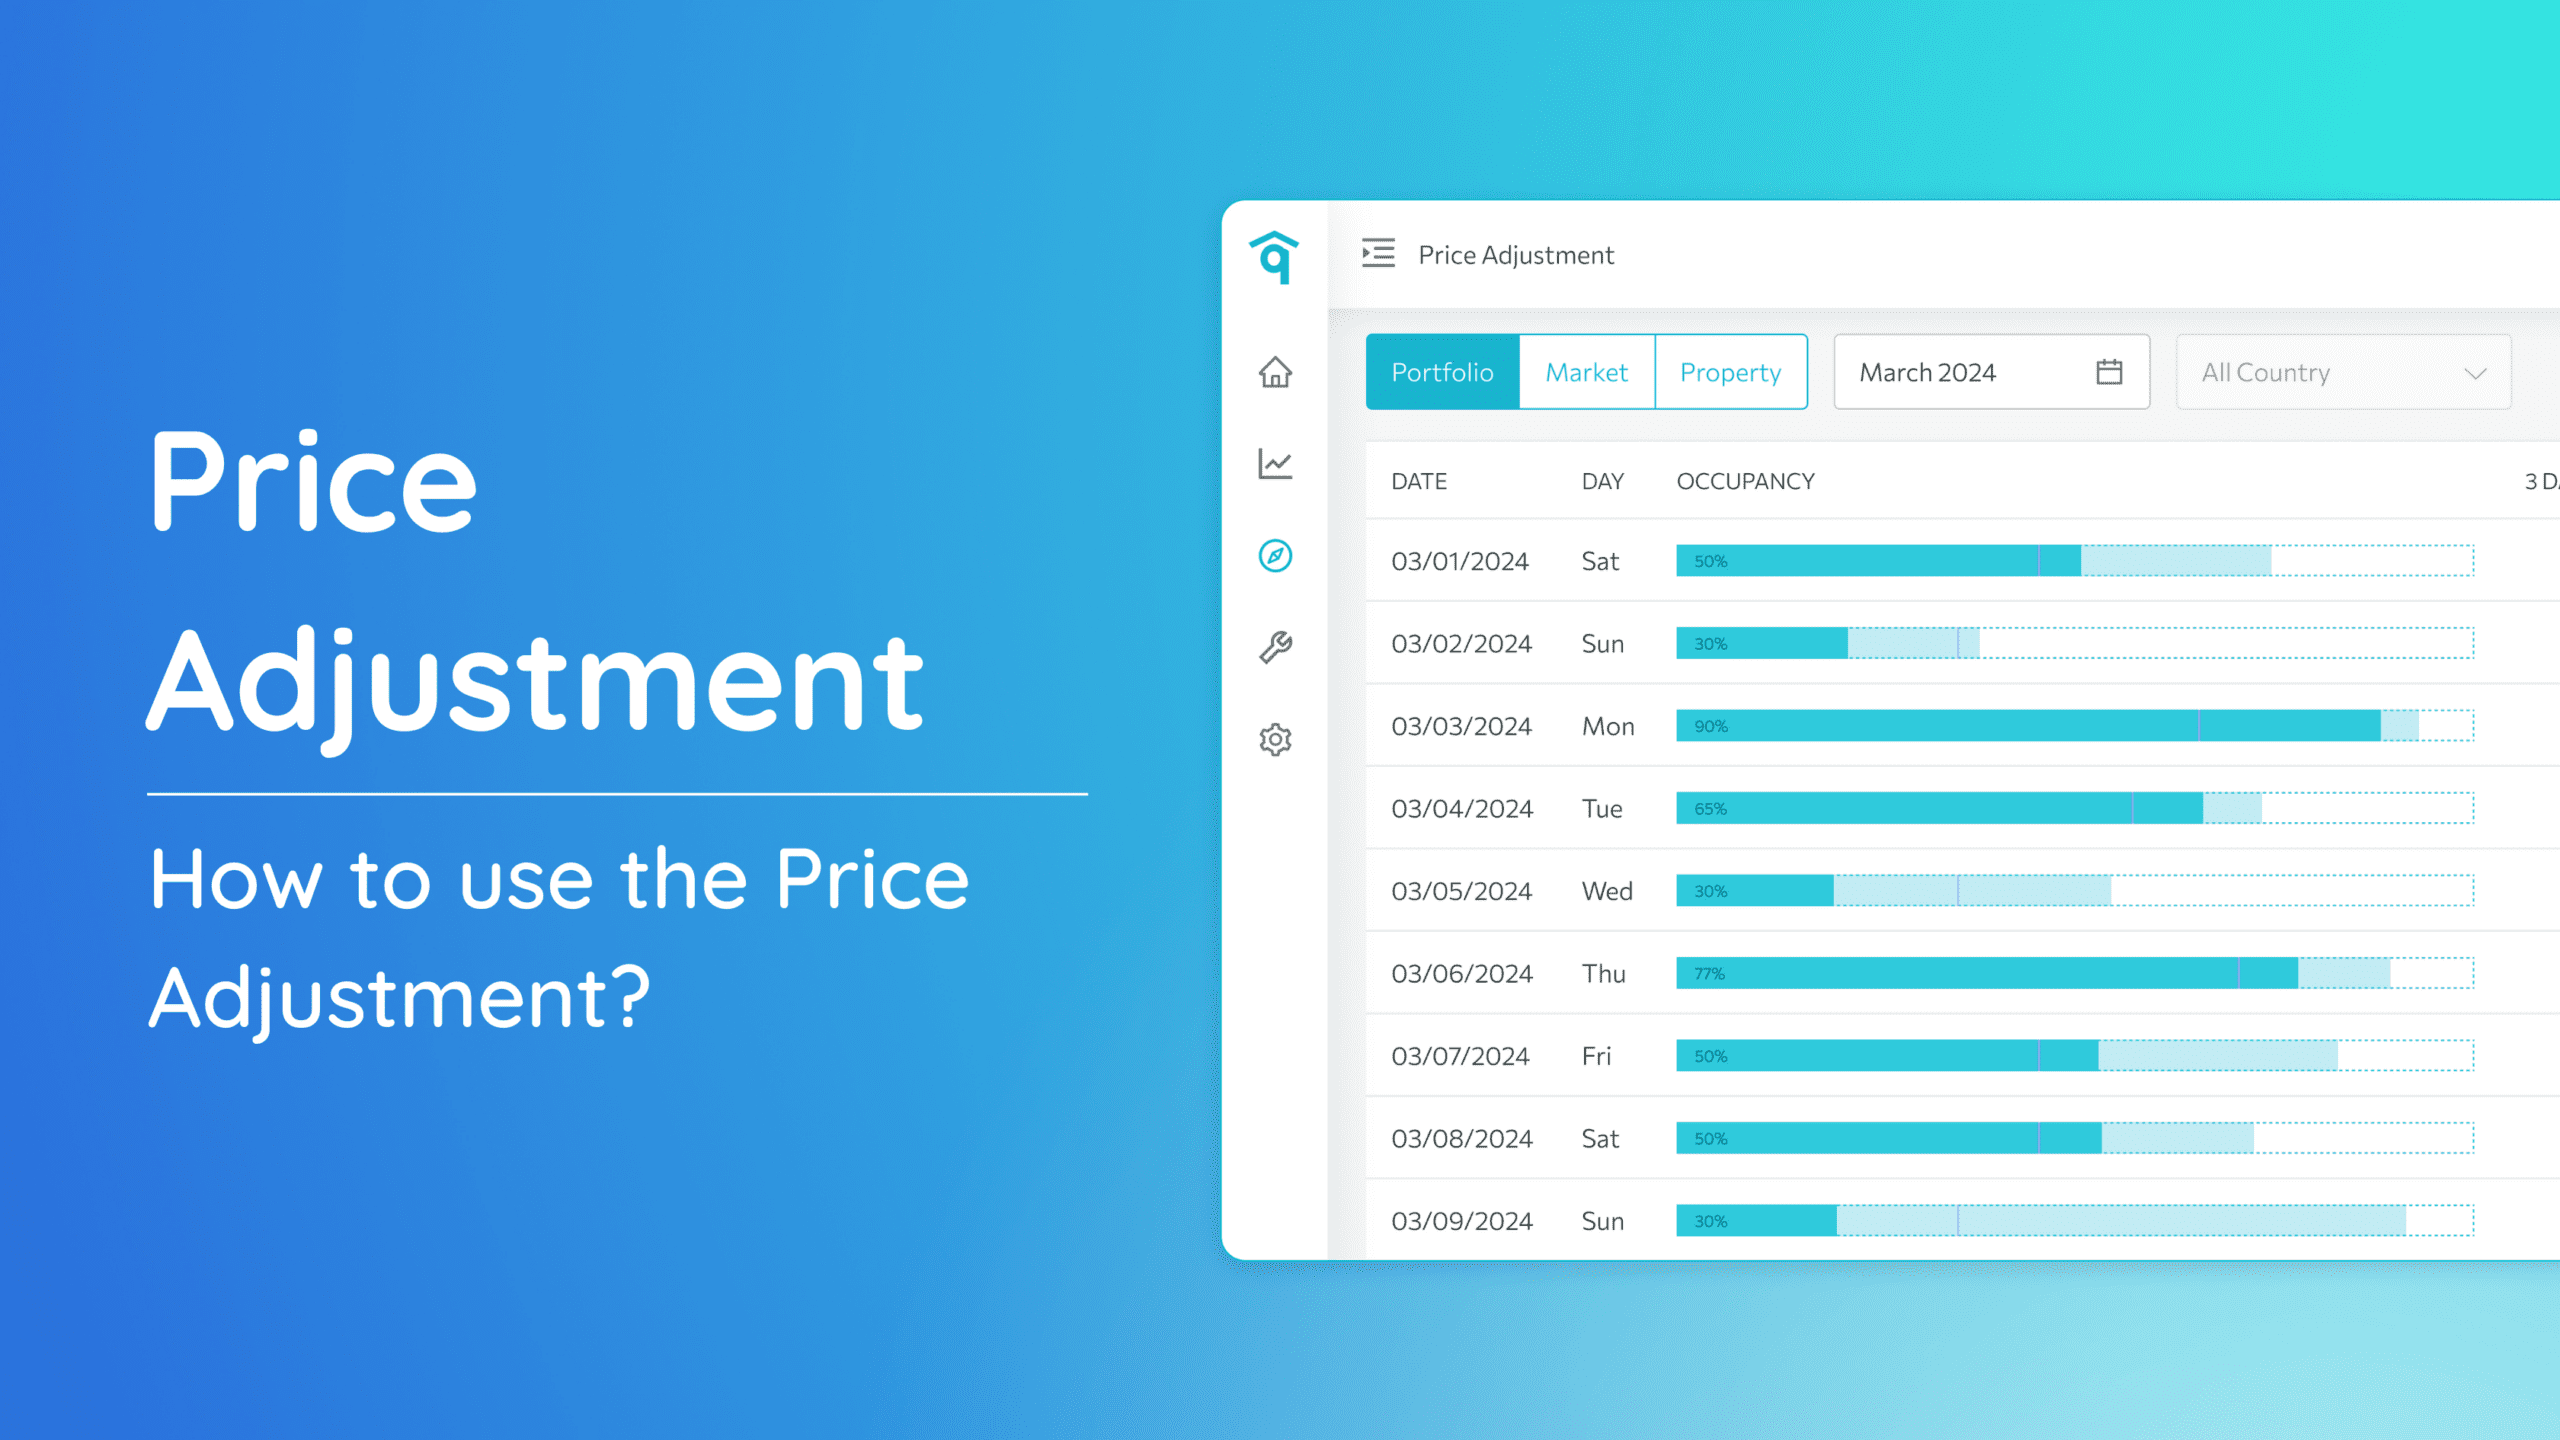
Managing your properties efficiently is crucial for staying competitive in the market. One of the key tools at your disposal is the Price Adjustment Queue, which allows you to streamline pricing updates across multiple properties. This guide will walk you through the steps of adding properties to the queue and ensuring a smooth workflow for price adjustments.
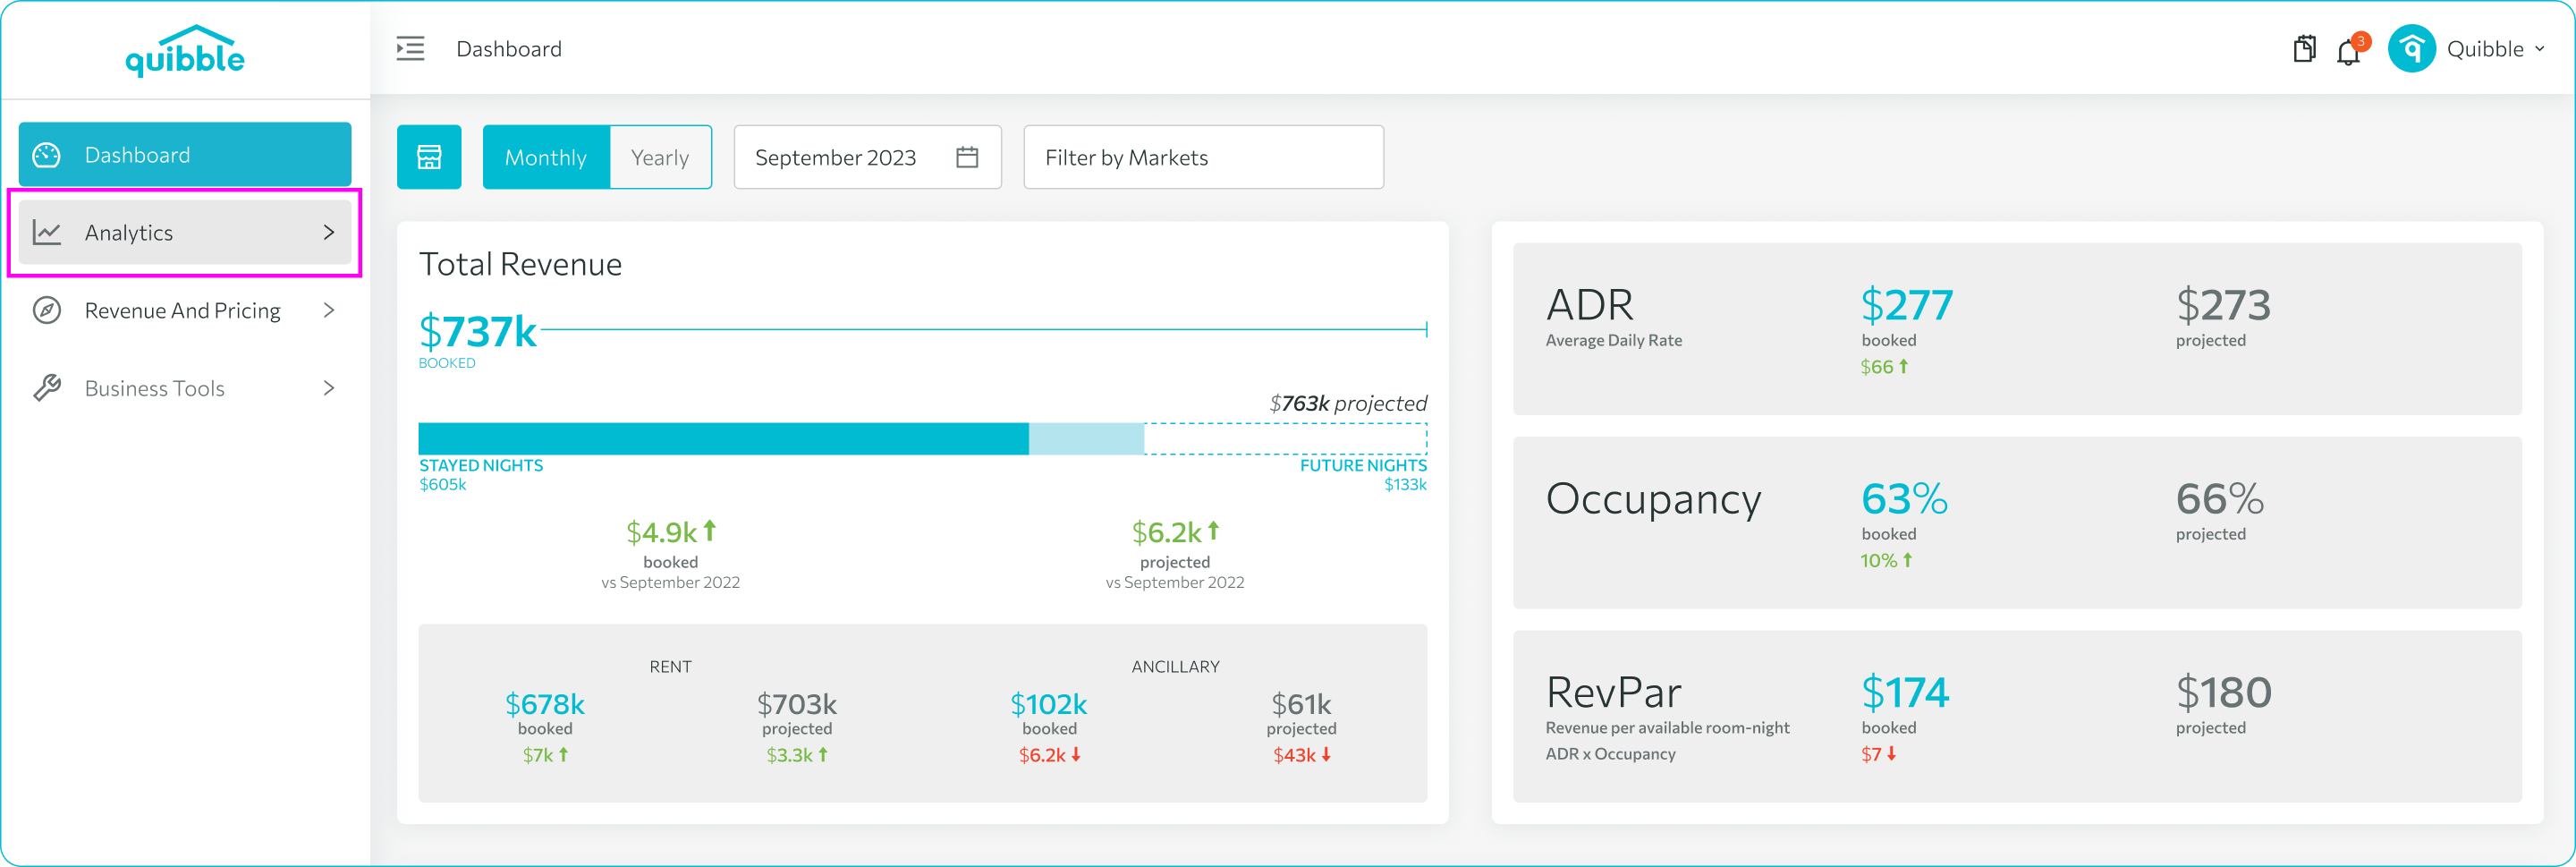
1. Start by accessing the left-side menu bar.
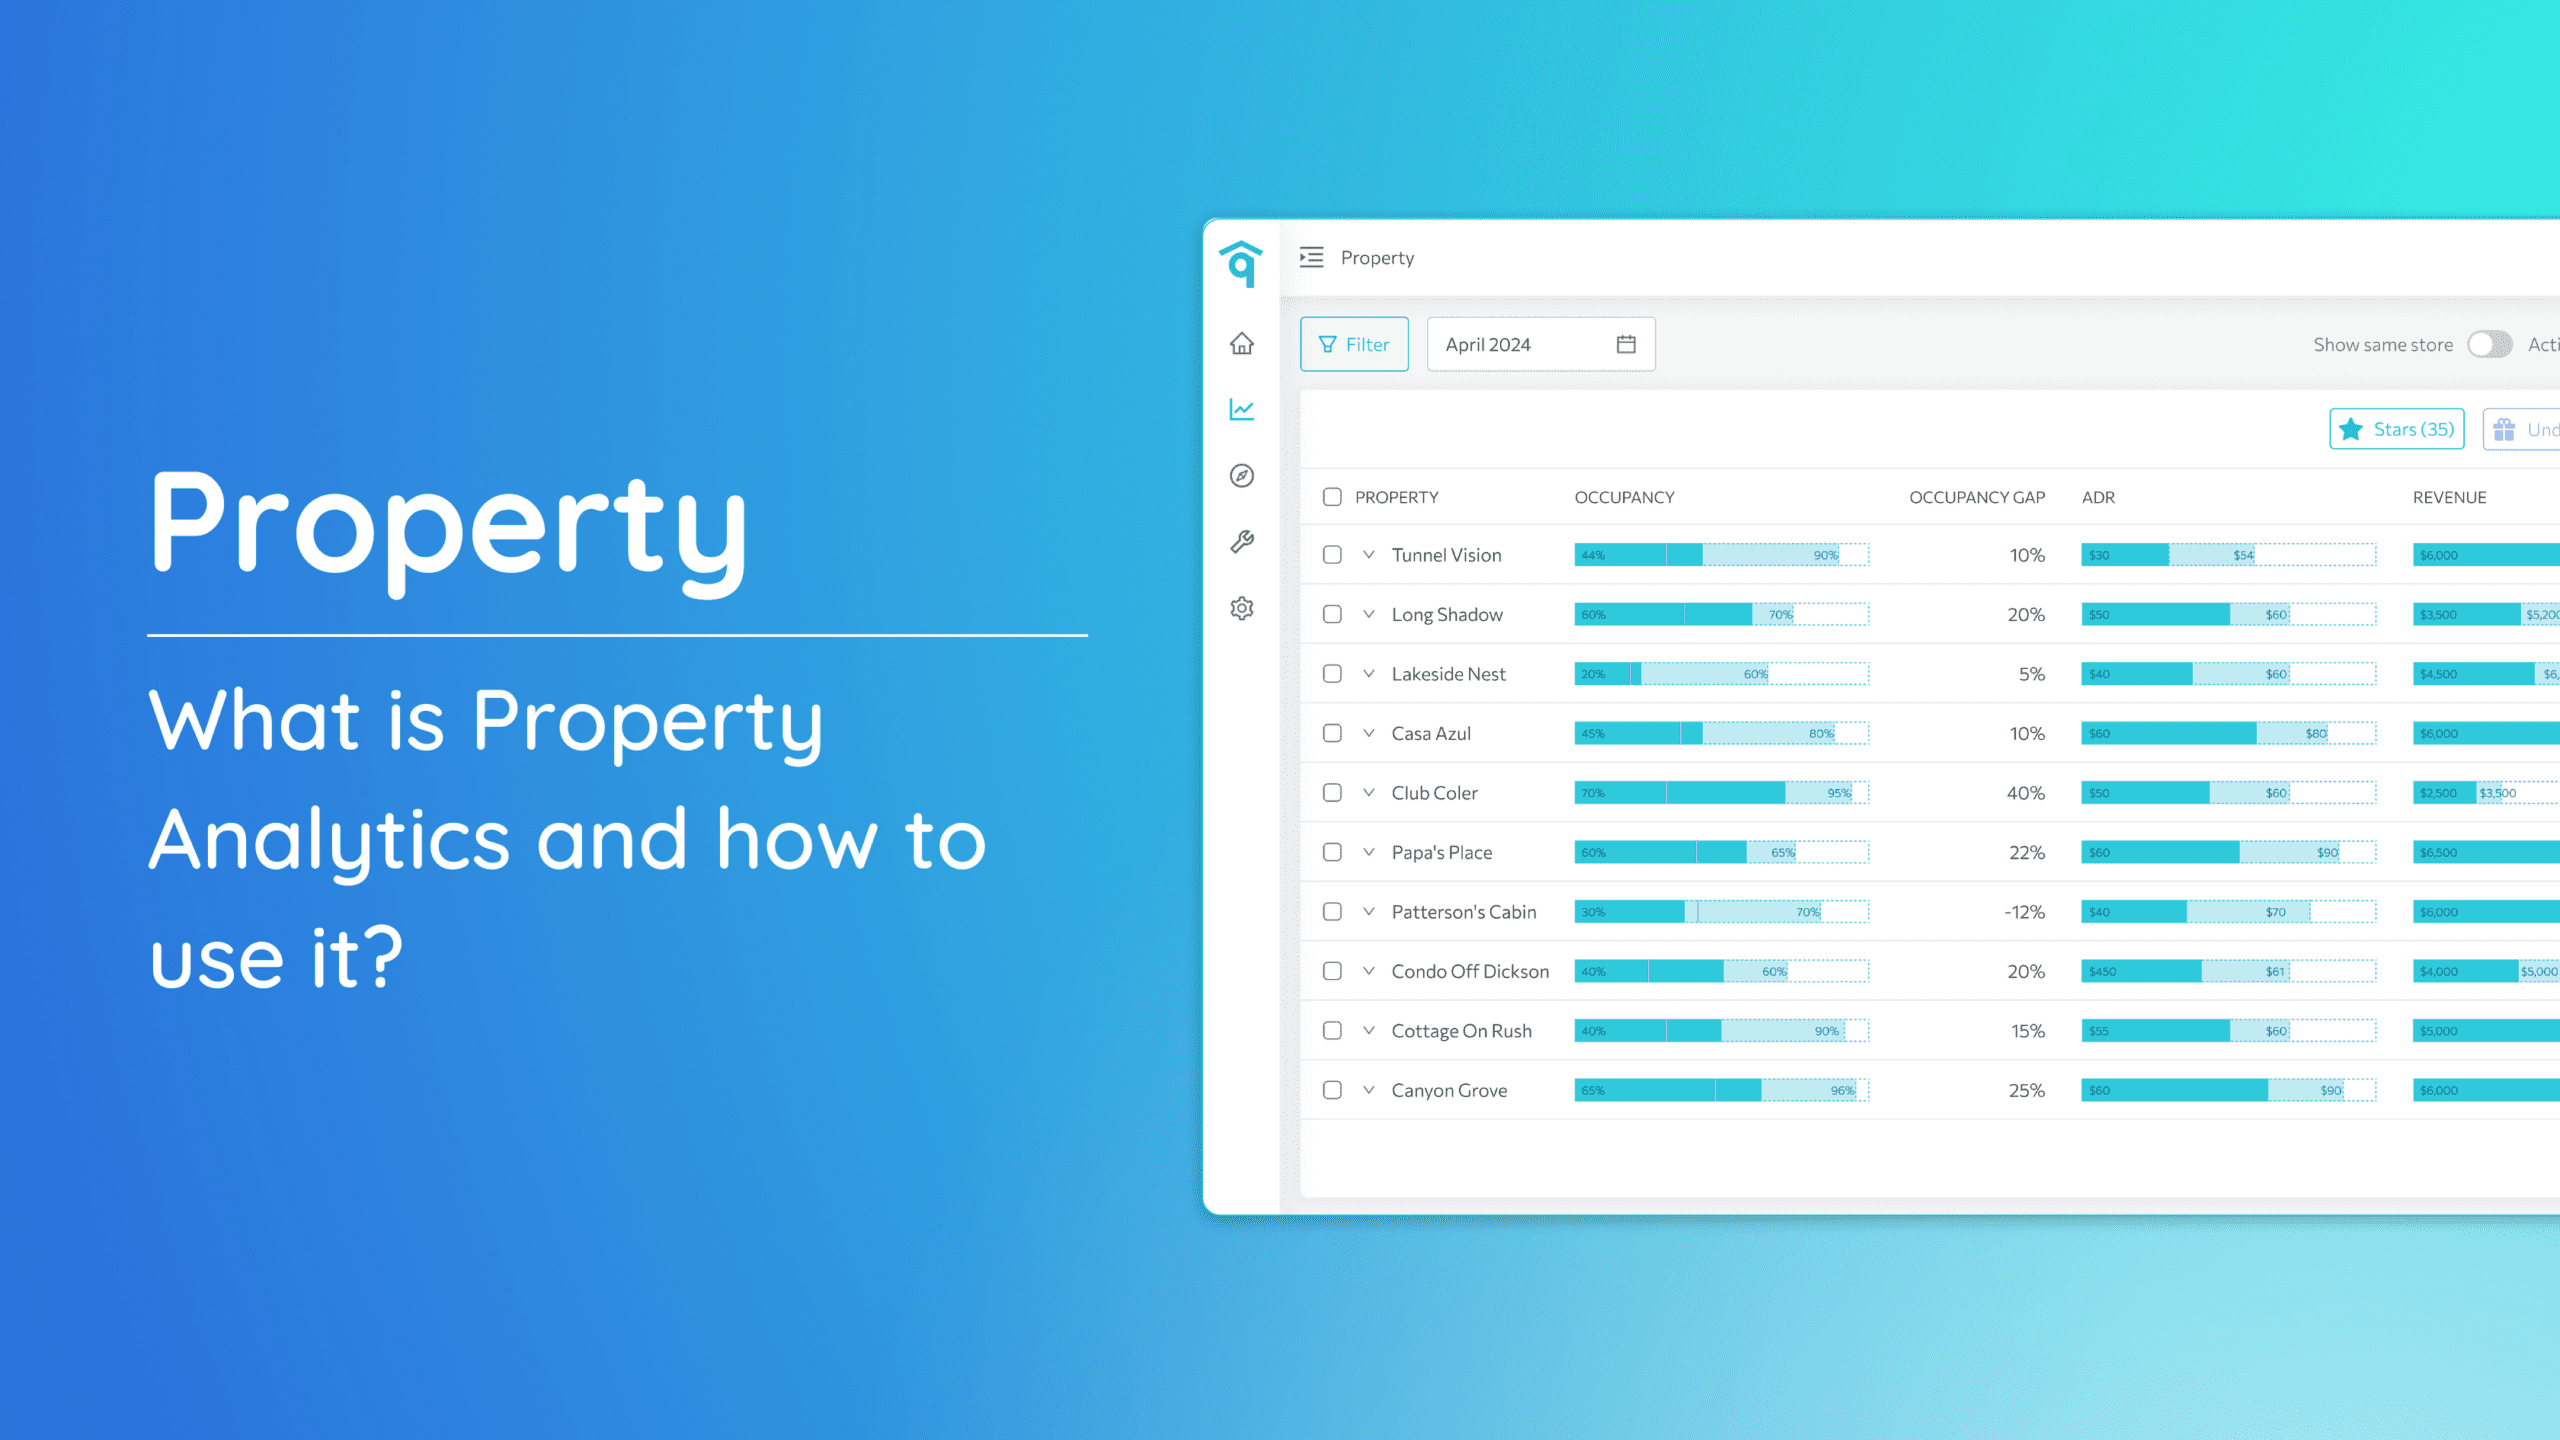
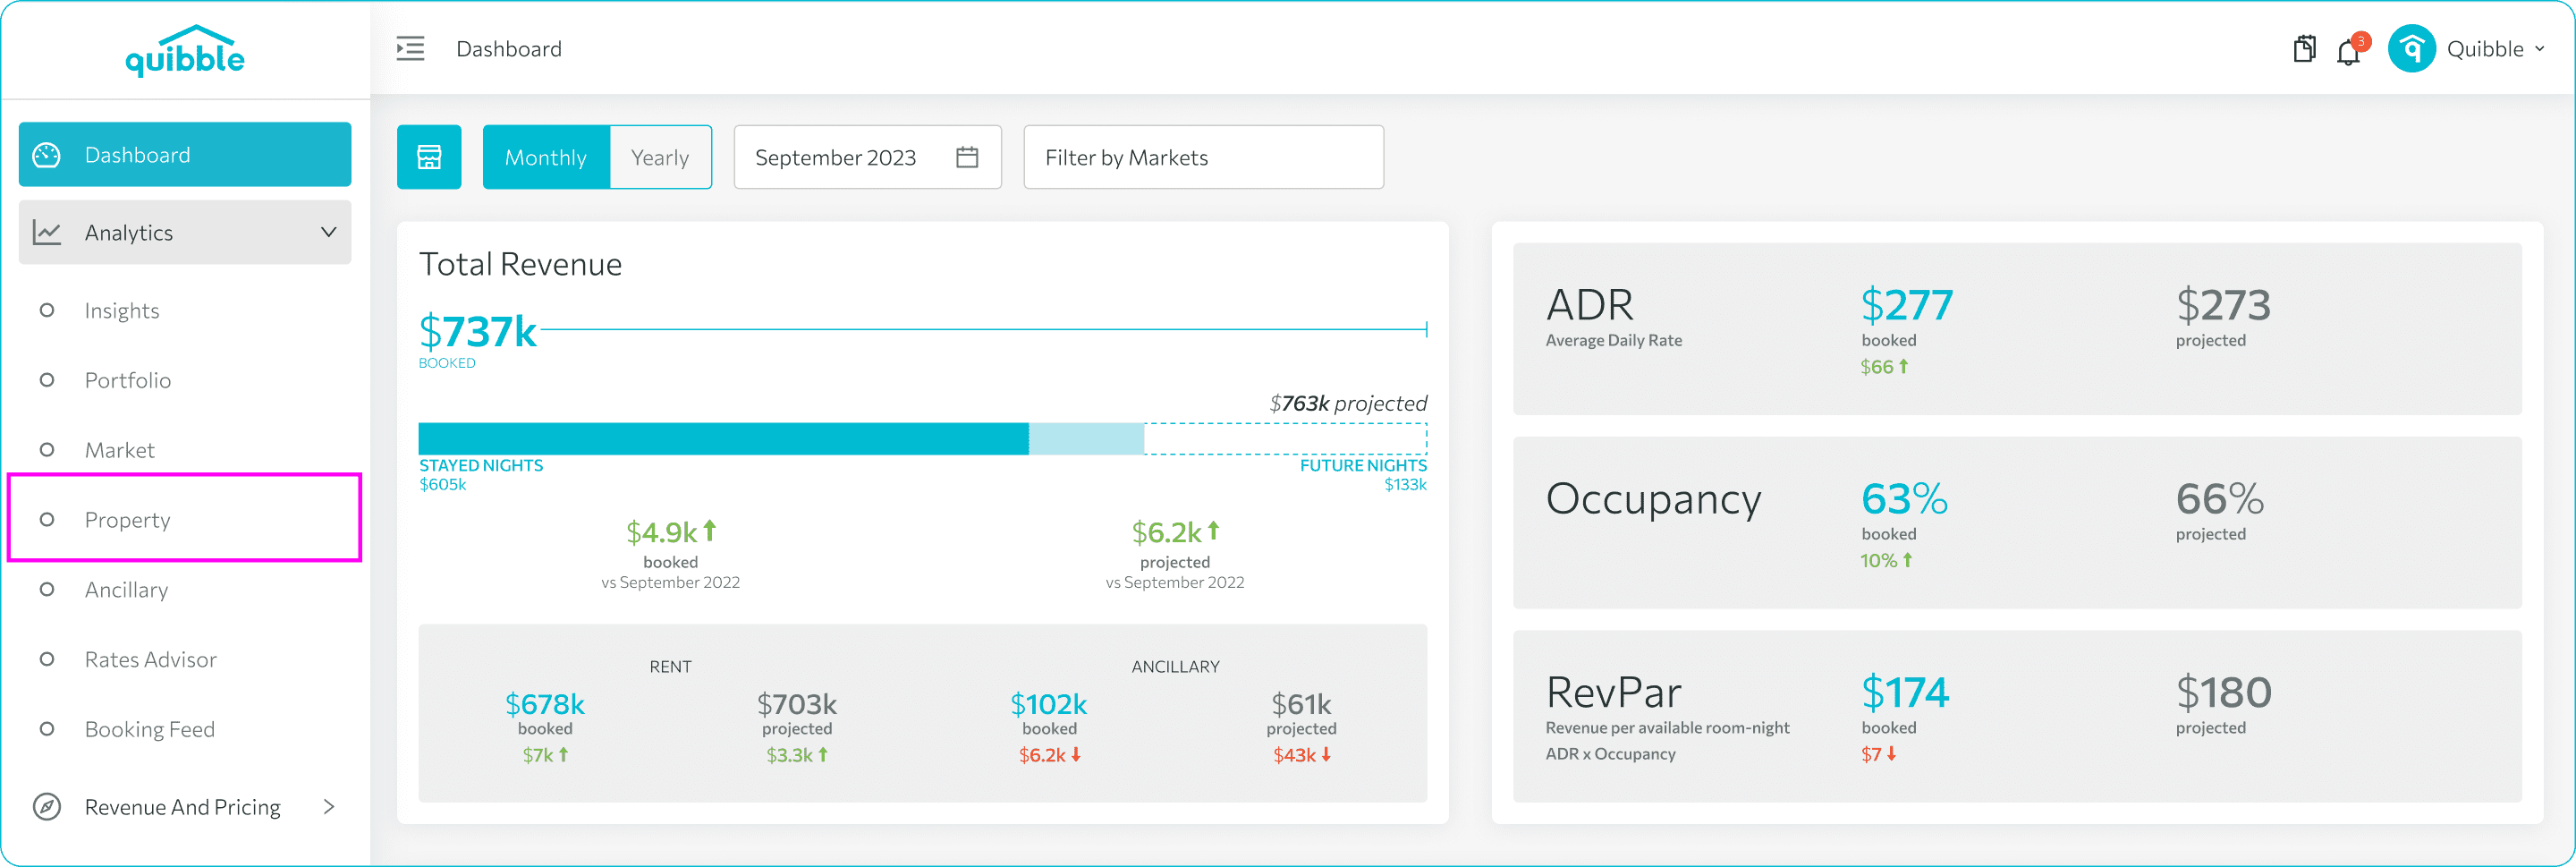
2. Click on the “Analytics” dropdown menu.
3. From the dropdown, select “Property.”
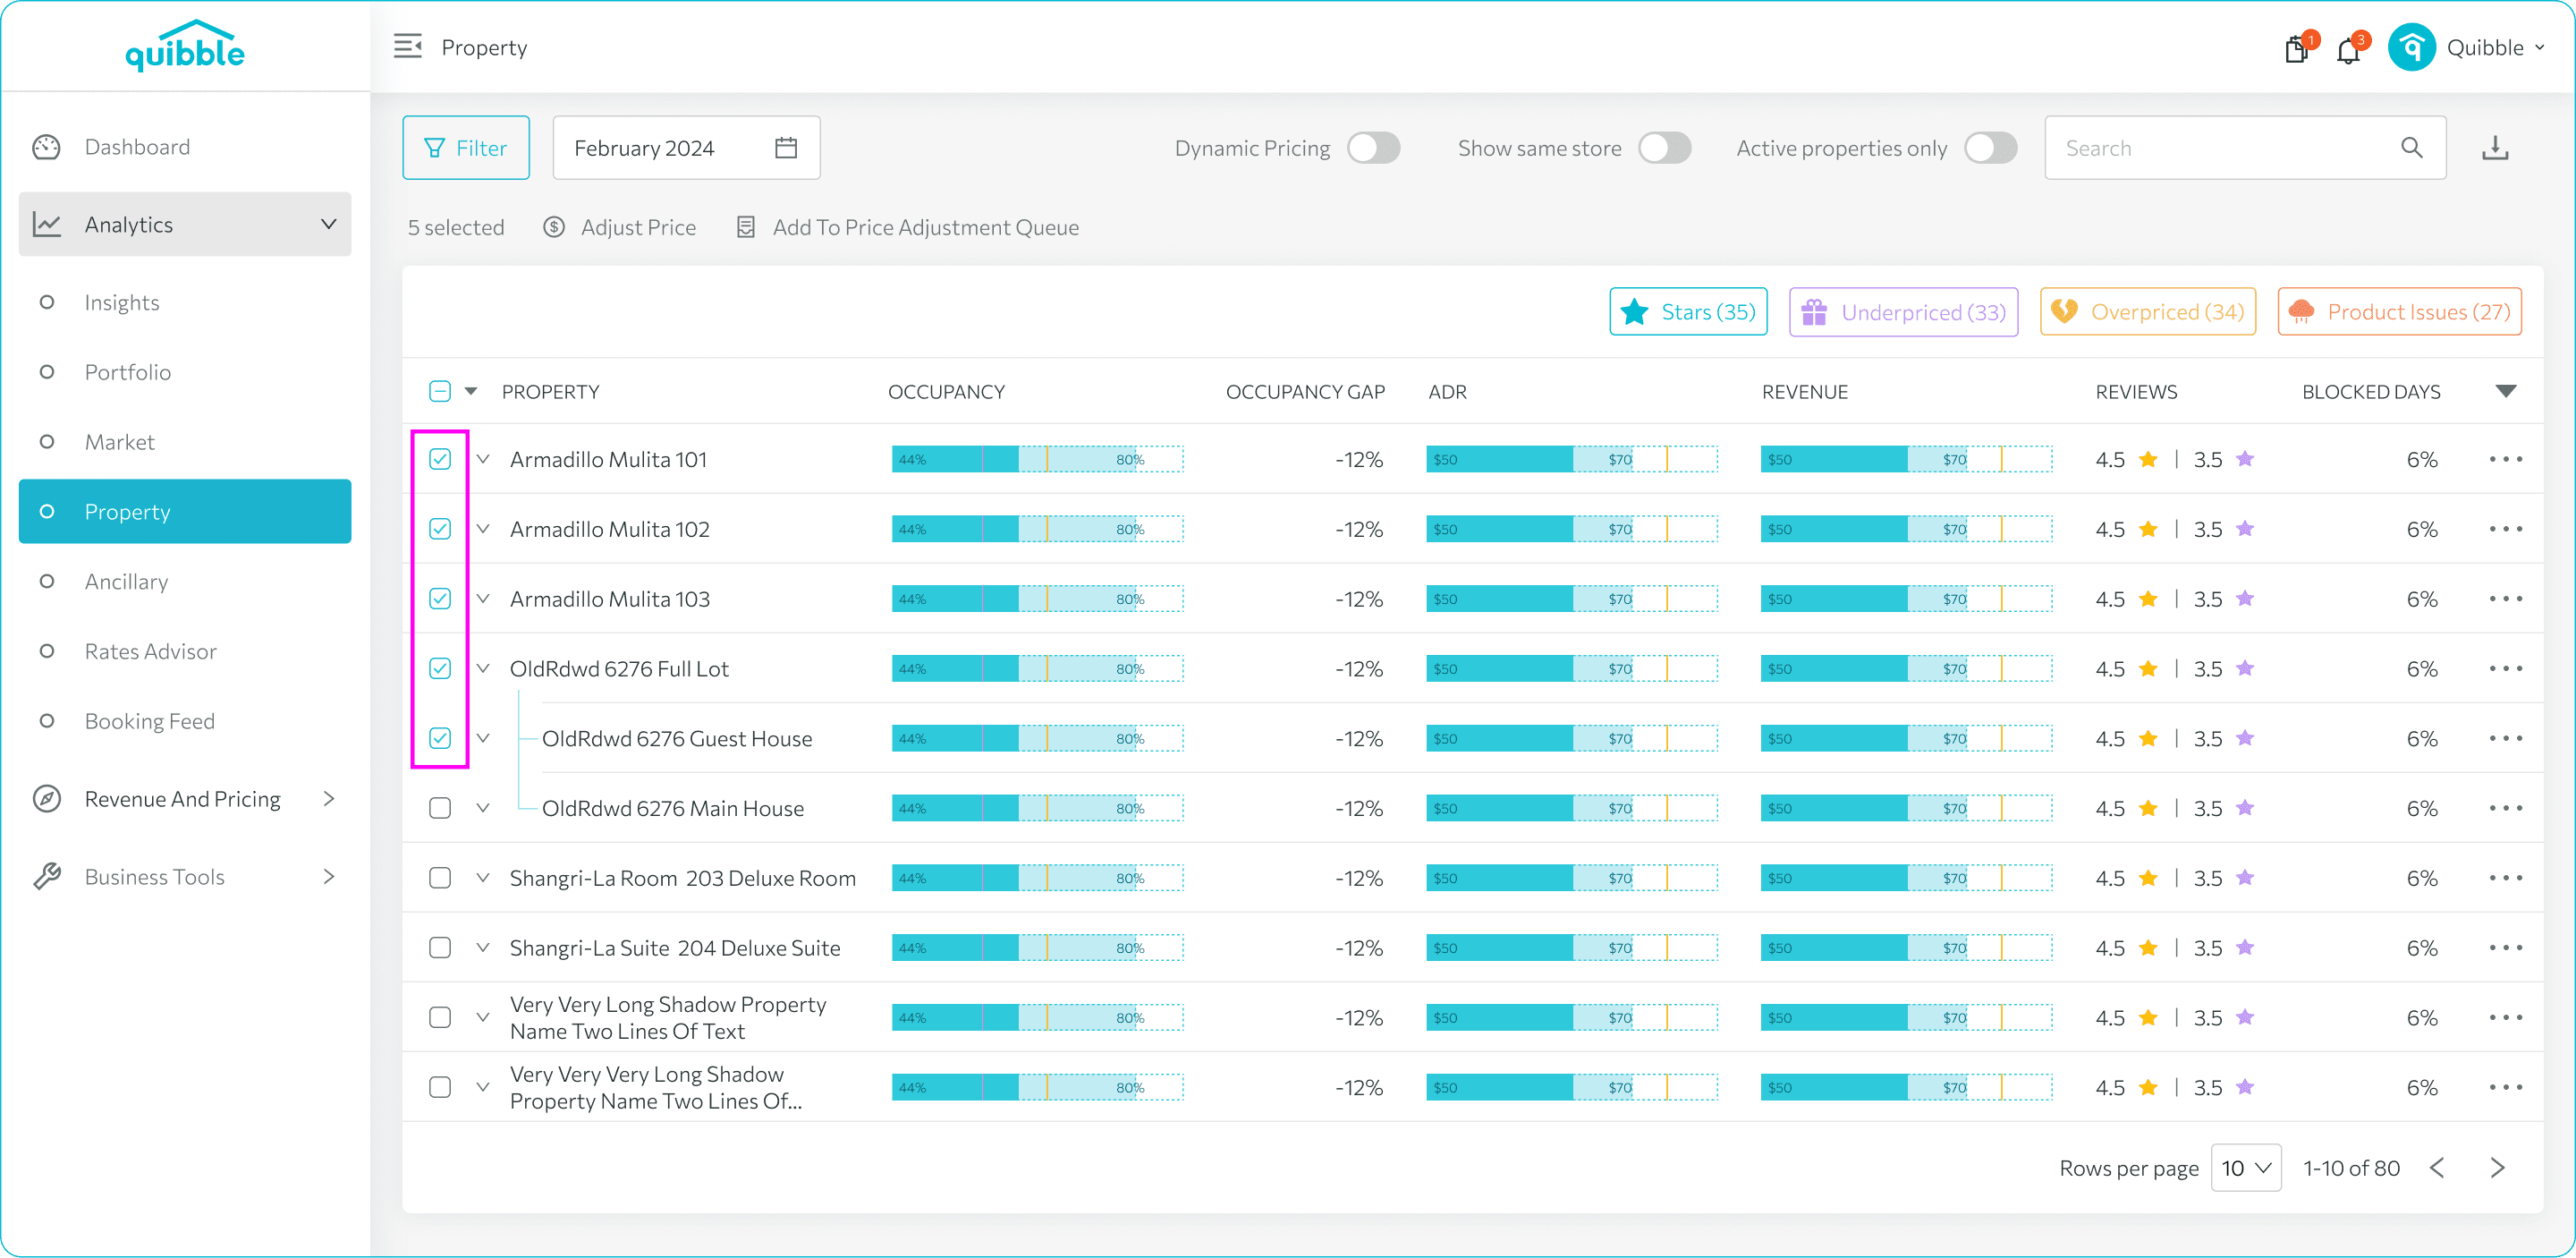
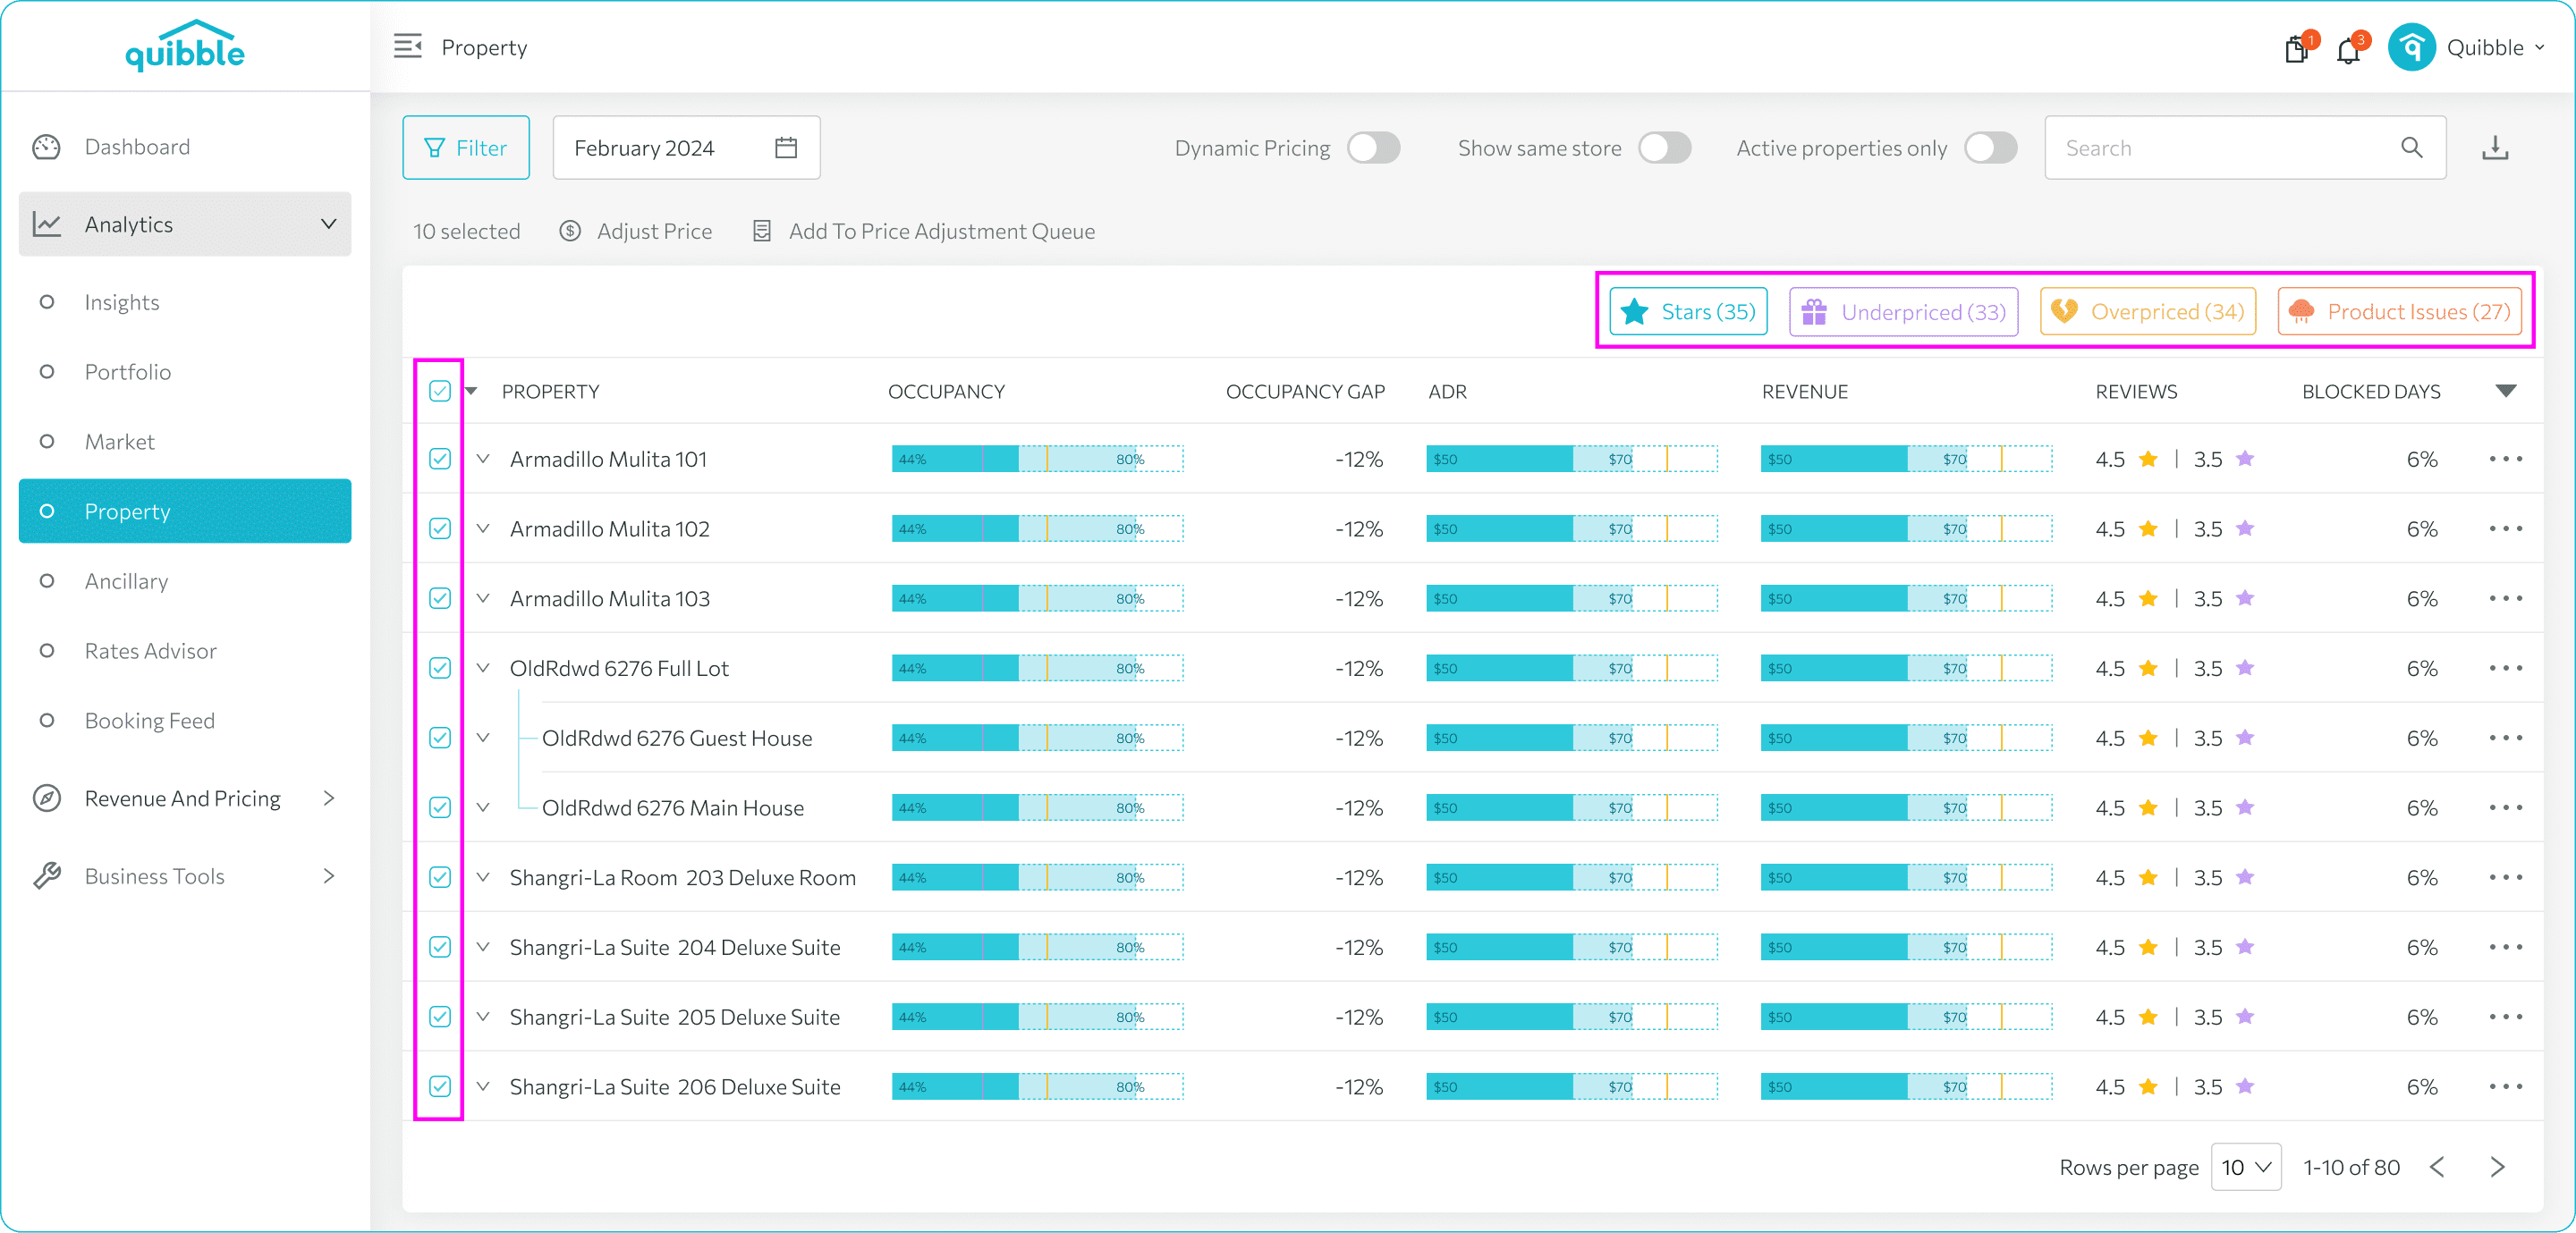
4. Select Properties: You can queue properties using one of the following methods:
- Manual Selection: Select properties individually.
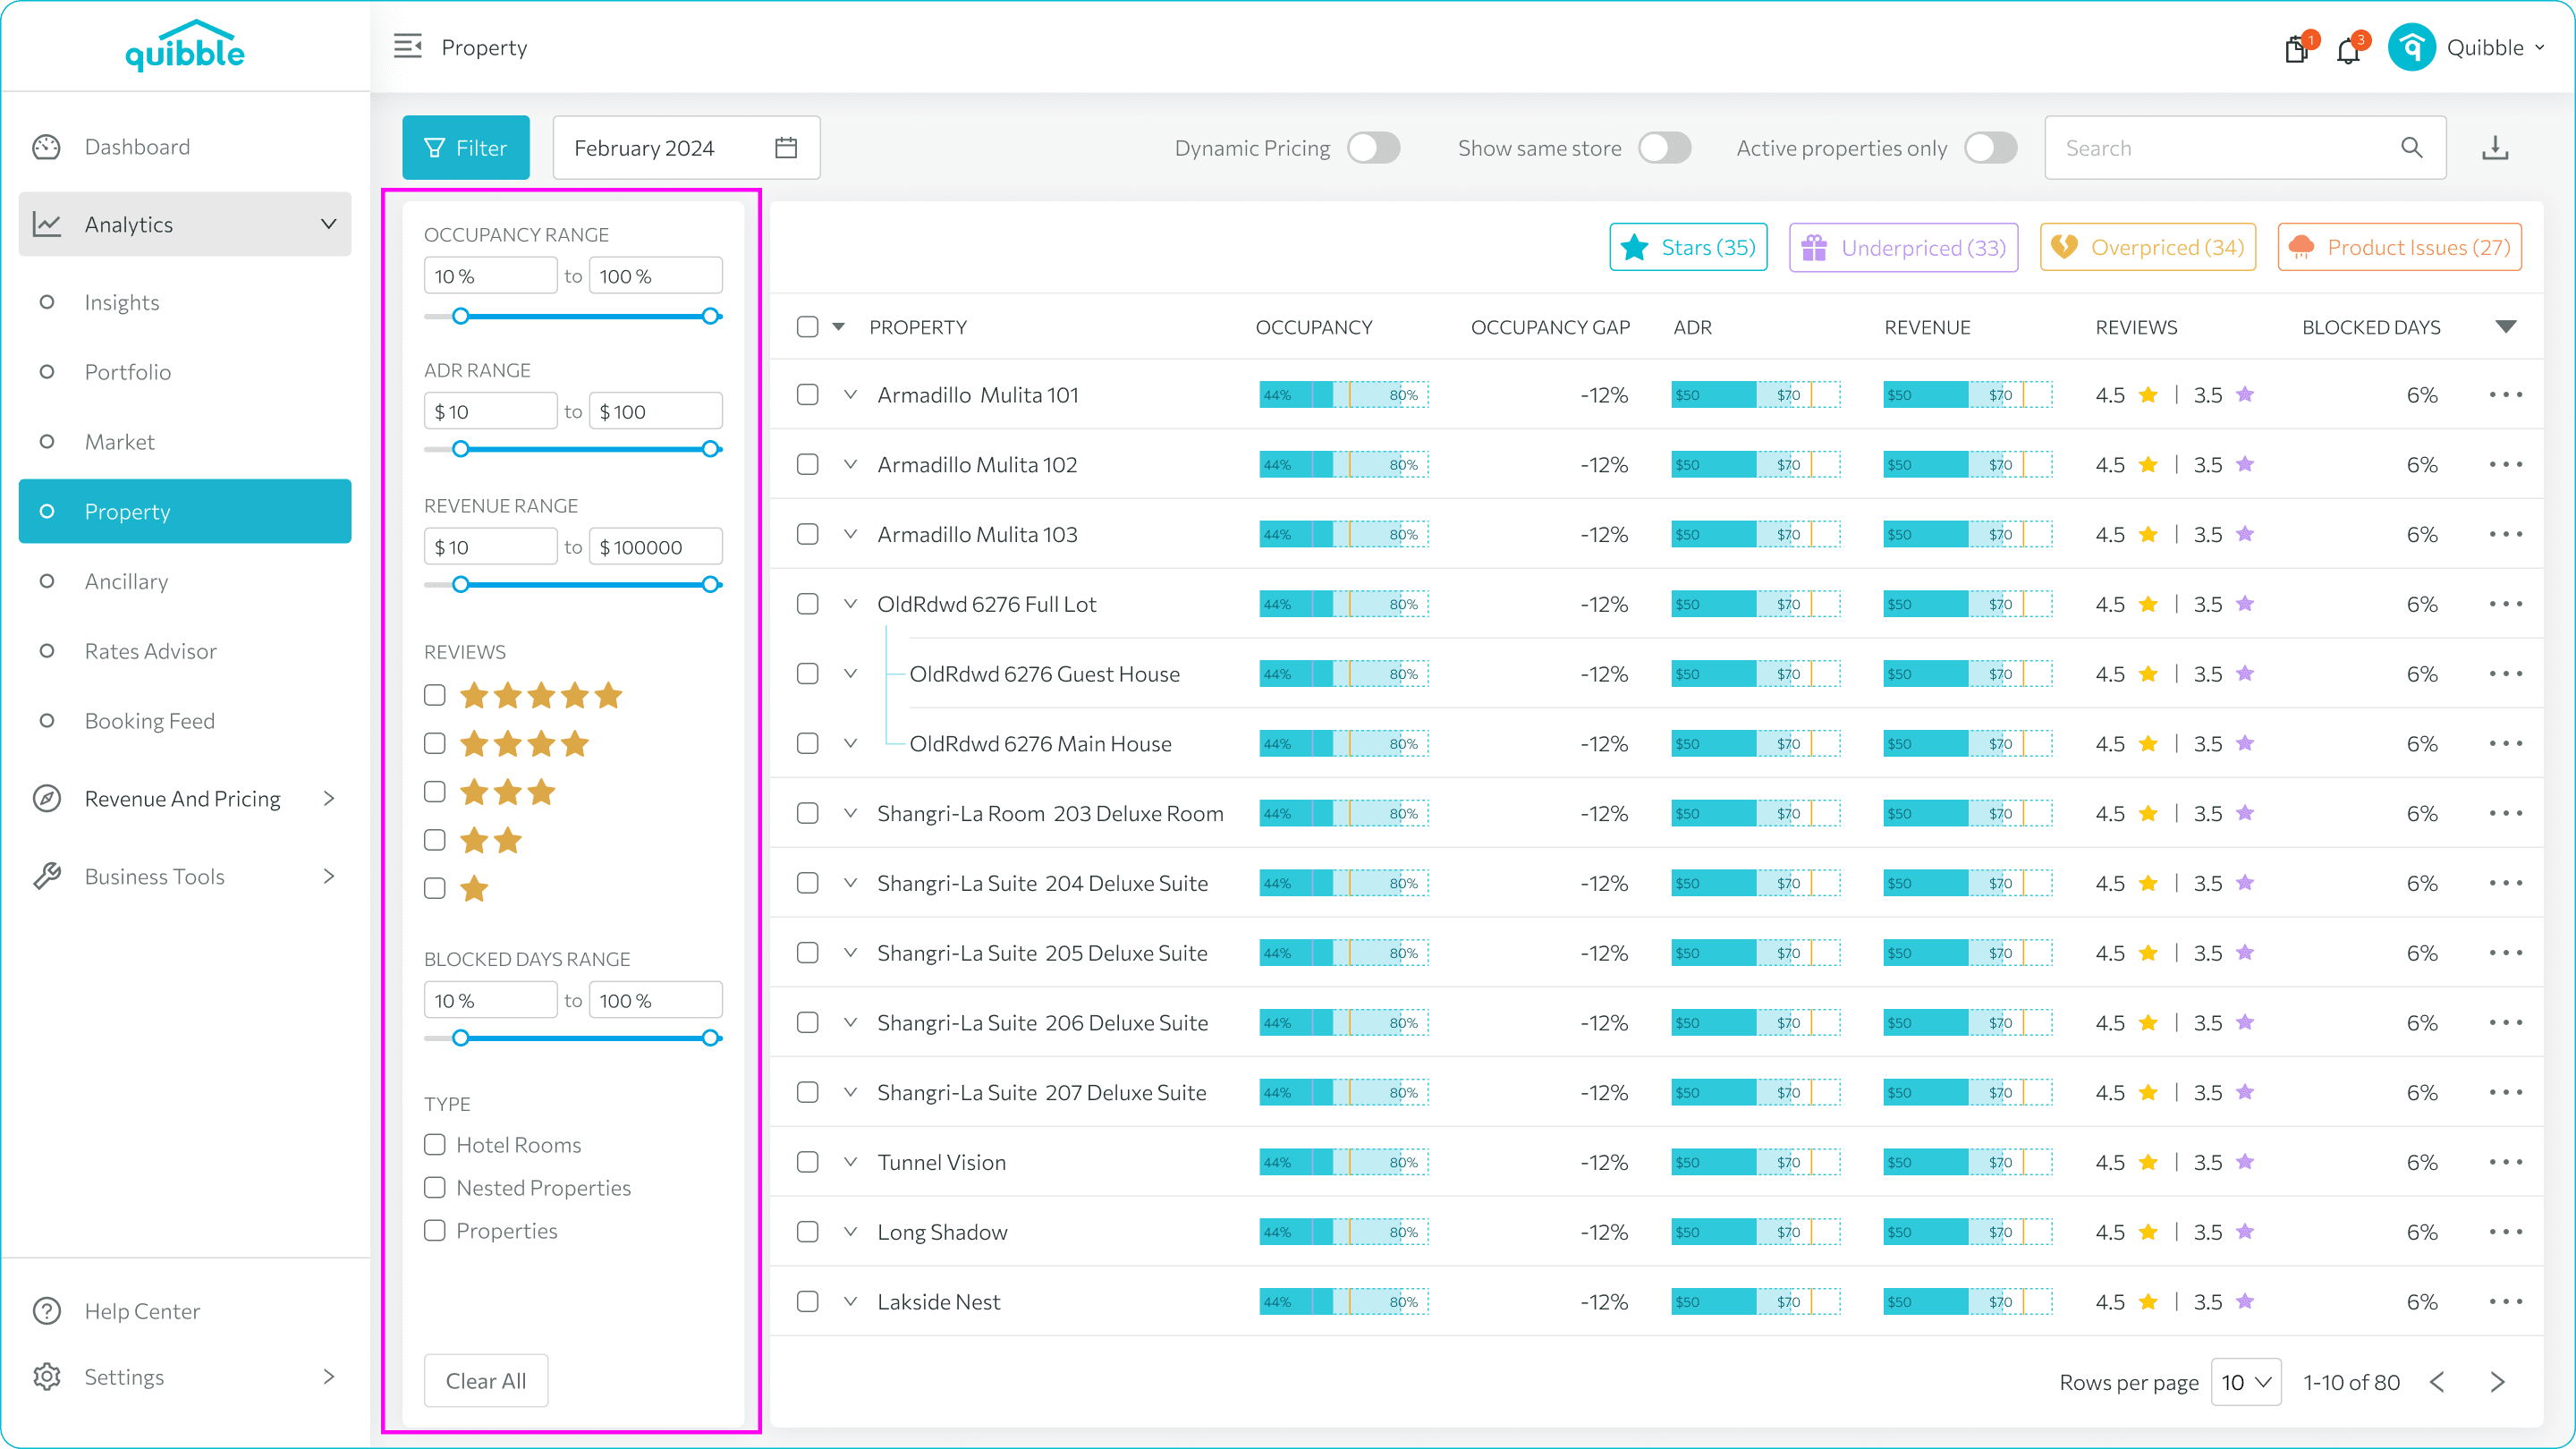
- Filters: Apply filters to narrow down your selection
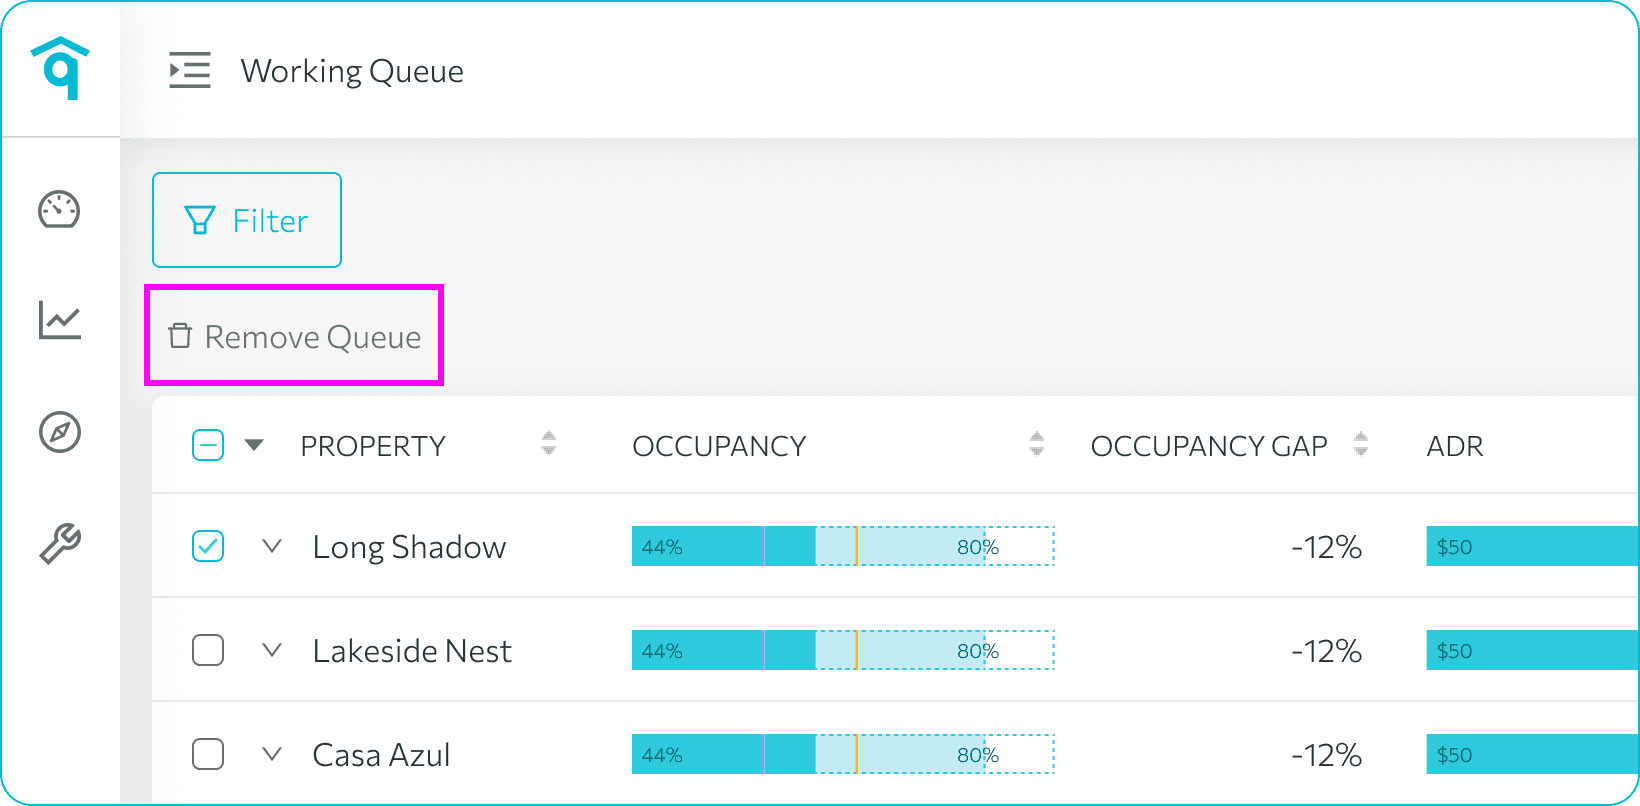
- Categories: Select a category. To select all properties within a category, simply check the “Property” checkbox.
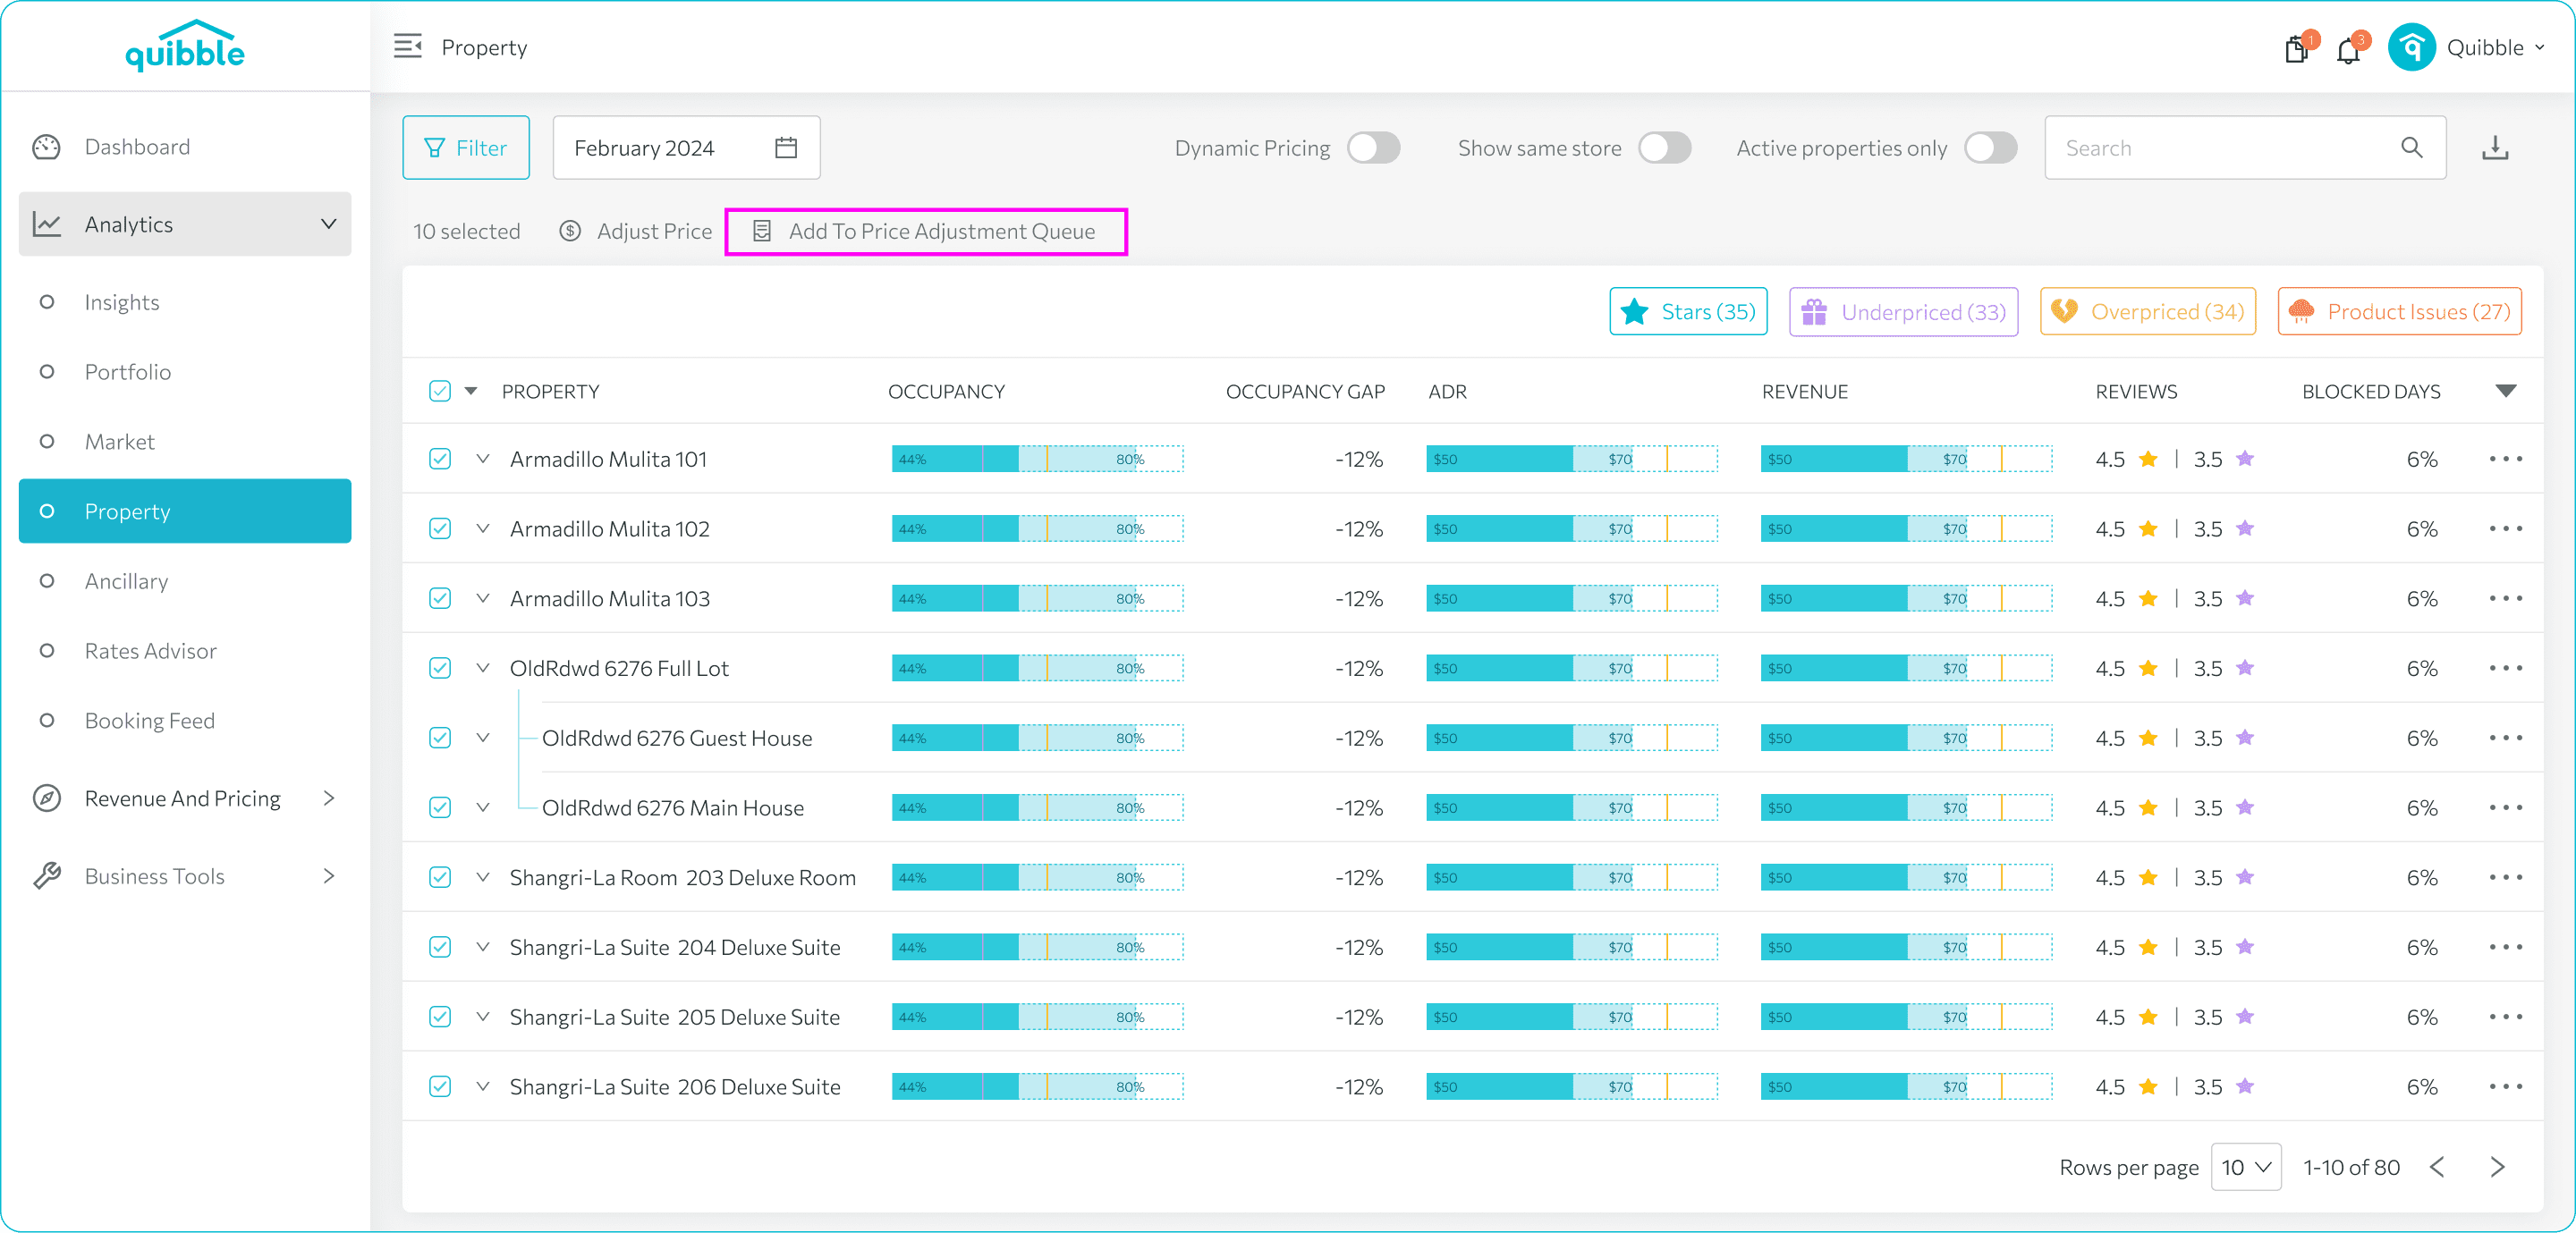
5. Once you’ve selected the properties, click “Add to Price Adjustment Queue.”
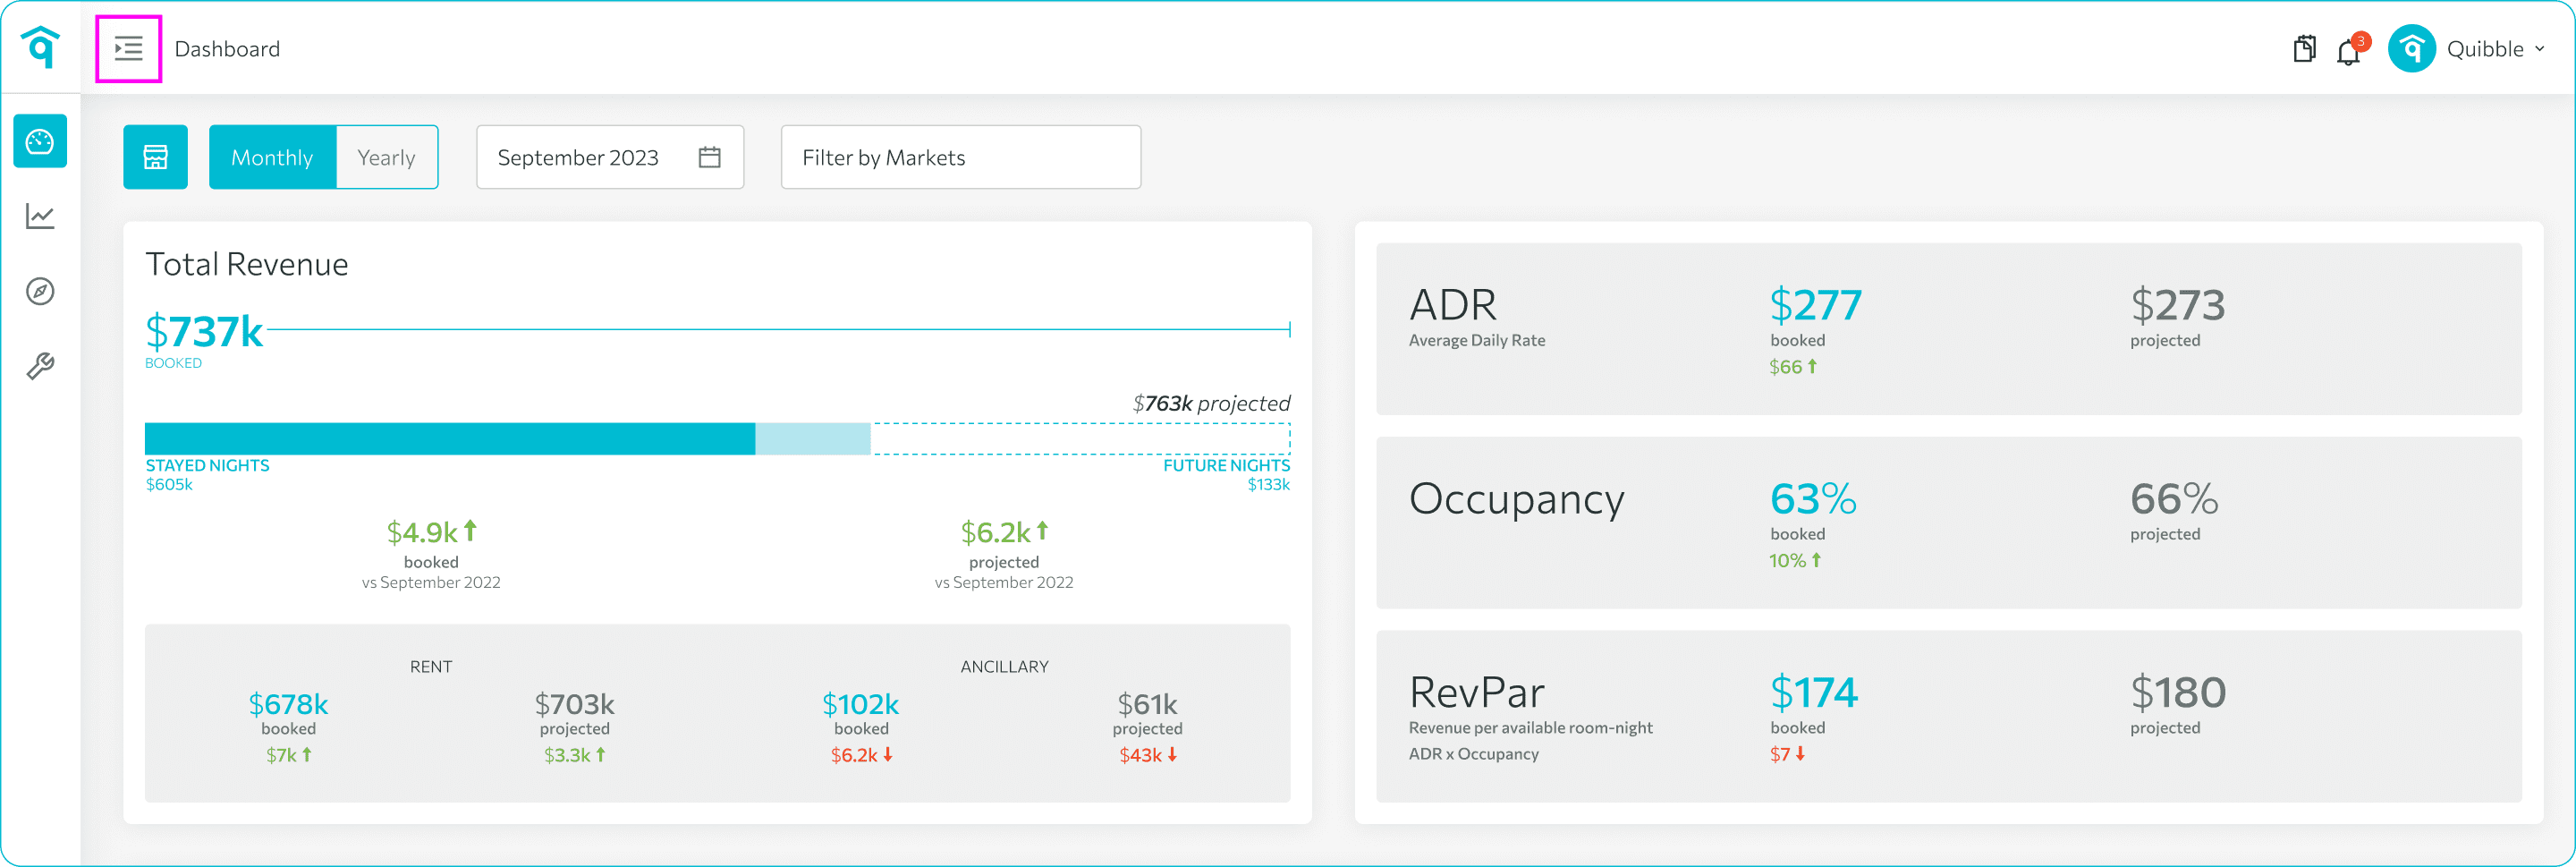
6. A notification icon in the top corner will indicate the number of properties in your queue (e.g., 10 properties).
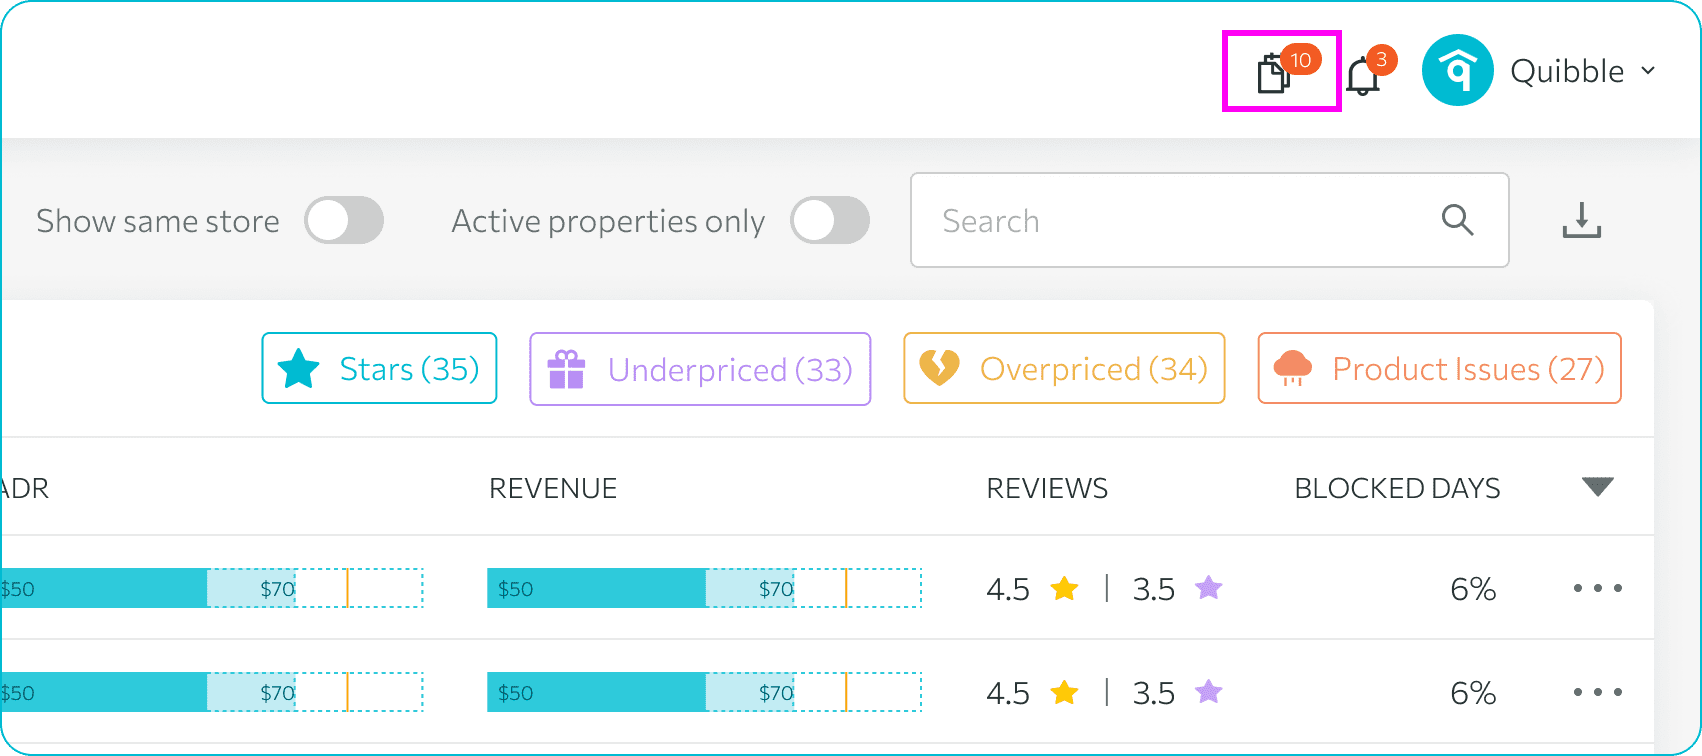
7. Click on the notification icon to navigate to the queue.
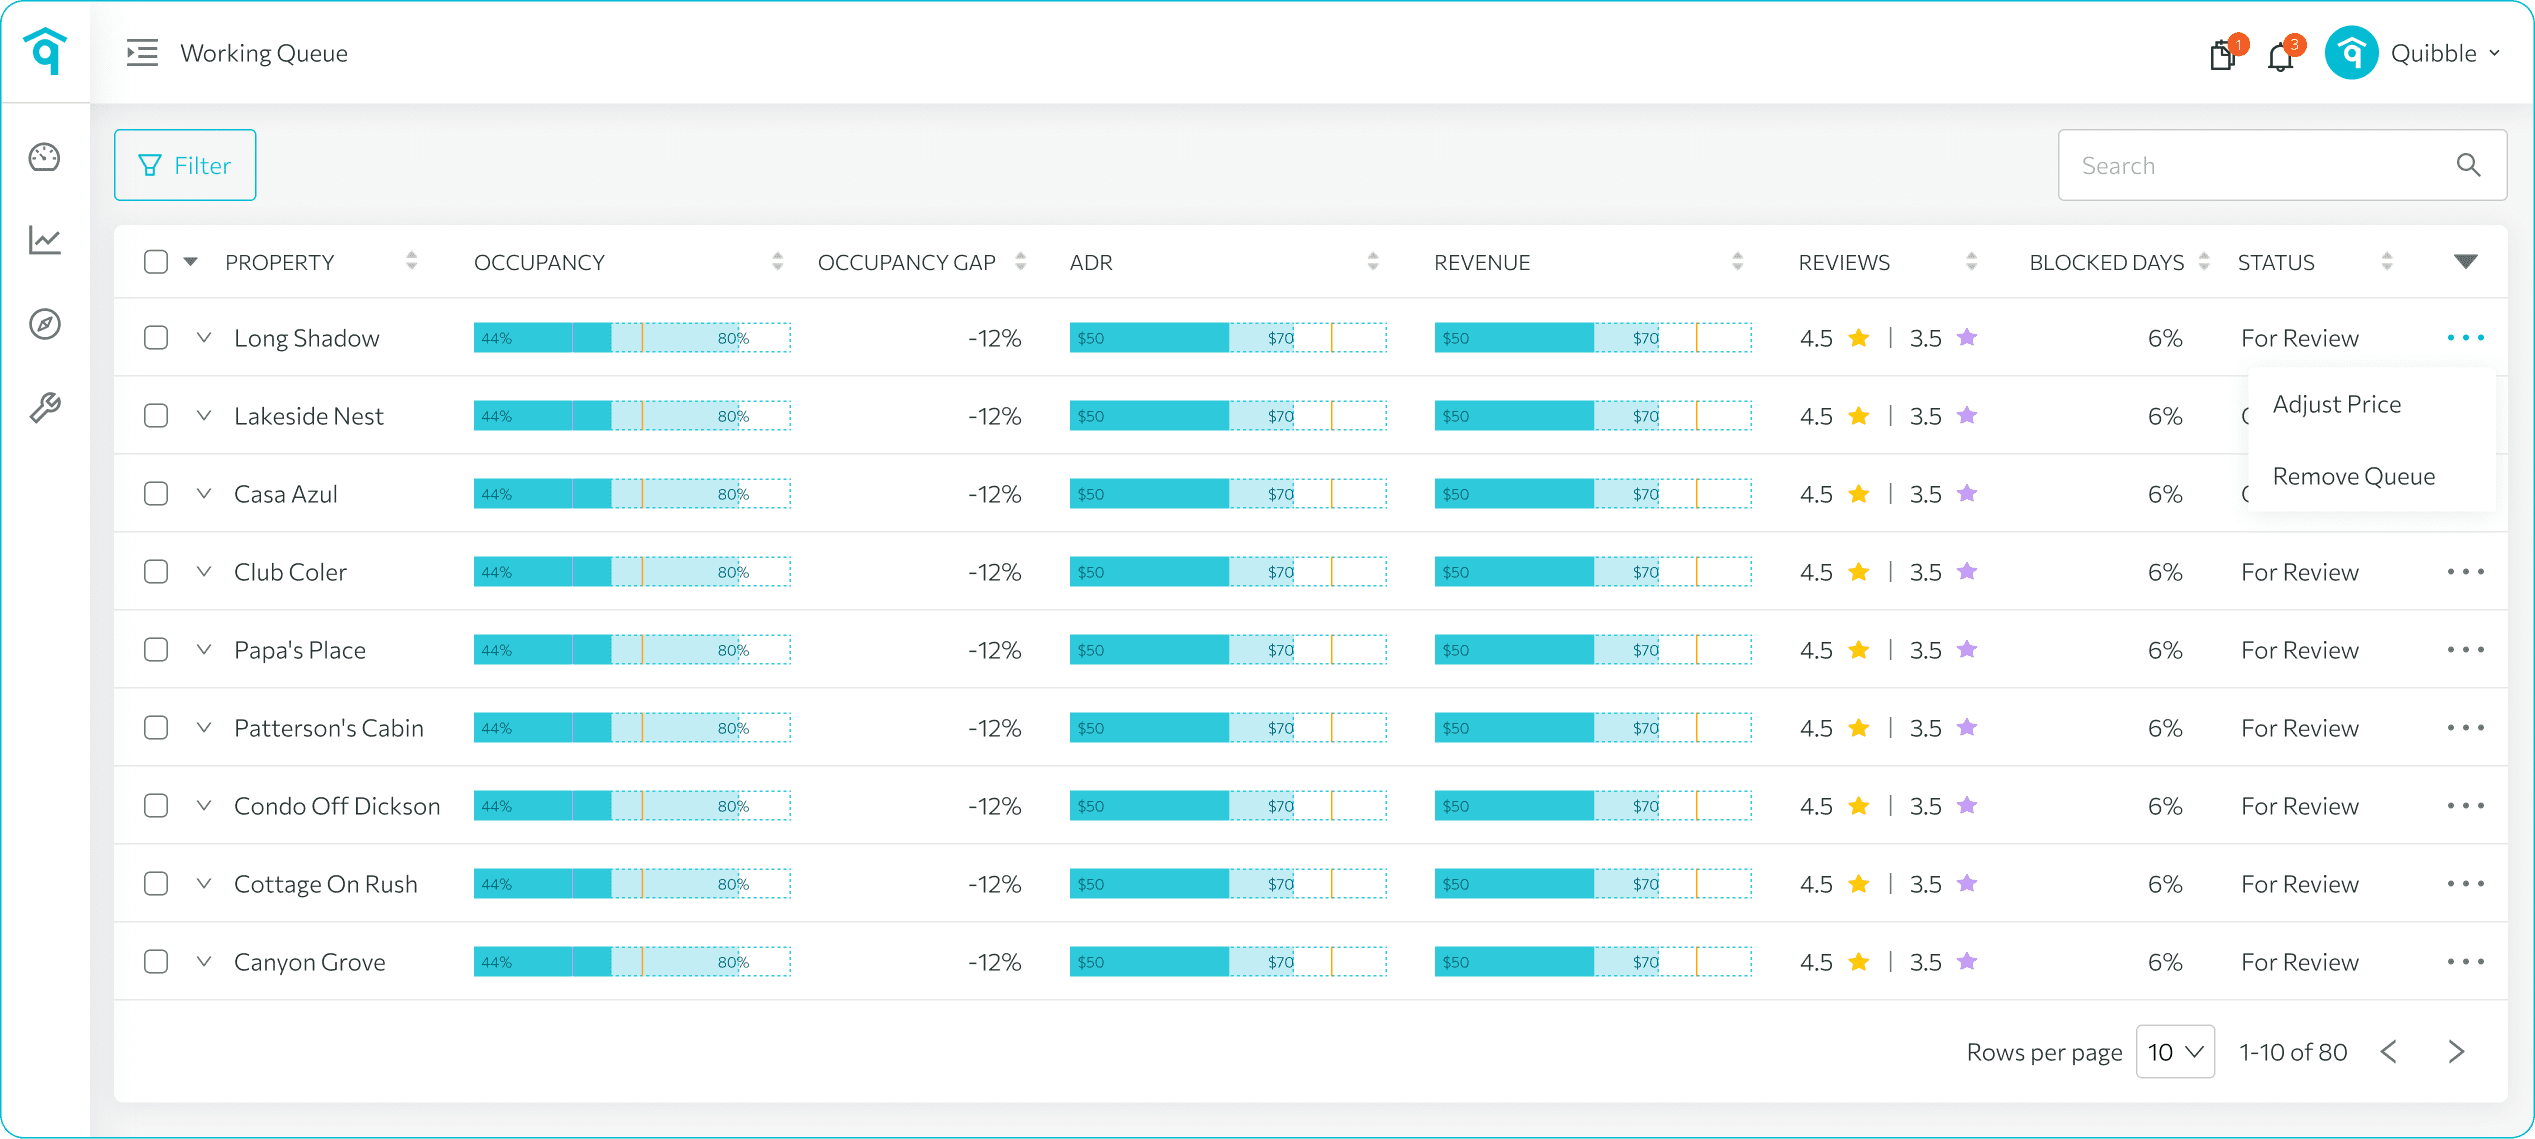
8. Click on the first property in the queue to begin making your pricing adjustments. After completing one property, the queue will automatically move you to the next.

9. Once you’ve worked through all the properties in the queue, you can clear it by deleting the list.
We hope this guide has helped clarify how to add properties to the Price Adjustment Queue. If you have any further questions or need additional assistance, our support team is here to help.
Don’t forget to explore our other help articles and resources for more insights into managing your pricing strategy.