Managing Property Groups
Groups let you organize properties into custom collections and apply pricing, availability, and booking-policy changes in bulk — instead of editing each property individually. A property can belong to only one group at a time; adding it to a new group removes it from the old one.
Creating a group
From the dashboard, click the left-hand menu bar.
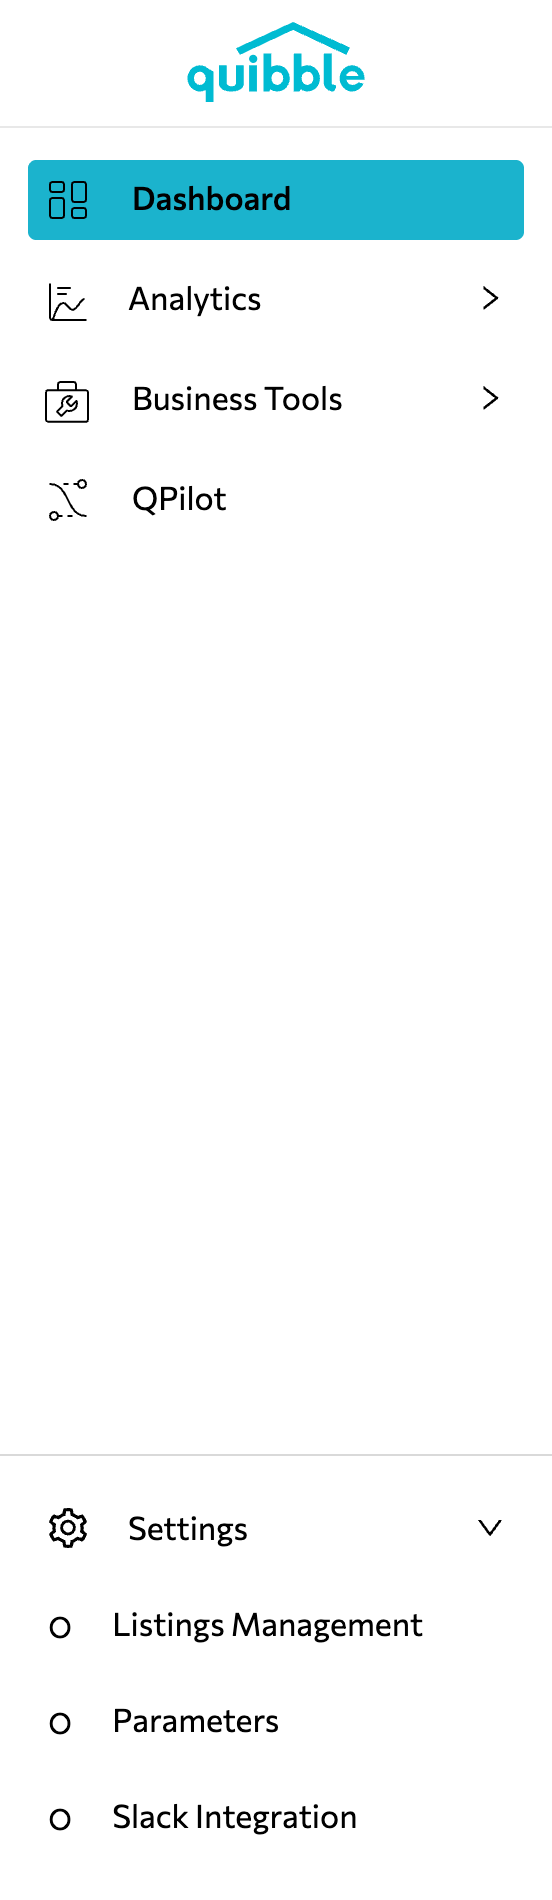
Select Settings at the bottom, then click Parameters.
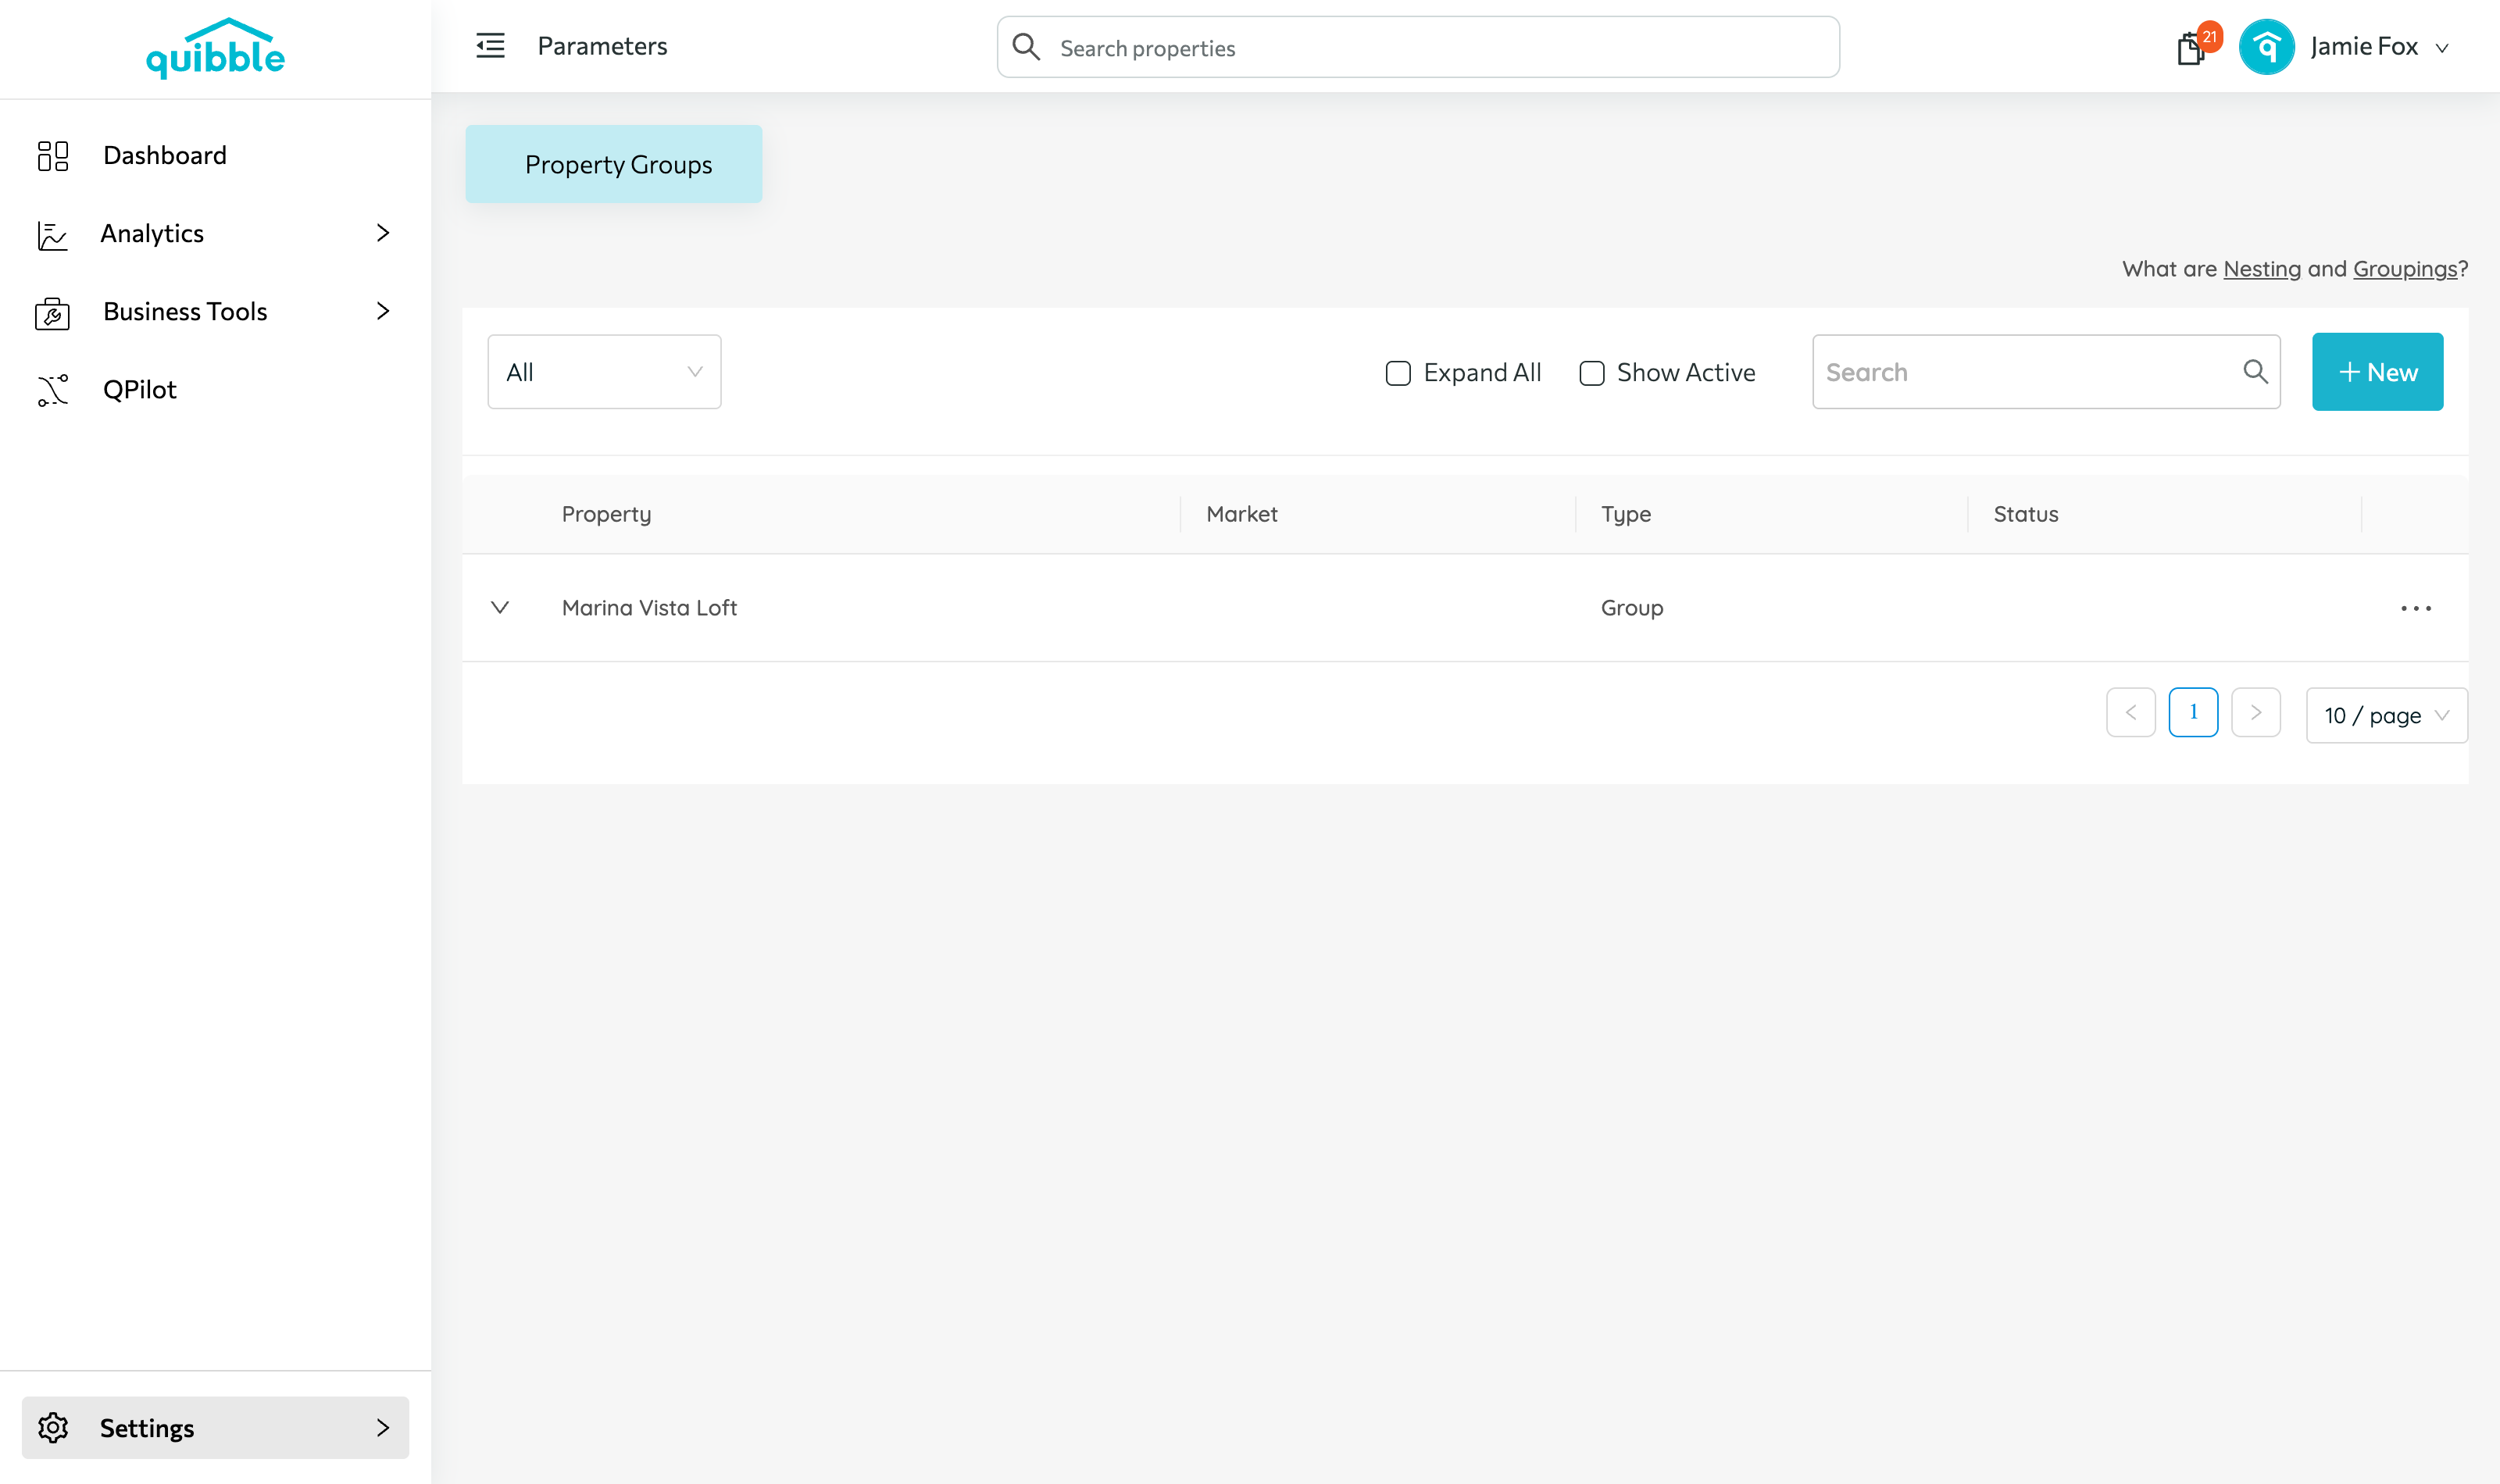
On the Parameters page, click Property Groups.
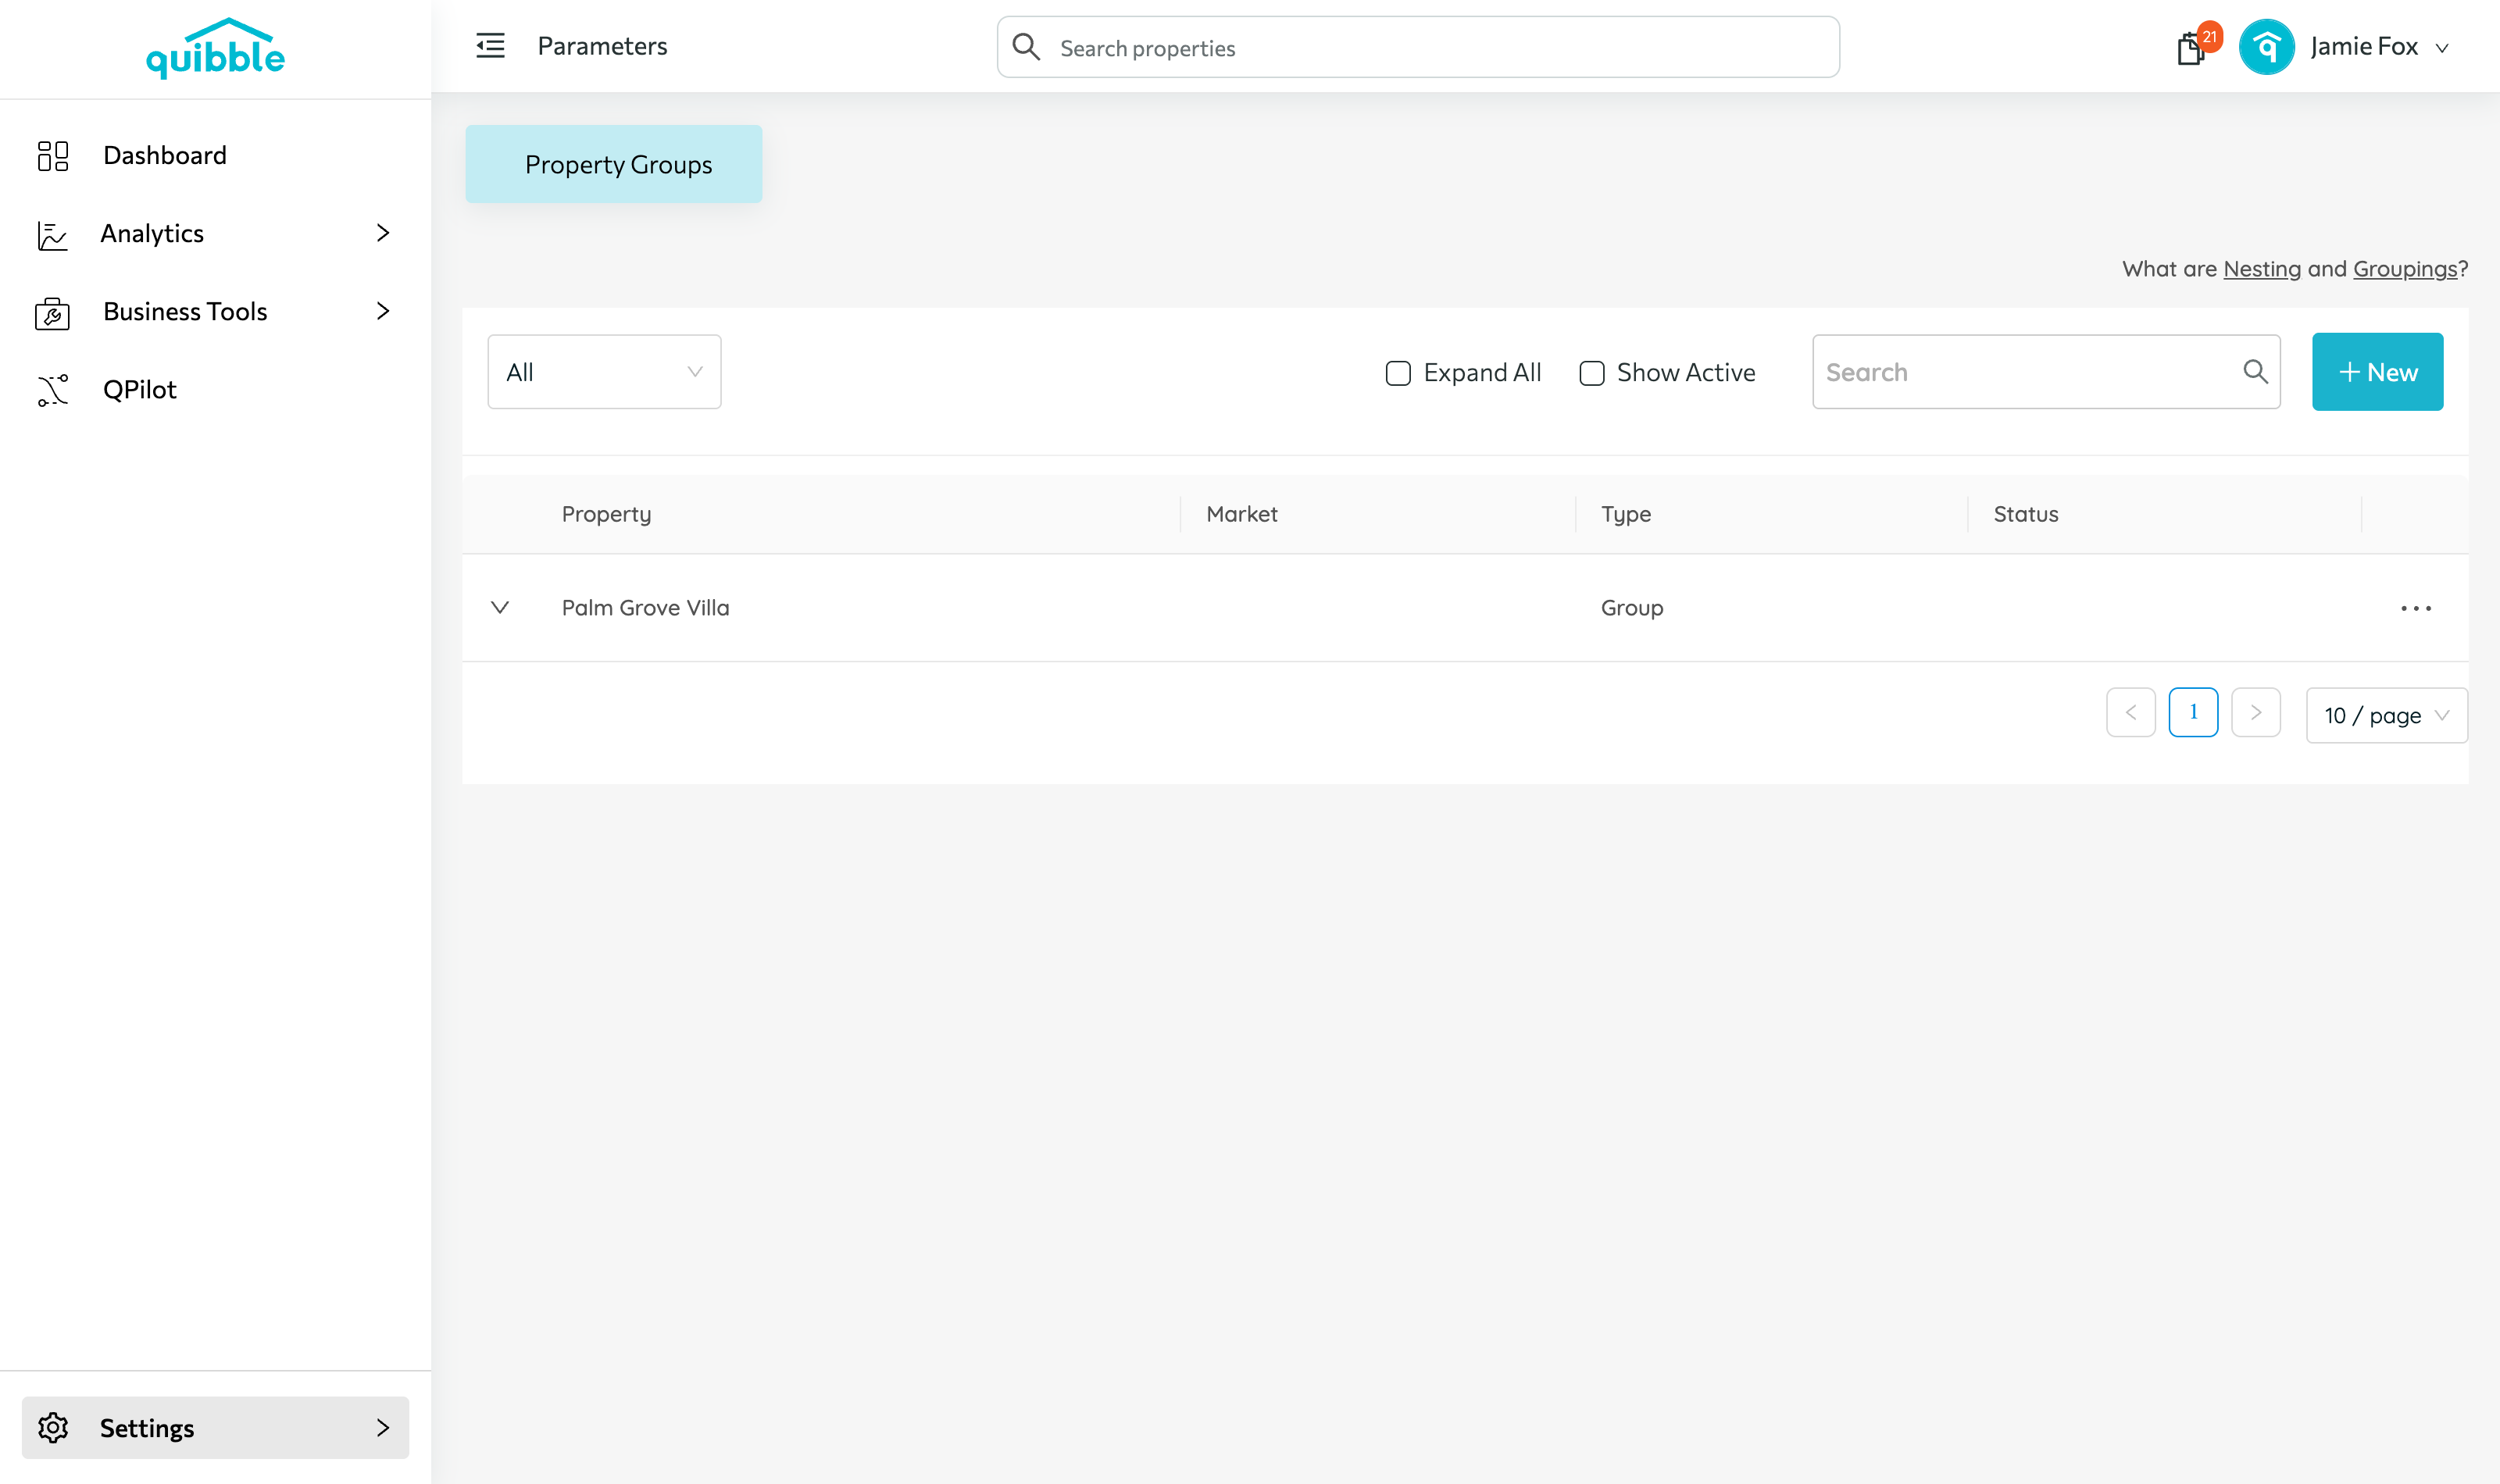
Click the NEW button on the right and select Group.
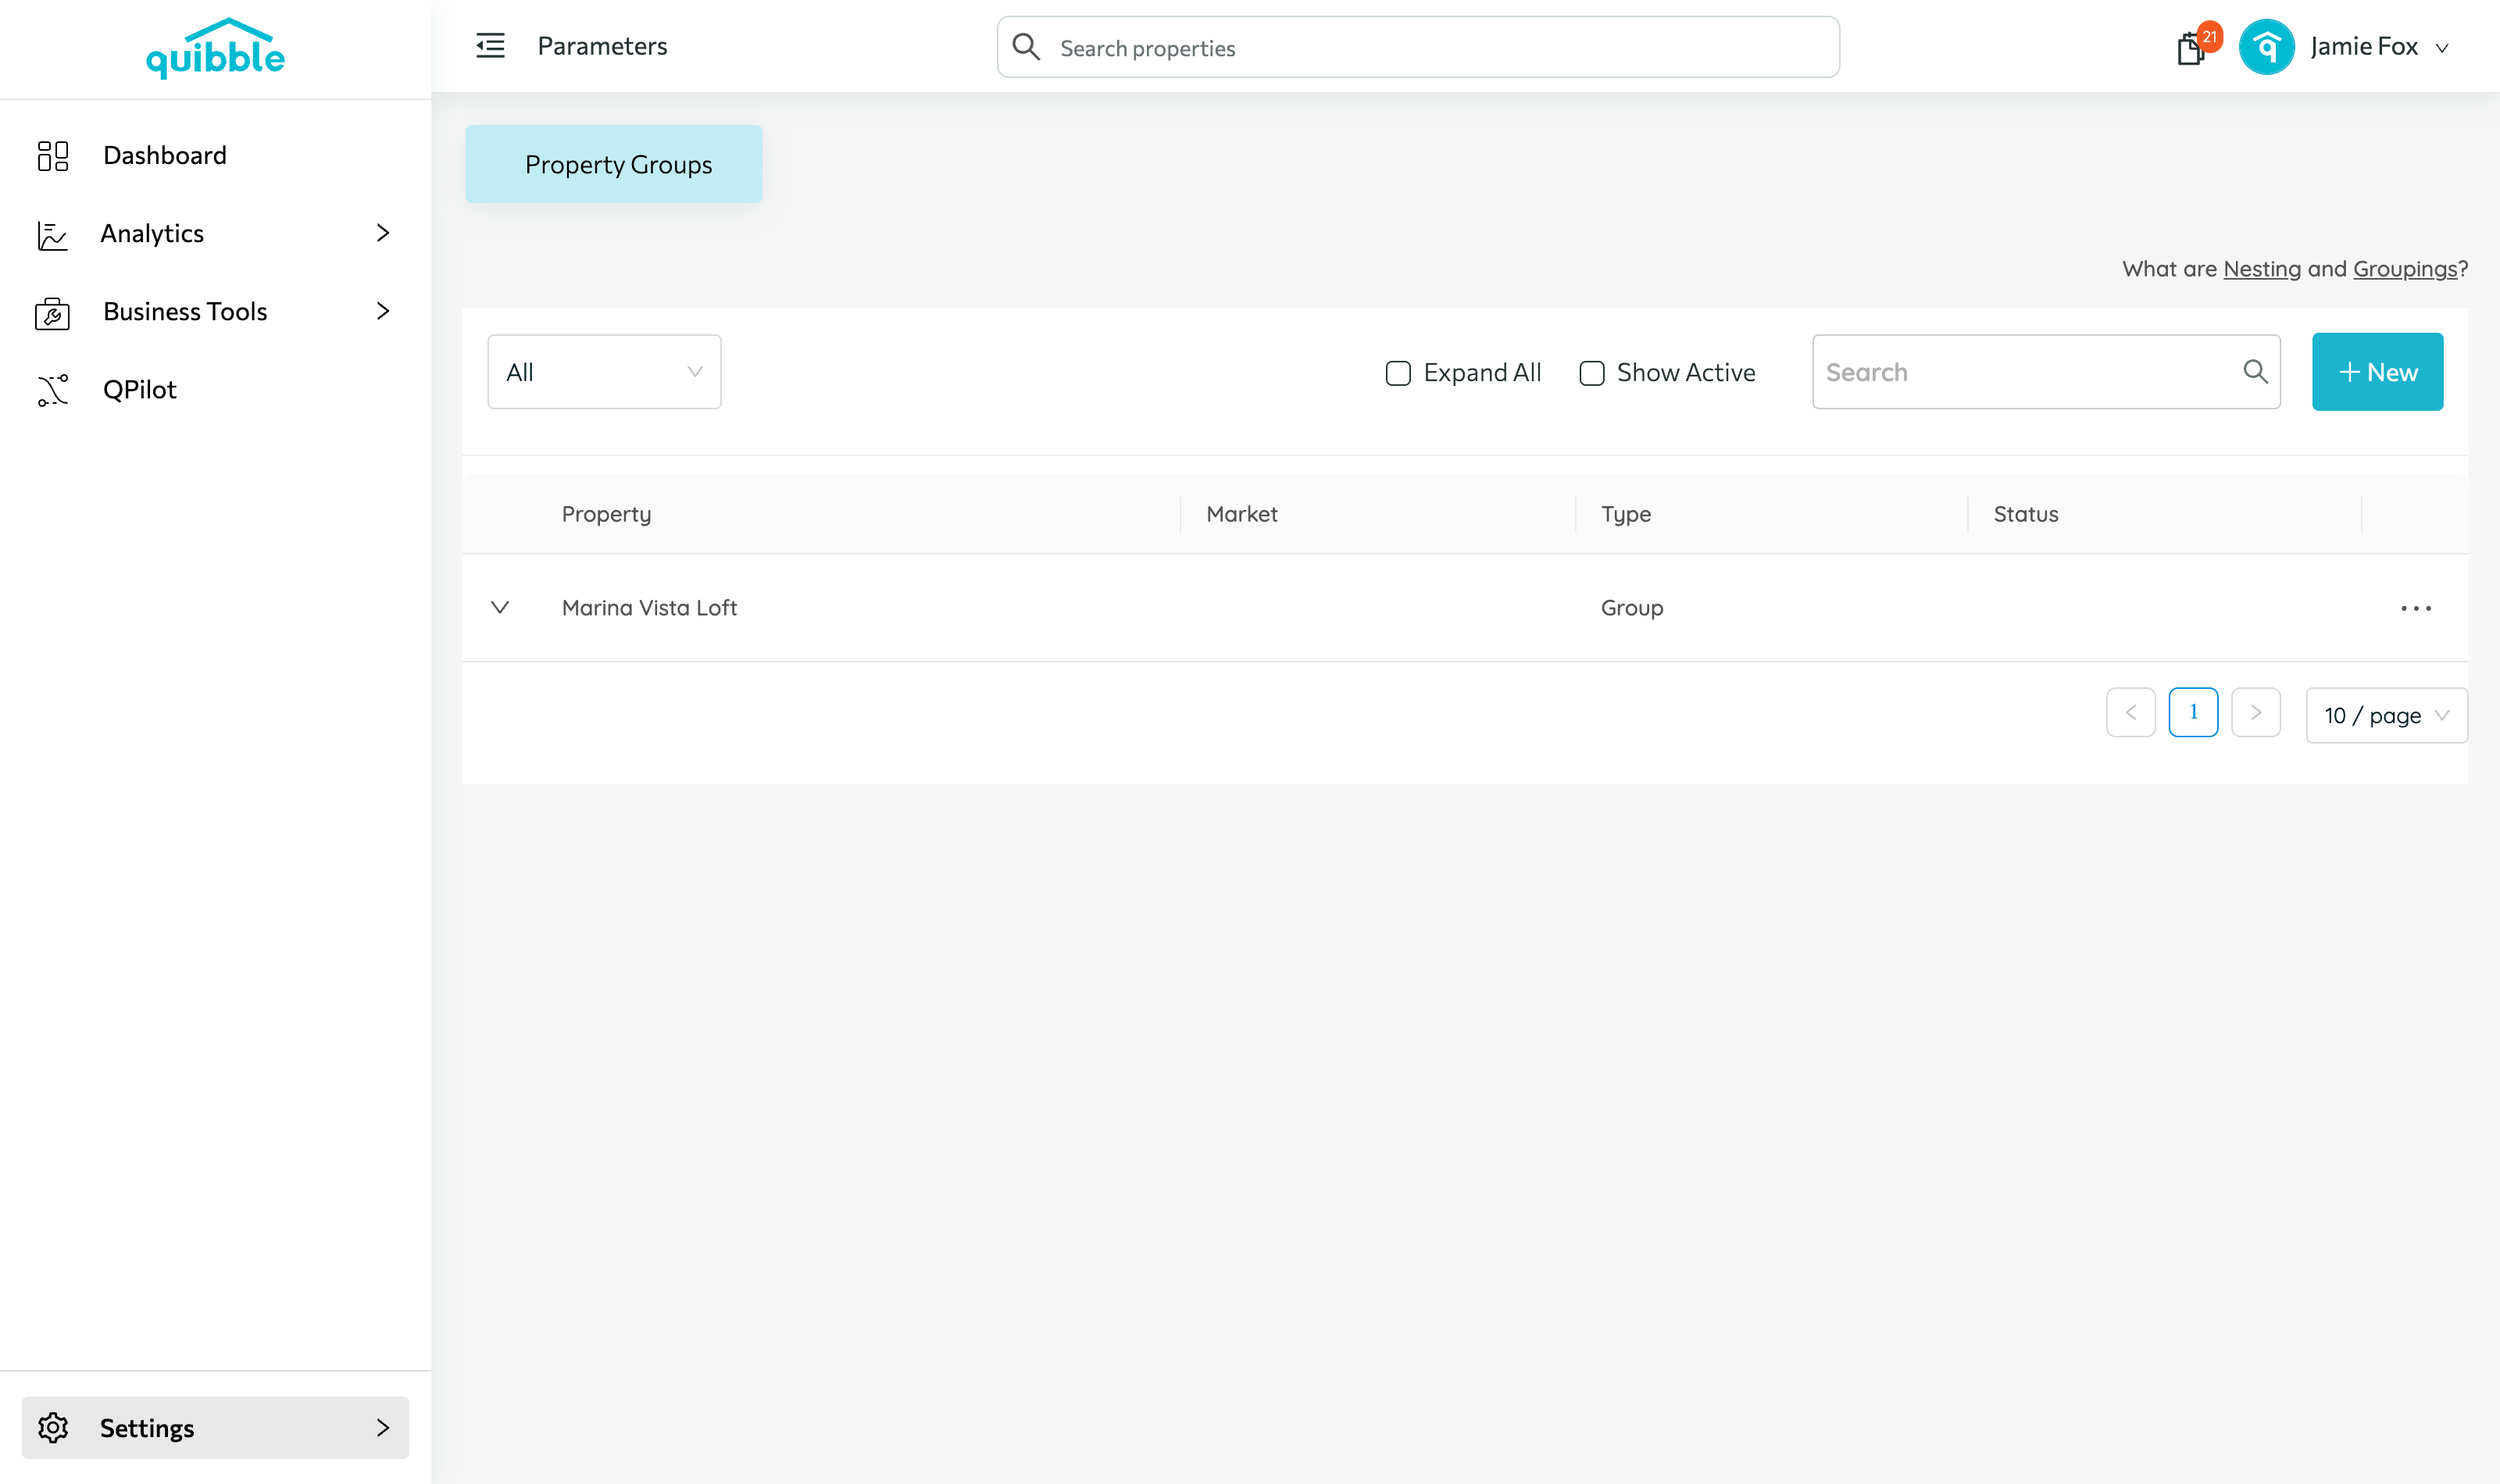
Optionally upload a group image.
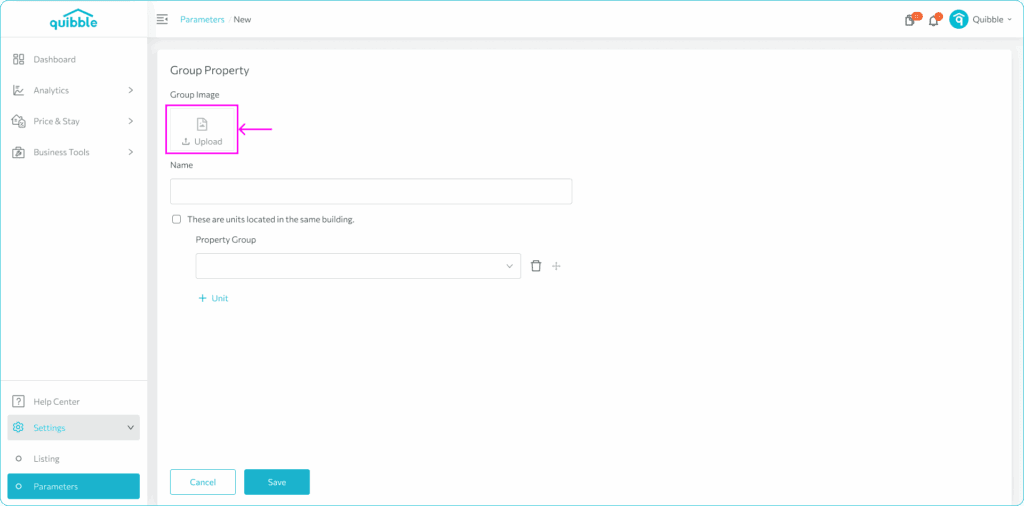
Enter a Group Name (for example, “Mountain Cabins”).
Under Child, select the properties to include, then click Save.
Updating groups
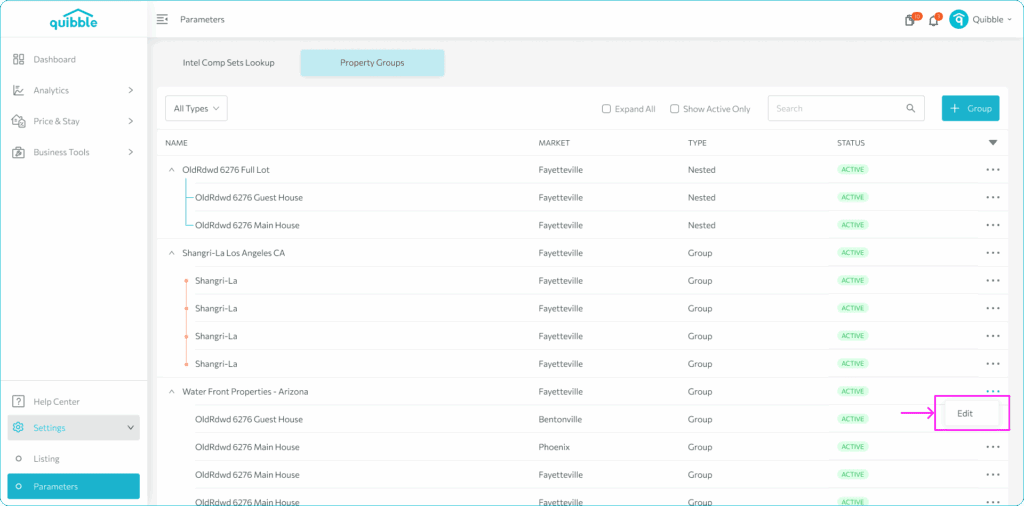
Edit: open the Group to rename it or change properties; use the plus (+) icon to add more.
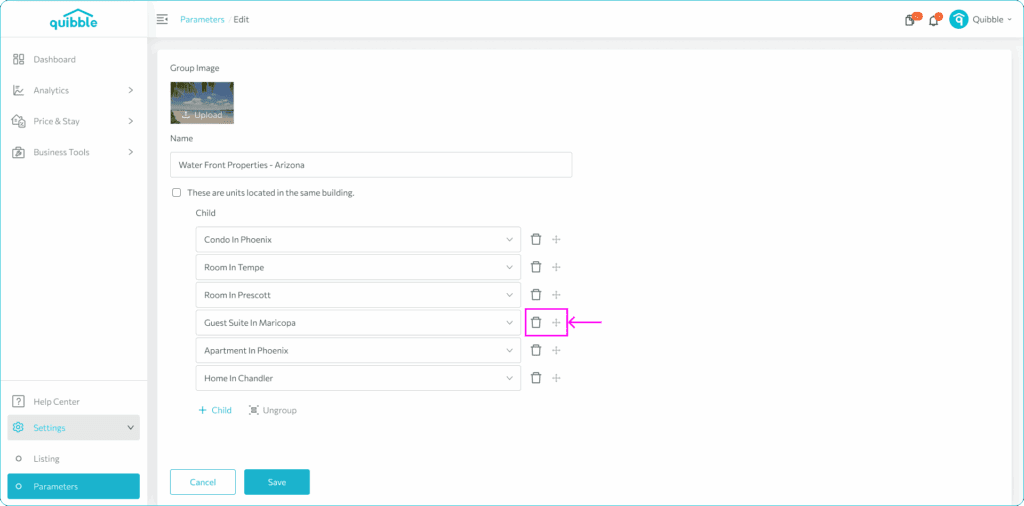
Remove a property: click the trash icon next to it.
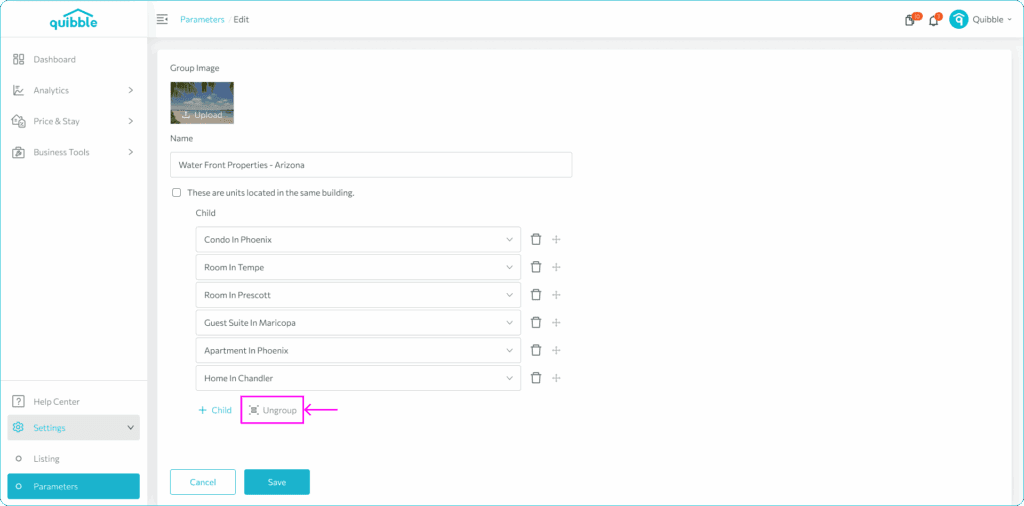
Delete a group: click Ungroup — the properties remain but lose their Group-level settings.
- Adding a property to a new Group automatically removes it from its existing one.
- Name Groups logically — by location, purpose, or pricing style.
- Keep Group sizes manageable for easier updates.
- Review Groups regularly to reflect seasonal or operational changes.