Discover how to effortlessly download detailed reports for your properties with our step-by-step guide. Tailor your view preferences and extract valuable insights by following the instructions below. This guide ensures a seamless process for accessing and customizing reports to meet your specific needs.
What’s on this page:
Downloading a Report:
1. Selecting the view.
a. Navigate to the upper right corner and access the dropdown menu.
b. In the dropdown, choose “Change View.”

c. Choose your preferred view from the three choices below:
-
-
- Revenue Manager
- Check-In Date
- Check-Out Date
-
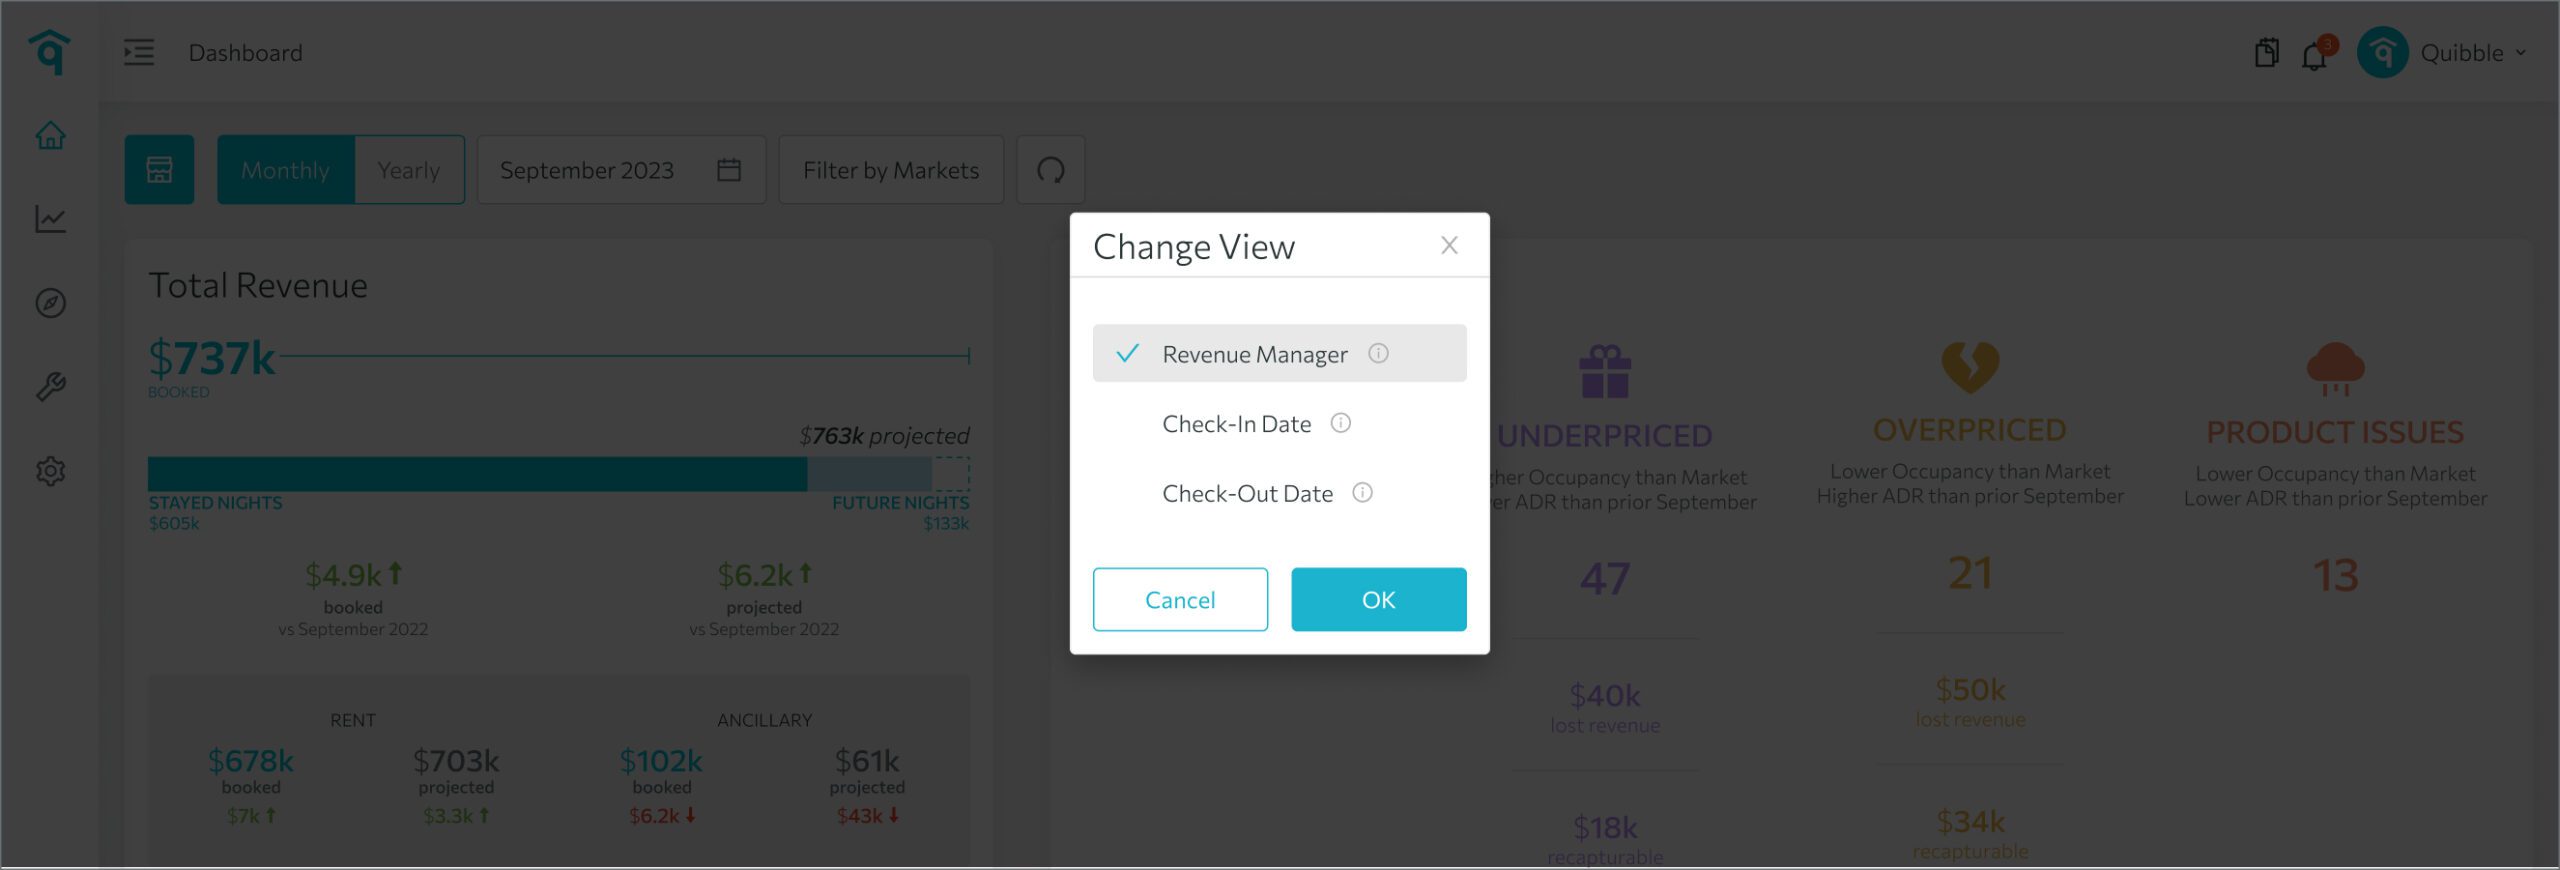
d. Confirm your choice by clicking “OK.”
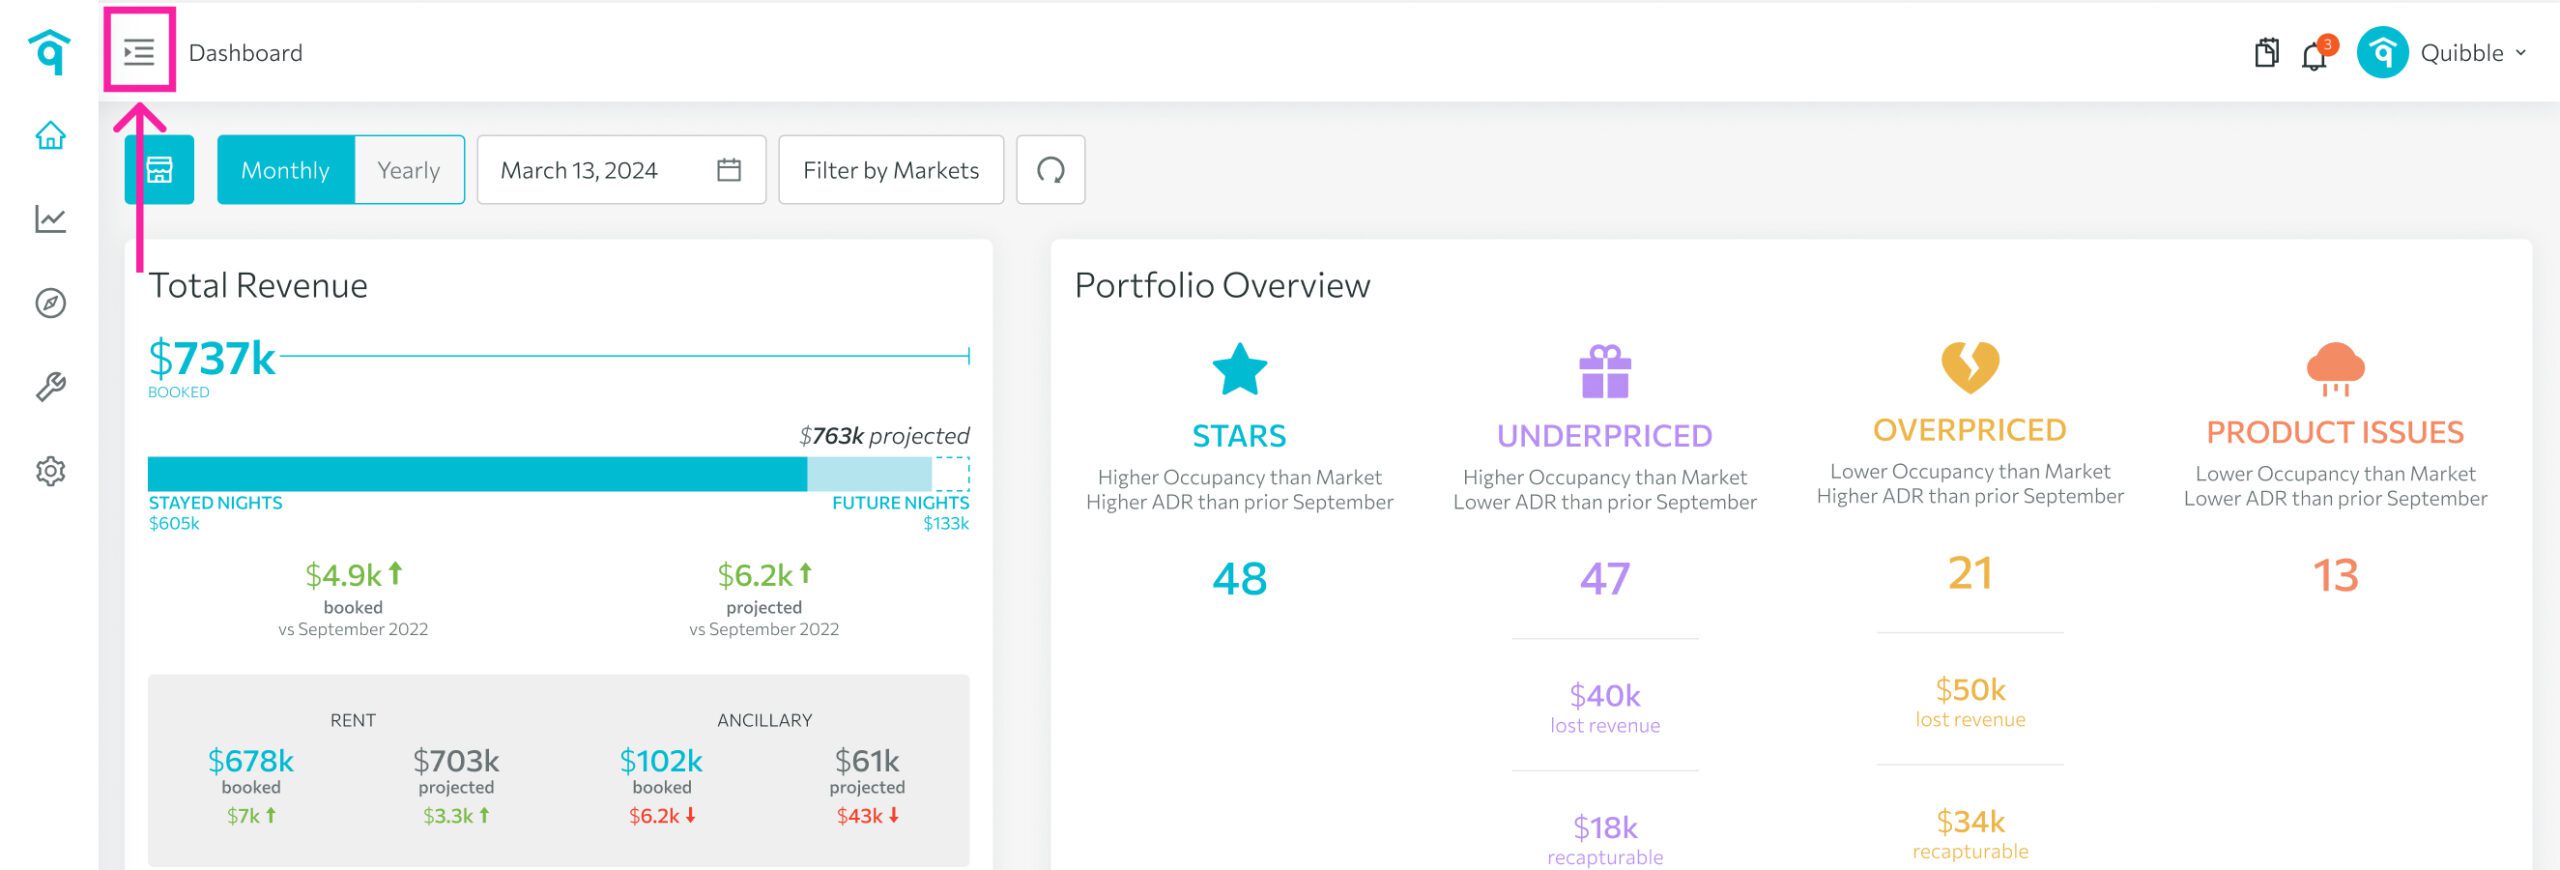
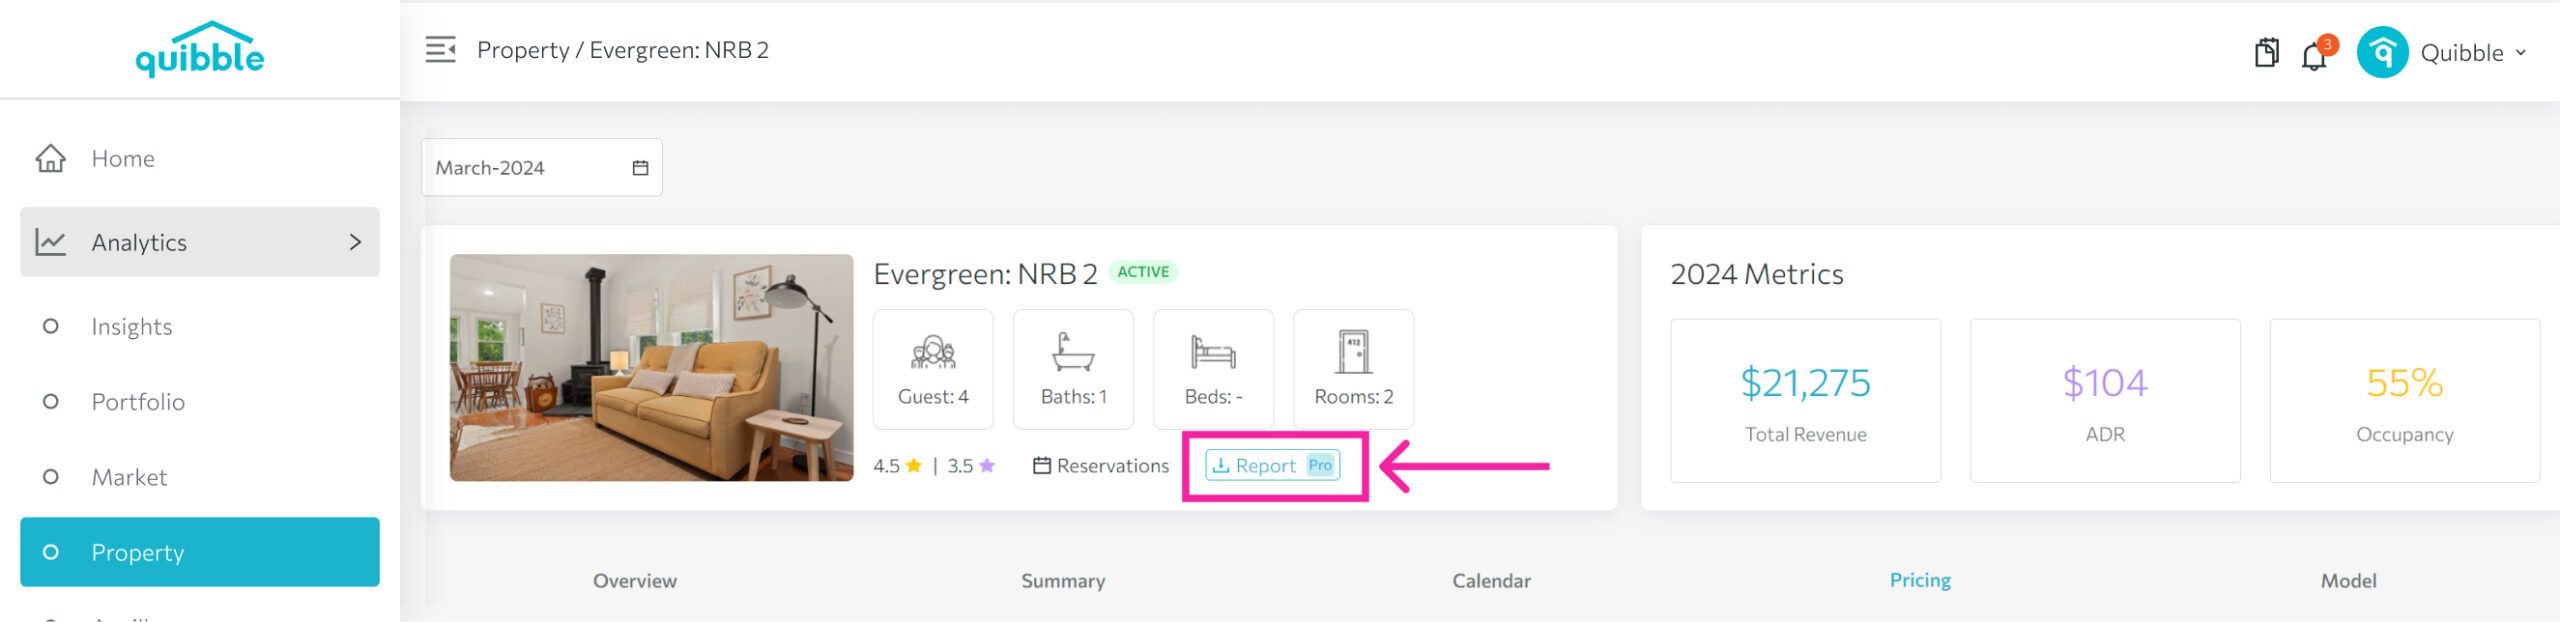
2. Go to the left-side menu bar.
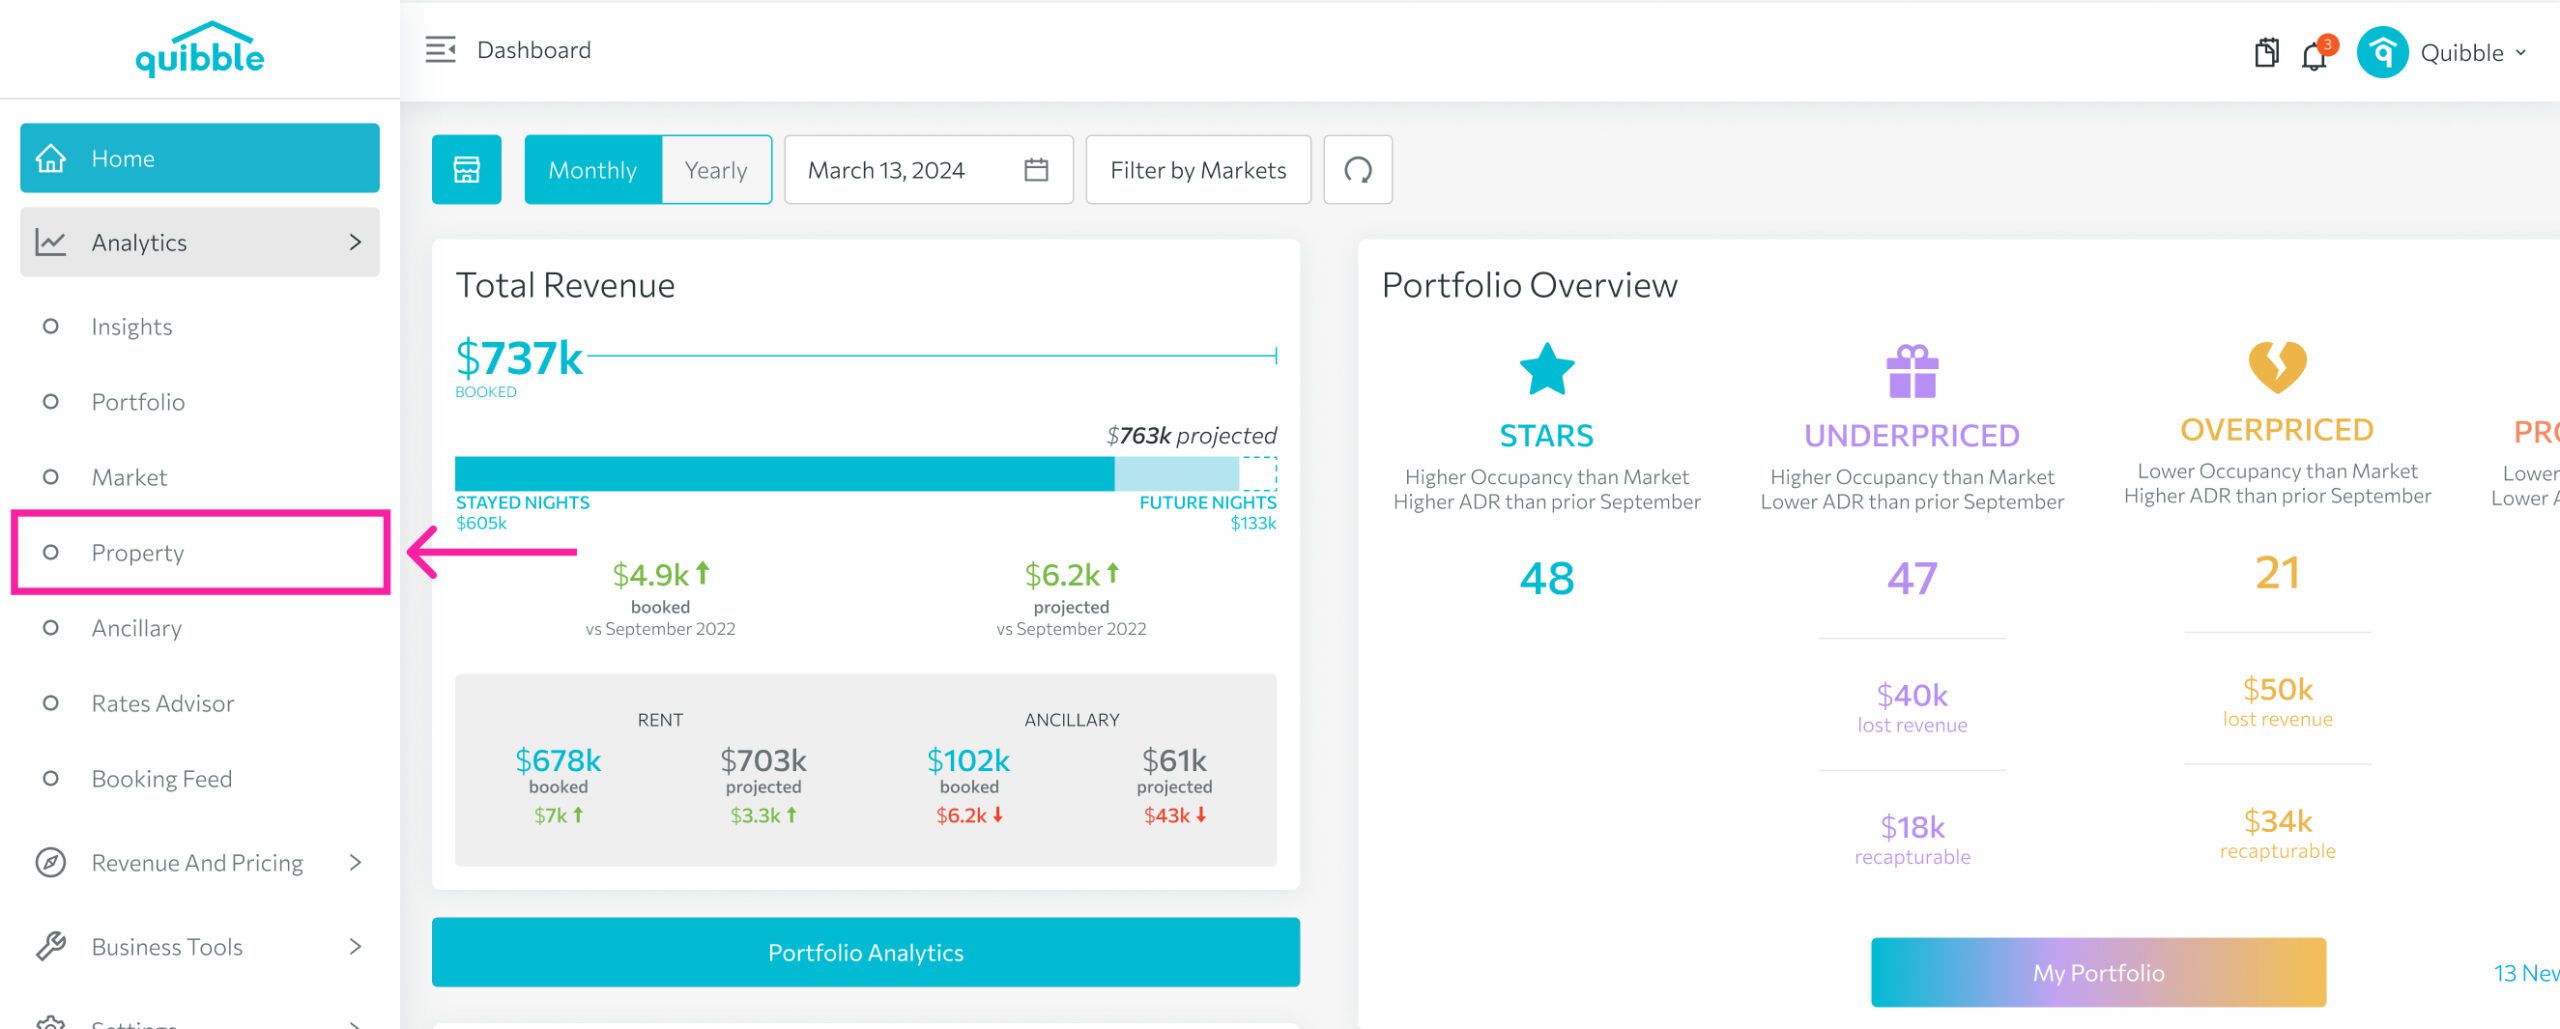
3. Click on the “Analytics” dropdown.

4. Choose “Property.”
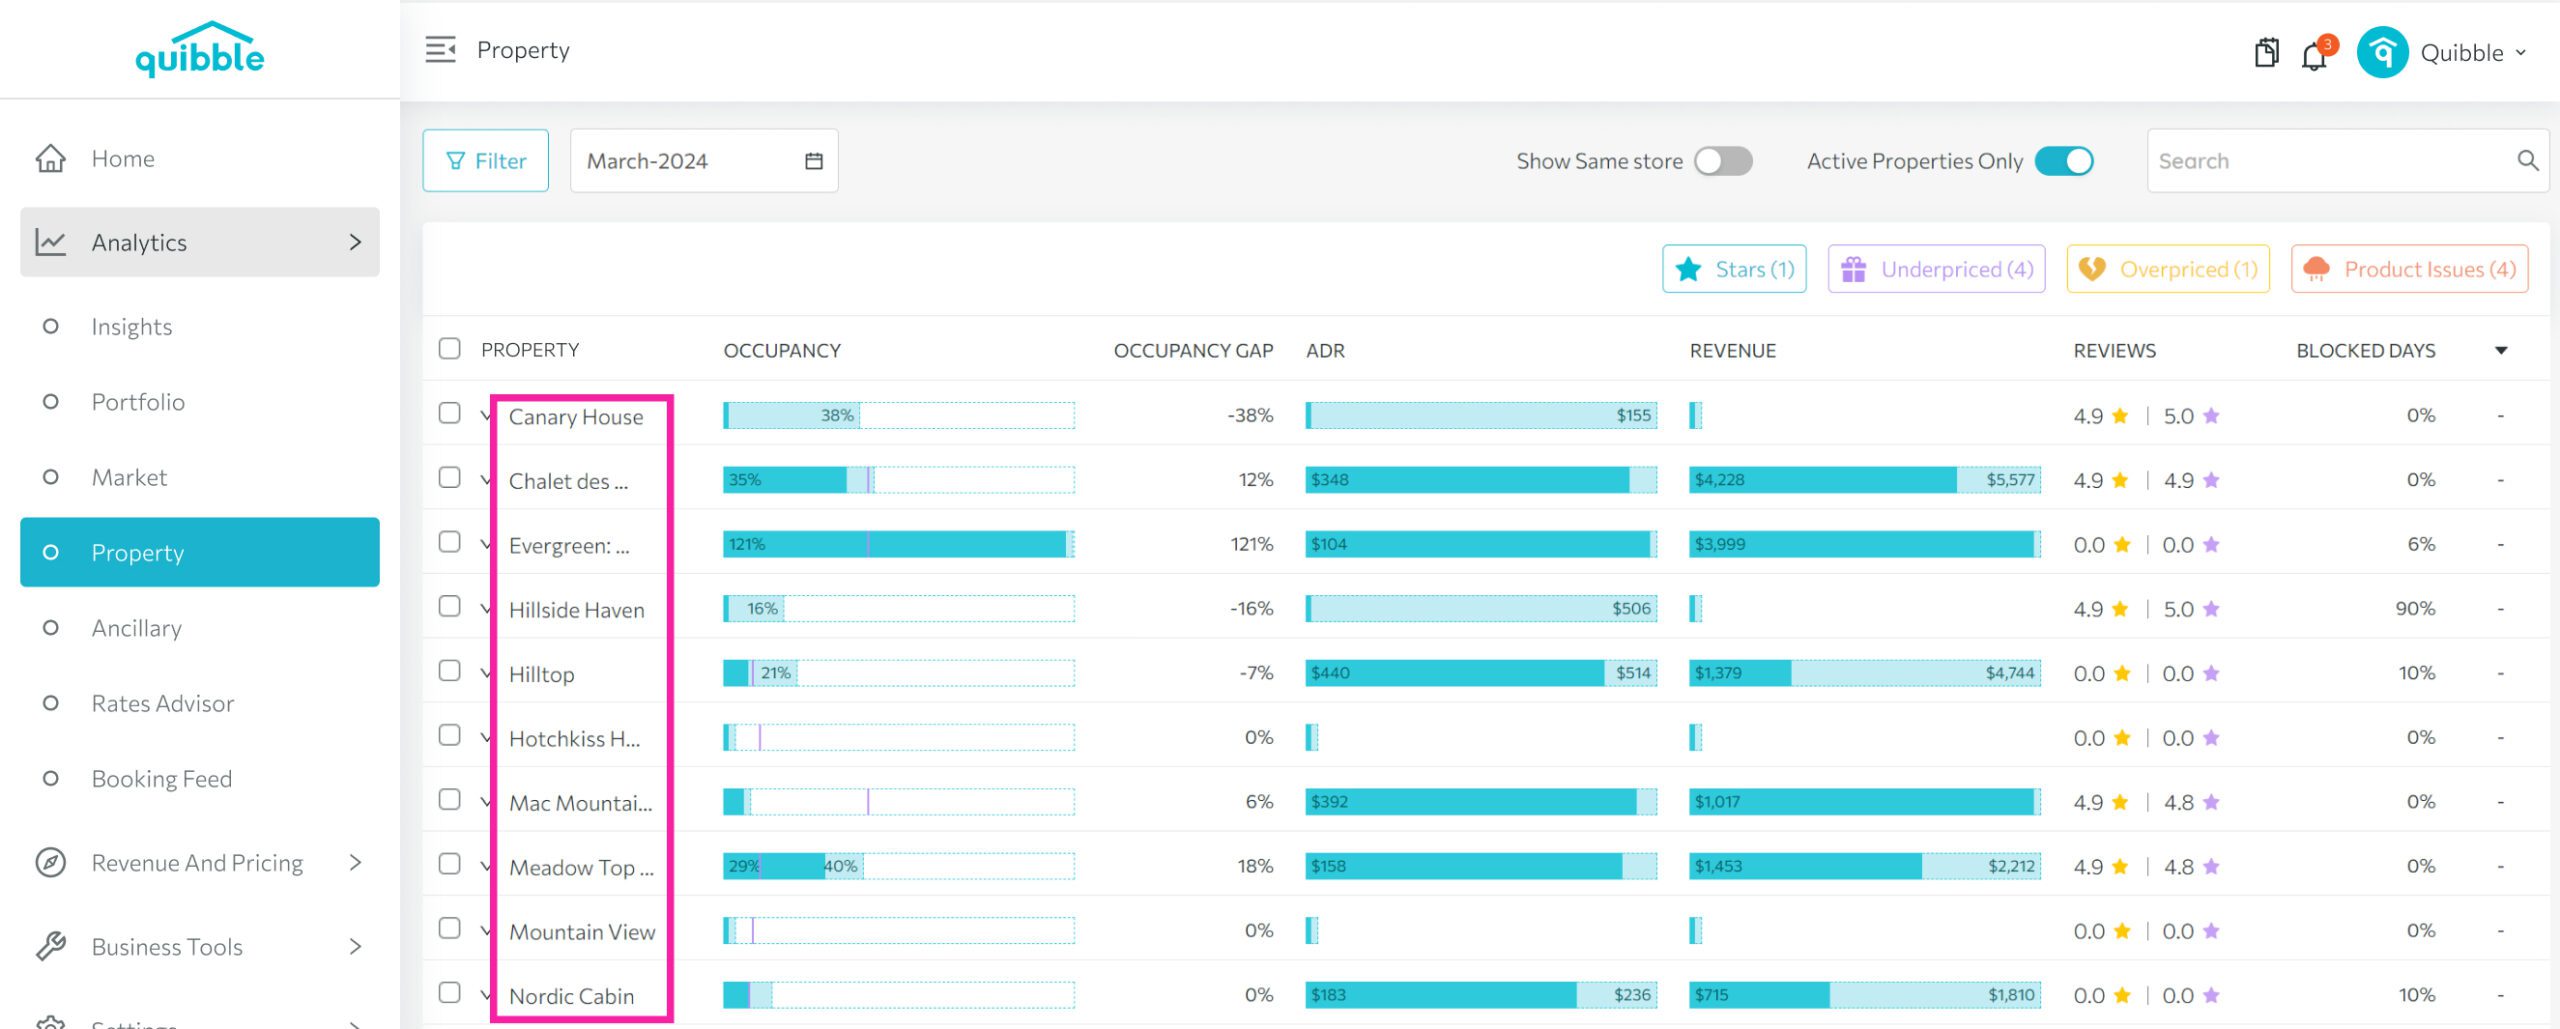
5. Click the specific property for the report.
6. Click “Report.”
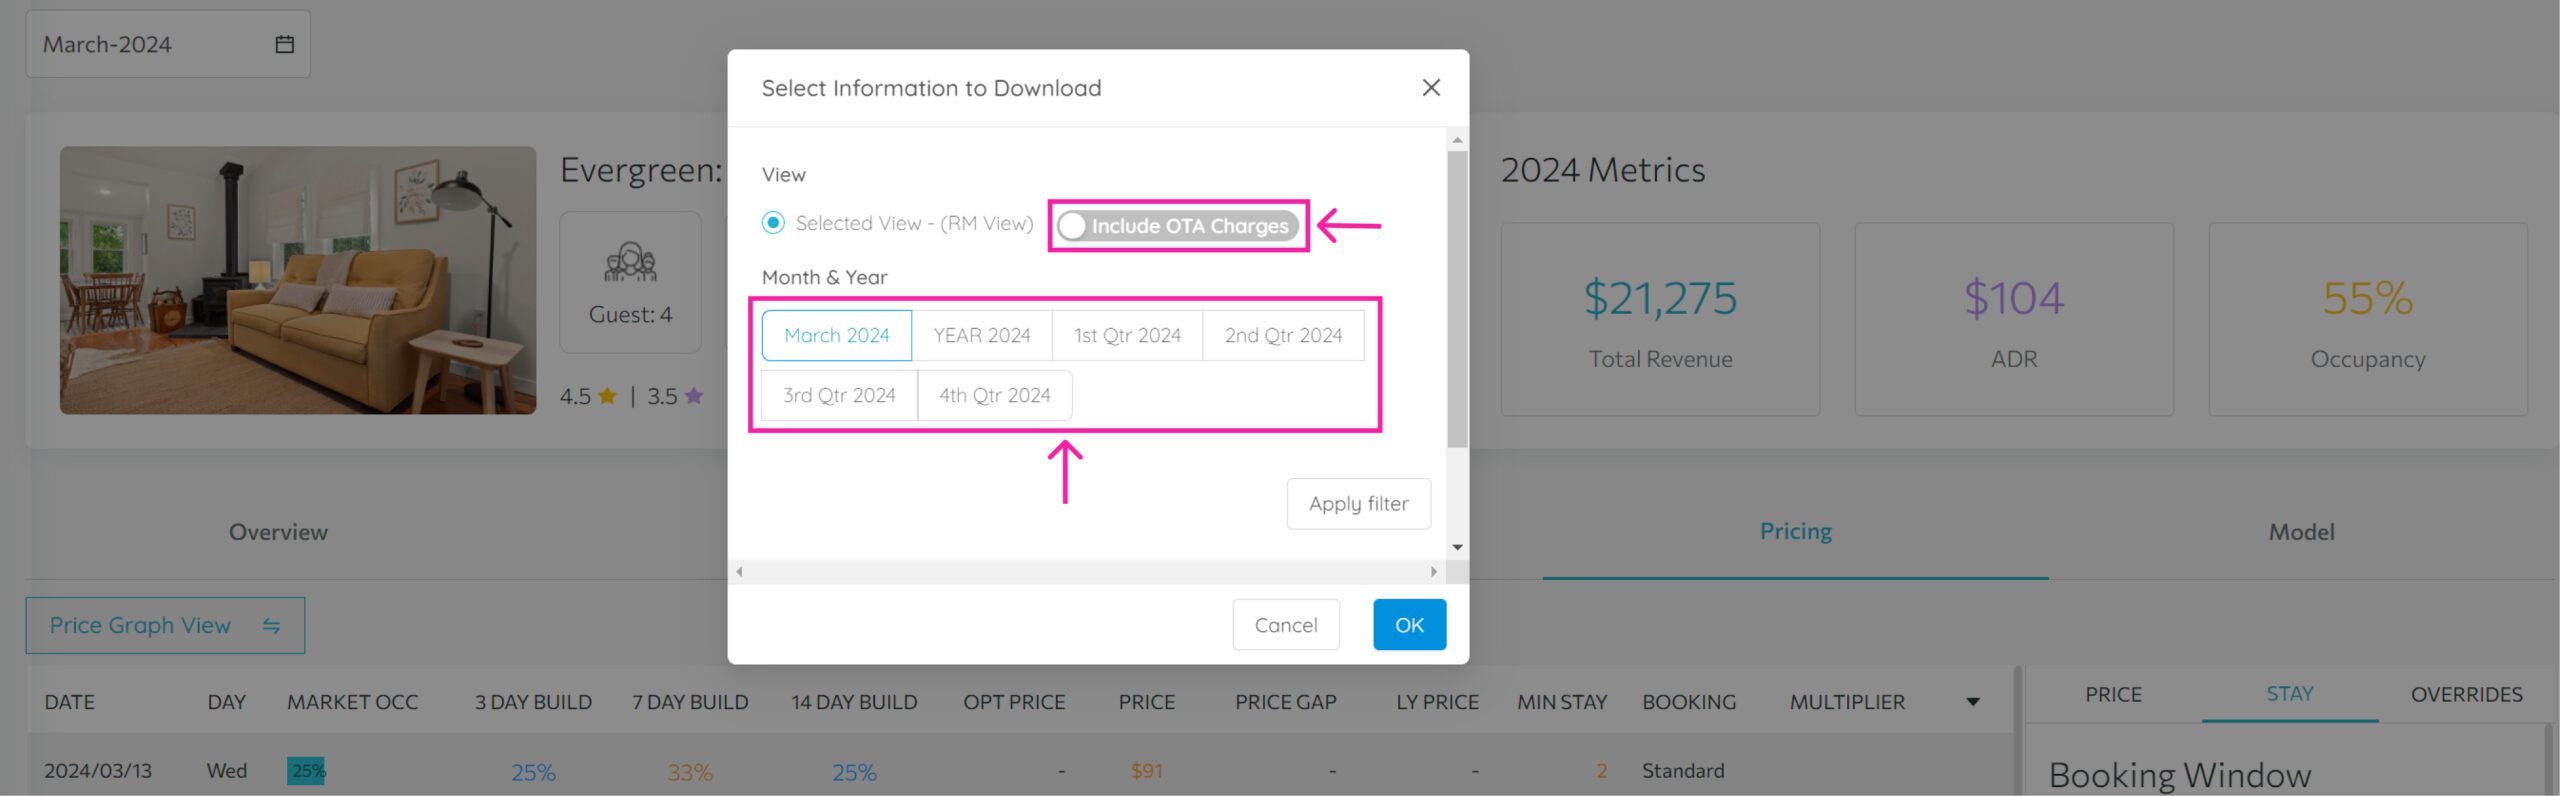
7. Toggle on “Include OTA Charges” if necessary, then select the desired time frame: month, quarter, or year.
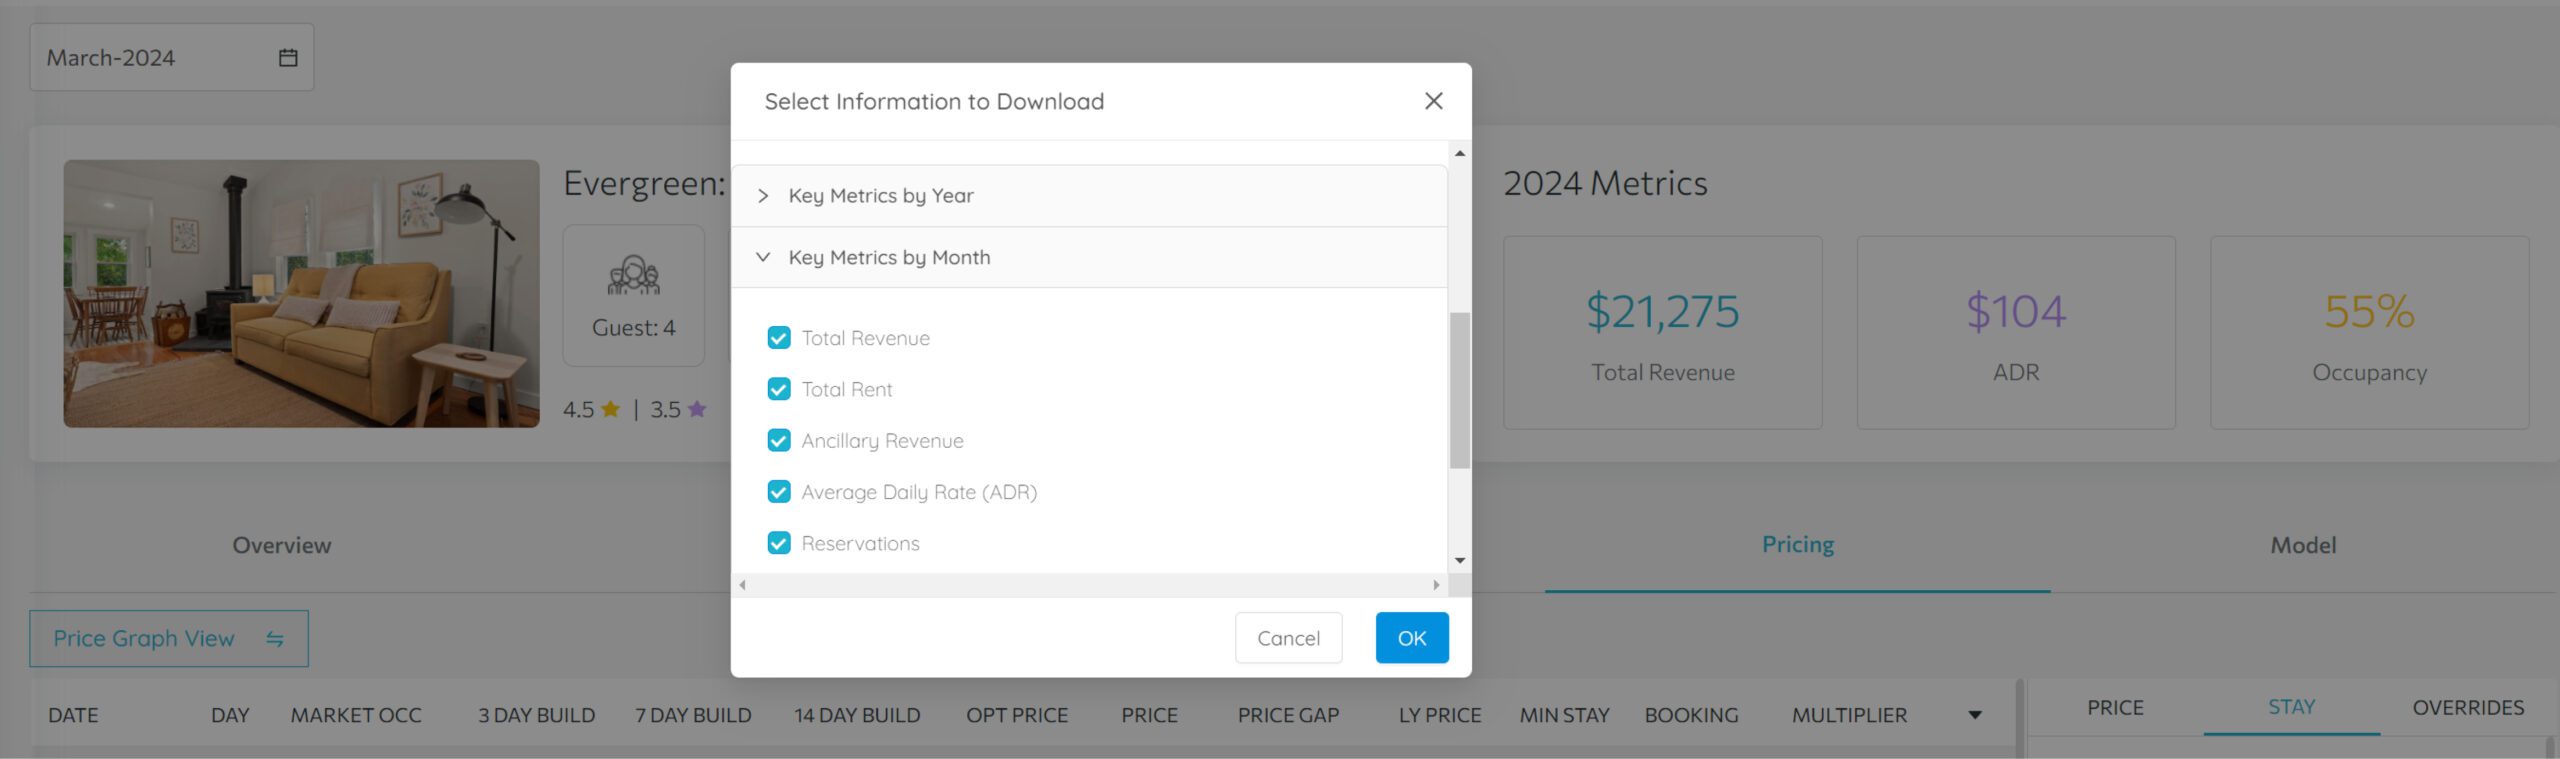
8. Click on the “Key Metrics by Year” or “Key Metrics by Month” dropdown to select or deselect metrics.
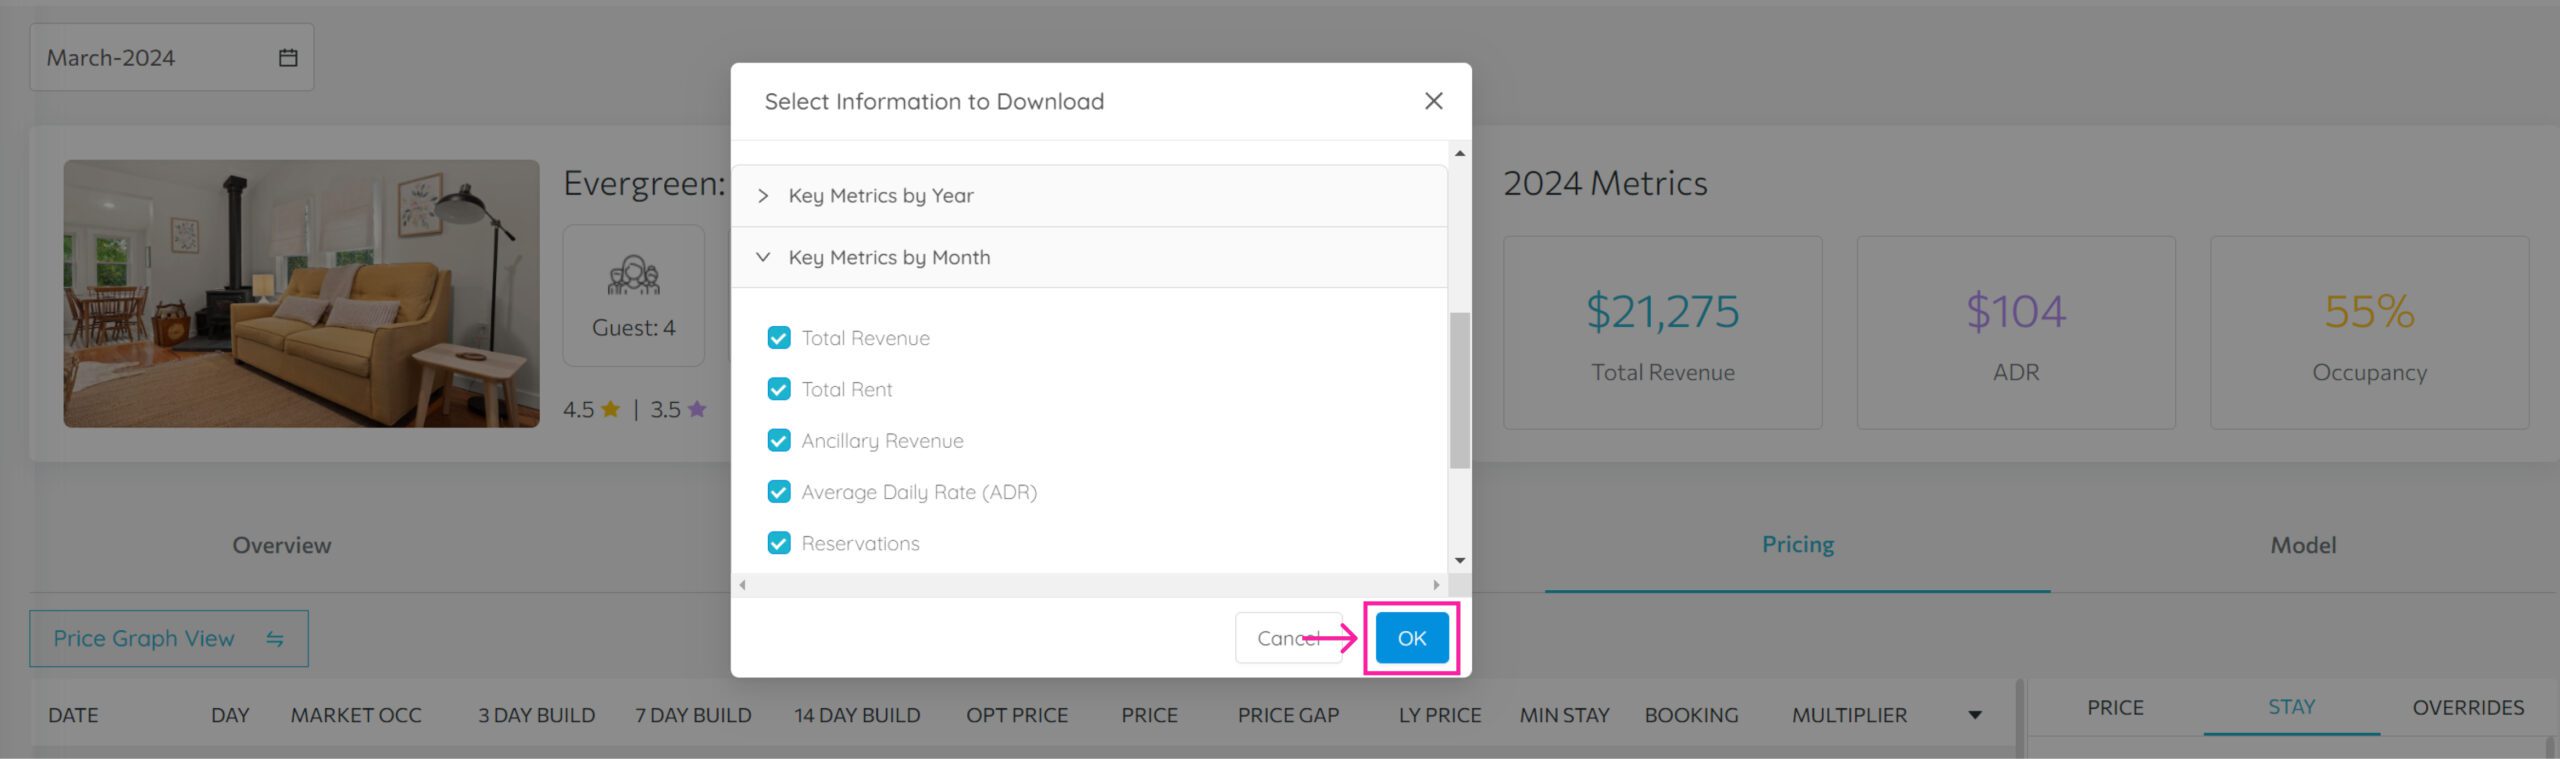
9. Finally, click “OK.” The report will be downloaded as a PDF to your computer.
Congratulations on successfully downloading your property report! If you have additional questions or need further assistance in exploring this feature, watch our Youtube video below or feel free to reach out to our support team.
Download Report Video