Add the website tag to your booking site
The tag reads demand from your own traffic: which listings people view, and which dates they search. It captures trip details only — dates, party size, device, country — never names, emails, IP addresses, or anything that identifies a visitor, so adding it does not change what your site collects about guests.
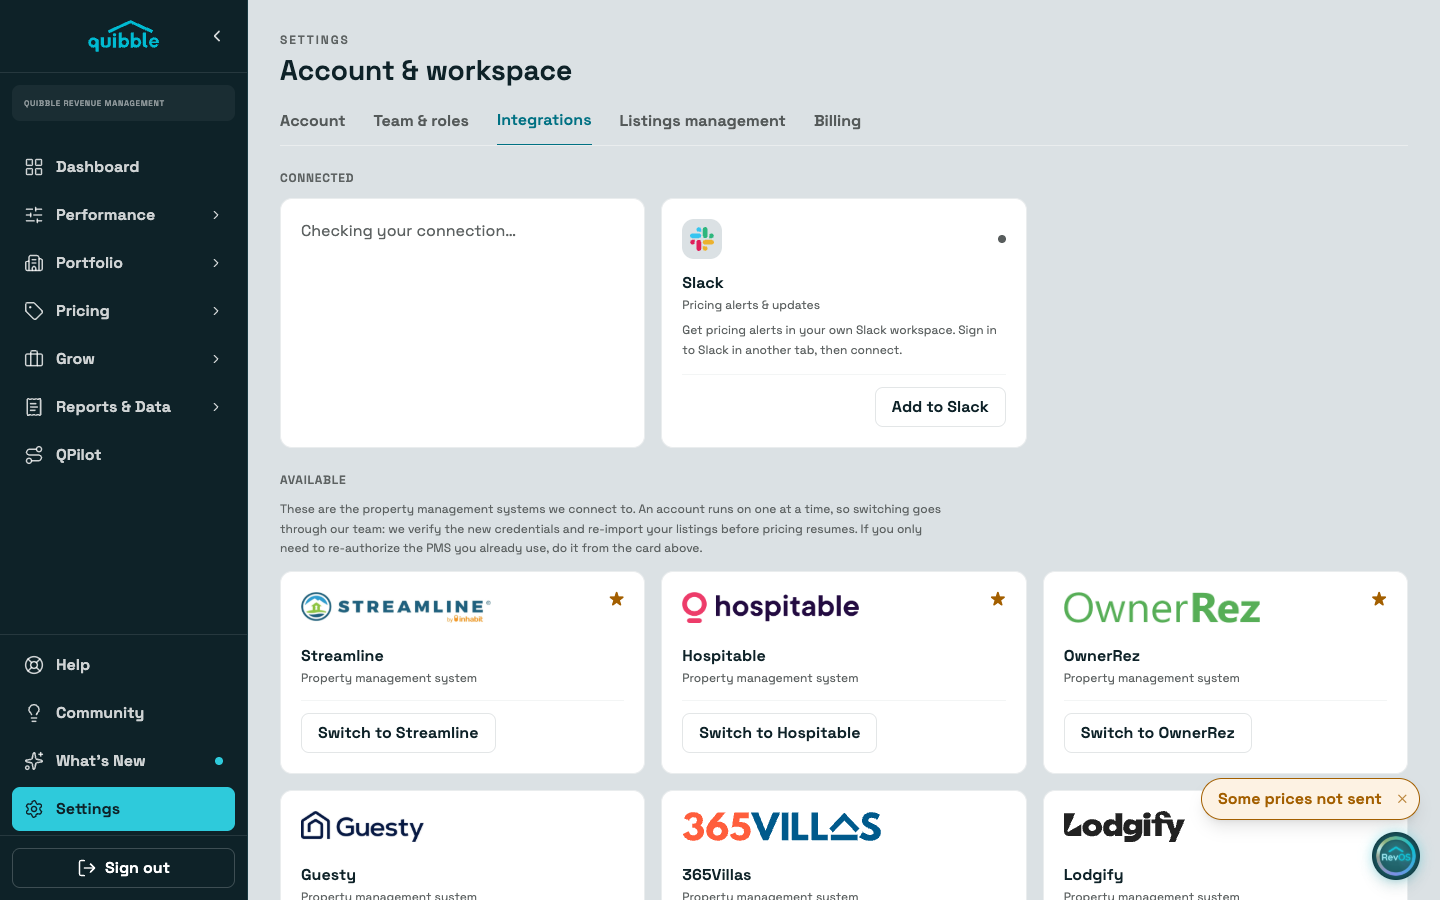
Open Settings, go to the Integrations tab, and find the Website tag card. Your site key and the ready-to-paste snippet are there.
Copy the listing-page snippet and paste it into the <head> of your listing page template, filling data-listing with your site's template variable for the listing's ID in your PMS.
On your search results page, use the data-listings (plural) variant instead, with the IDs of the properties the search returned, comma-separated.
On checkout and booking-confirmation pages, add data-event="checkout" or data-event="booked" — views versus bookings per date is the strongest signal the tag can send.
Make sure check-in and check-out ride in the page URL when a visitor picks dates (for example ?checkin=2026-09-12&checkout=2026-09-15). The tag picks up any ISO dates in the URL, whatever the parameters are called.
Browse your own site once with dates picked, then check the Website tag card: the status flips to "Receiving data" when the first events land.
Searches without dates count as traffic, not demand — the tag still works, but dated searches are what sharpen pricing. If you rotate your site key, the installed tag stops sending until you update the snippet.