
How to connect Escapia
An official Escapia integration, available on the Escapia marketplace.
How to connect Escapia
- 1
Reach out to both teams to enable the right permissions
Email us at [email protected] and also contact your Escapia support team. We’ll relay exactly which Escapia permissions are needed, and Escapia enables them on your account for a full, end-to-end connection.
- 2
Enable the integration in Escapia
With those permissions in place — and your Escapia Property Manager ID — we connect through the official Escapia integration.
- 3
We import and optimize
Quibble imports your listings, reservation history, rates, and calendar availability via the Escapia API and begins optimizing your pricing.
Have your Property Manager ID?
- 4
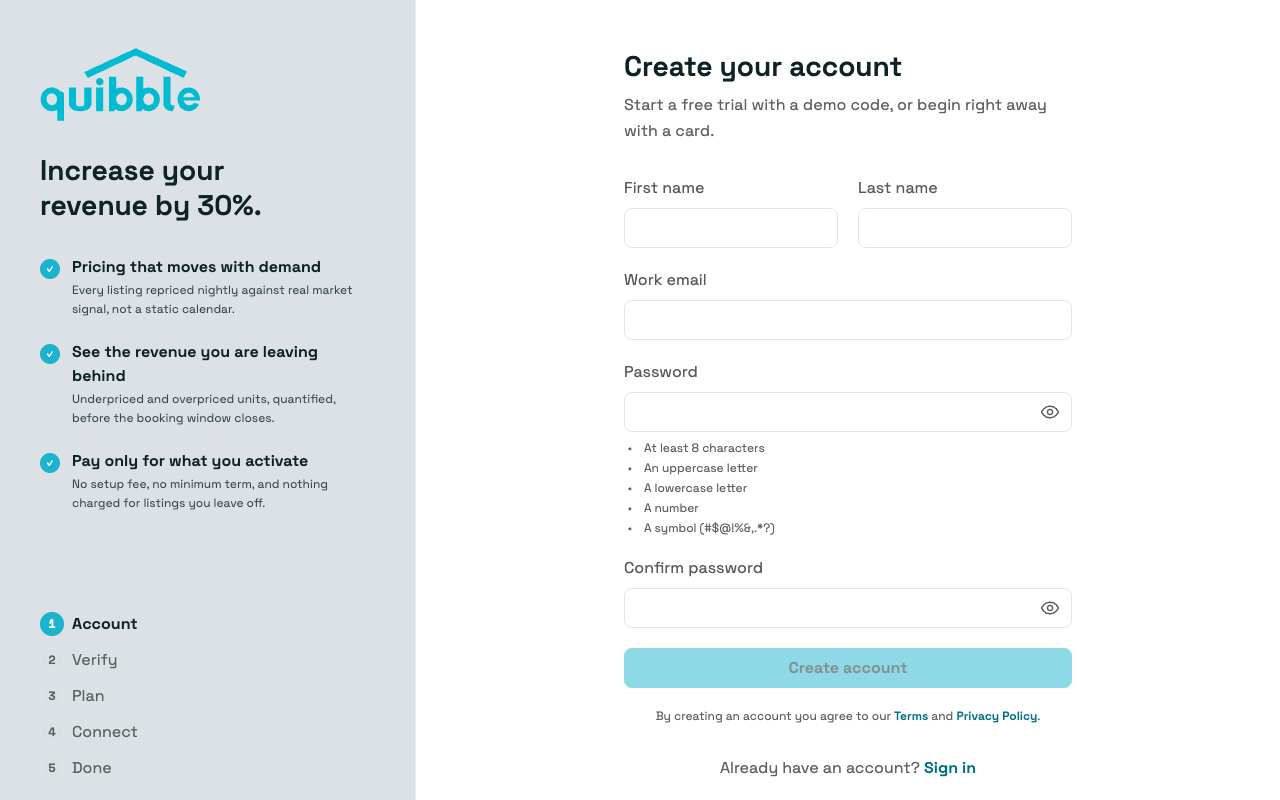
Create your Quibble account
Head to the Quibble sign-up page and create your account with your name, email and a password.
- 5
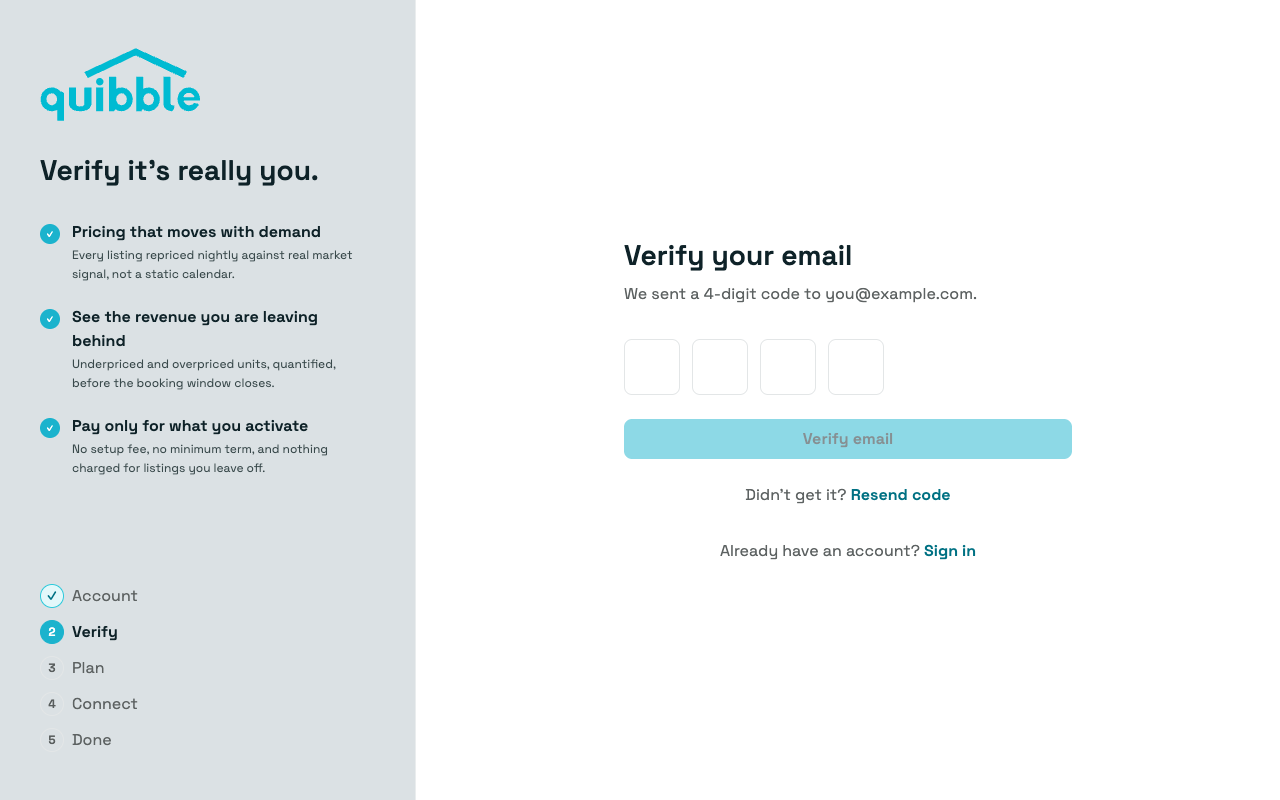
Verify your email
Enter the 4-digit code we email you. Didn’t get it? Resend code sends another.
- 6
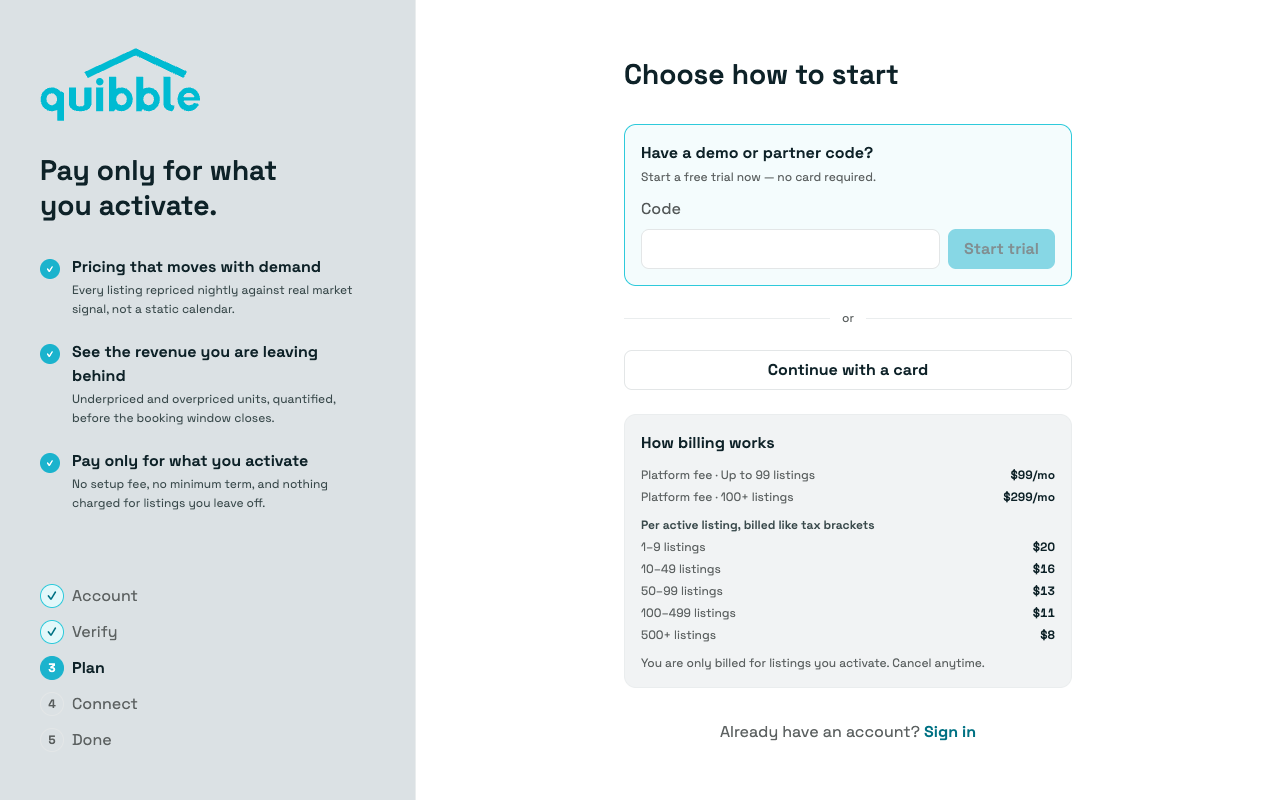
Choose how to start
Start the 14-day trial with the code from your sales meeting, or continue with a card. Per-listing pricing is shown on this step; nothing is charged for listings you leave off.
- 7
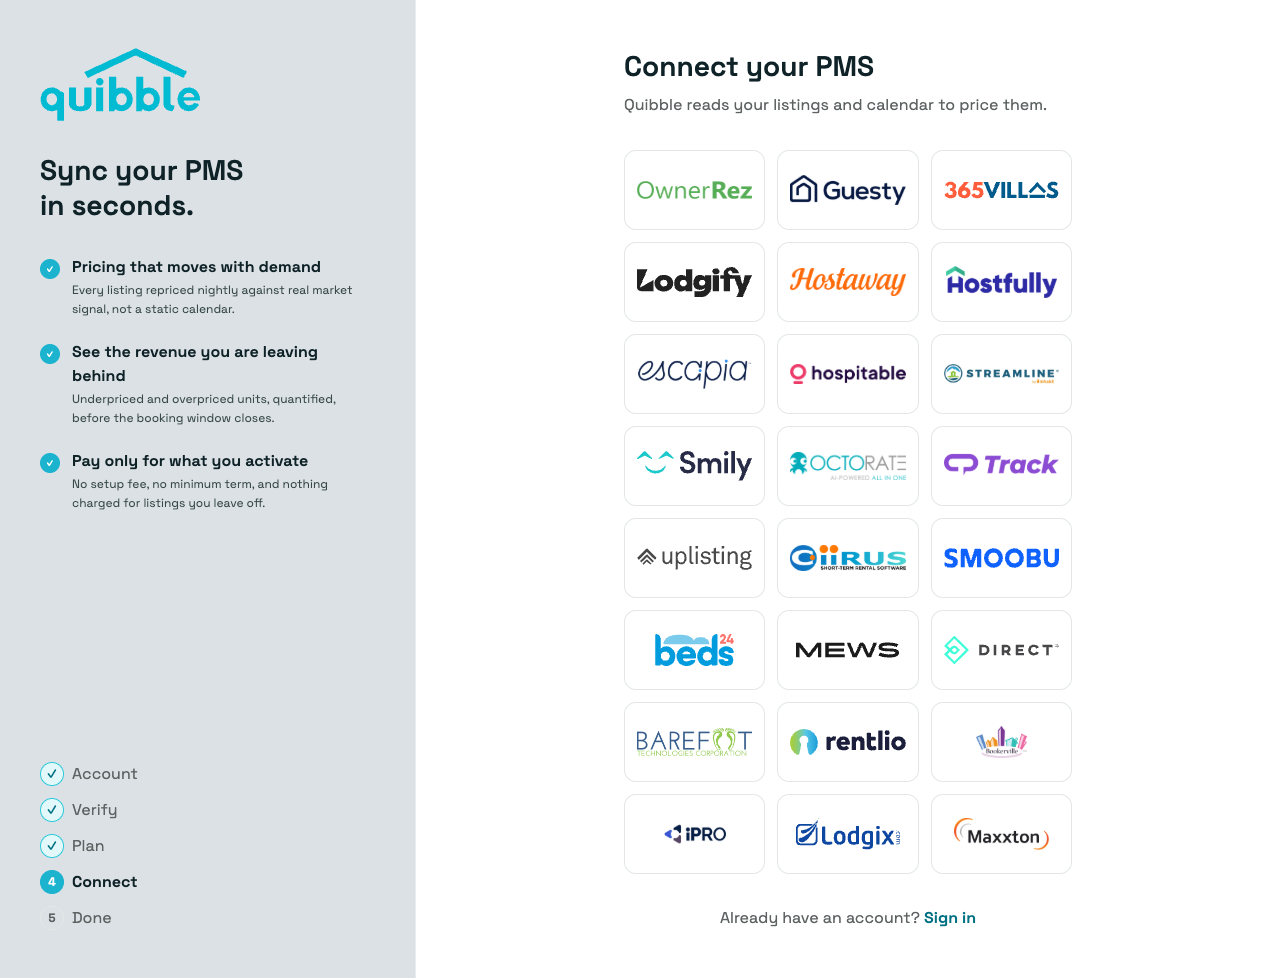
Pick Escapia
On the Connect step, choose Escapia from the grid of property management systems.
- 8
Enter your Escapia credentials
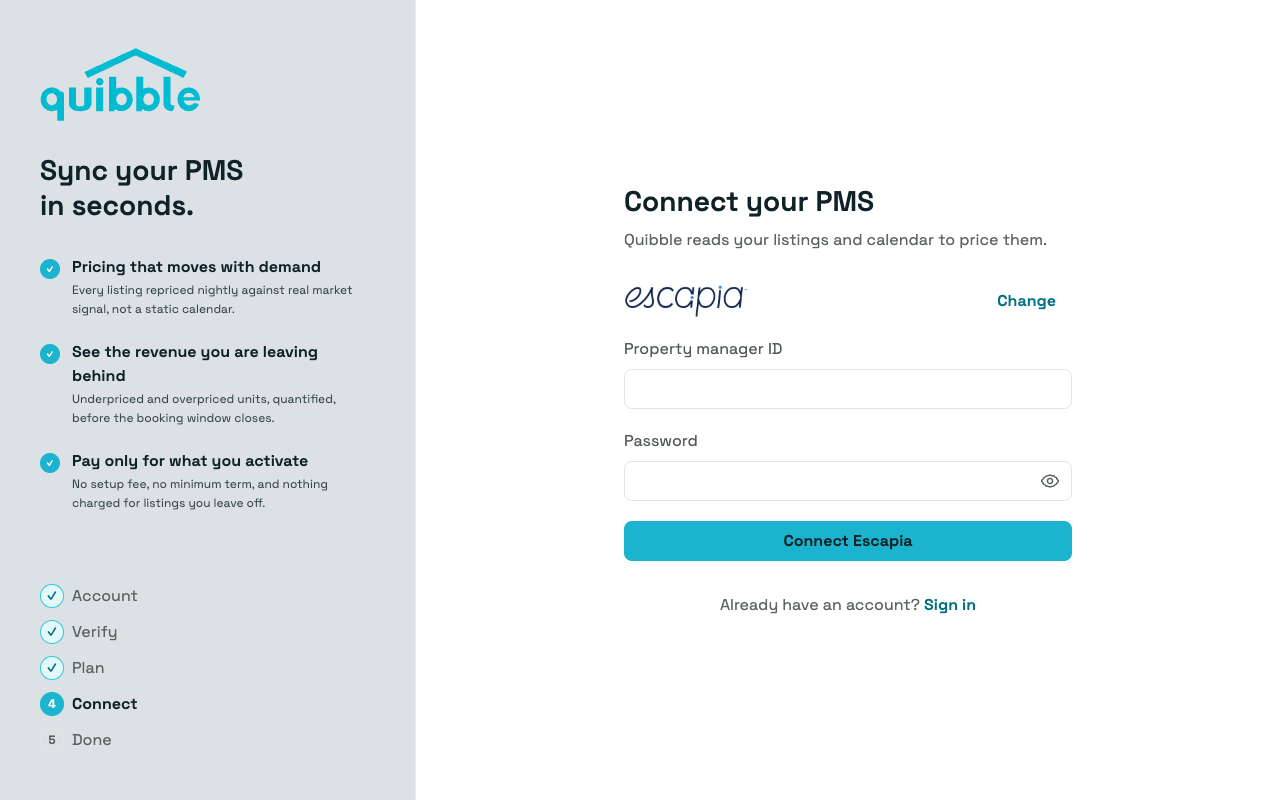
Enter your Property manager ID and password, then click Connect Escapia.
- 9
We request access from Escapia
Escapia enables the connection on their side, on their own schedule. There is nothing else for you to do — as soon as they open it up we import your listings and email you that your account is ready.
As soon as you connect, Quibble signs you in and starts importing your listings, reservation history, rates, and calendar availability. You can explore the app while the import runs — the progress view narrates each stage as it lands, and pages fill in as your data arrives. We’ll email you when your pricing is ready.