
How to connect Hostfully
Connect Quibble to Hostfully with one-click authorization.
In Quibble
- 1
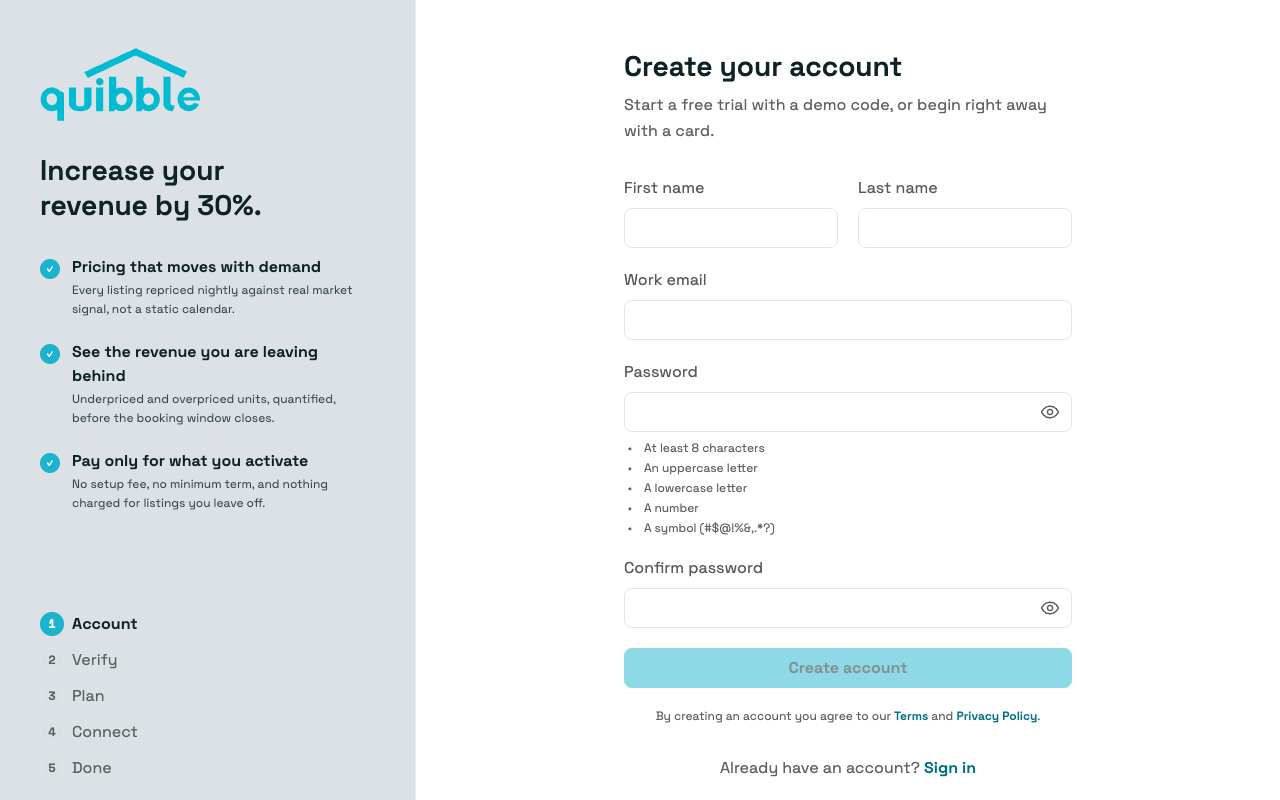
Create your Quibble account
Head to the Quibble sign-up page and create your account with your name, email and a password.
- 2
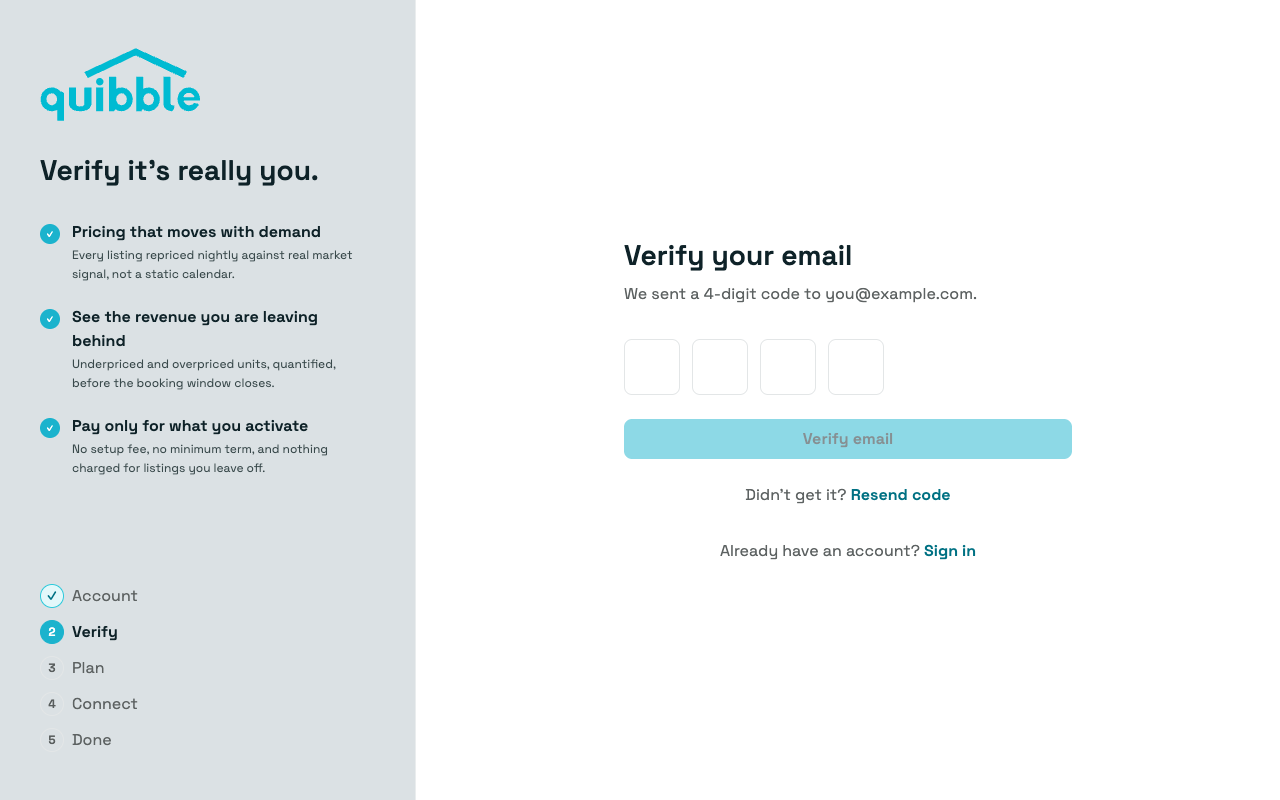
Verify your email
Enter the 4-digit code we email you. Didn’t get it? Resend code sends another.
- 3
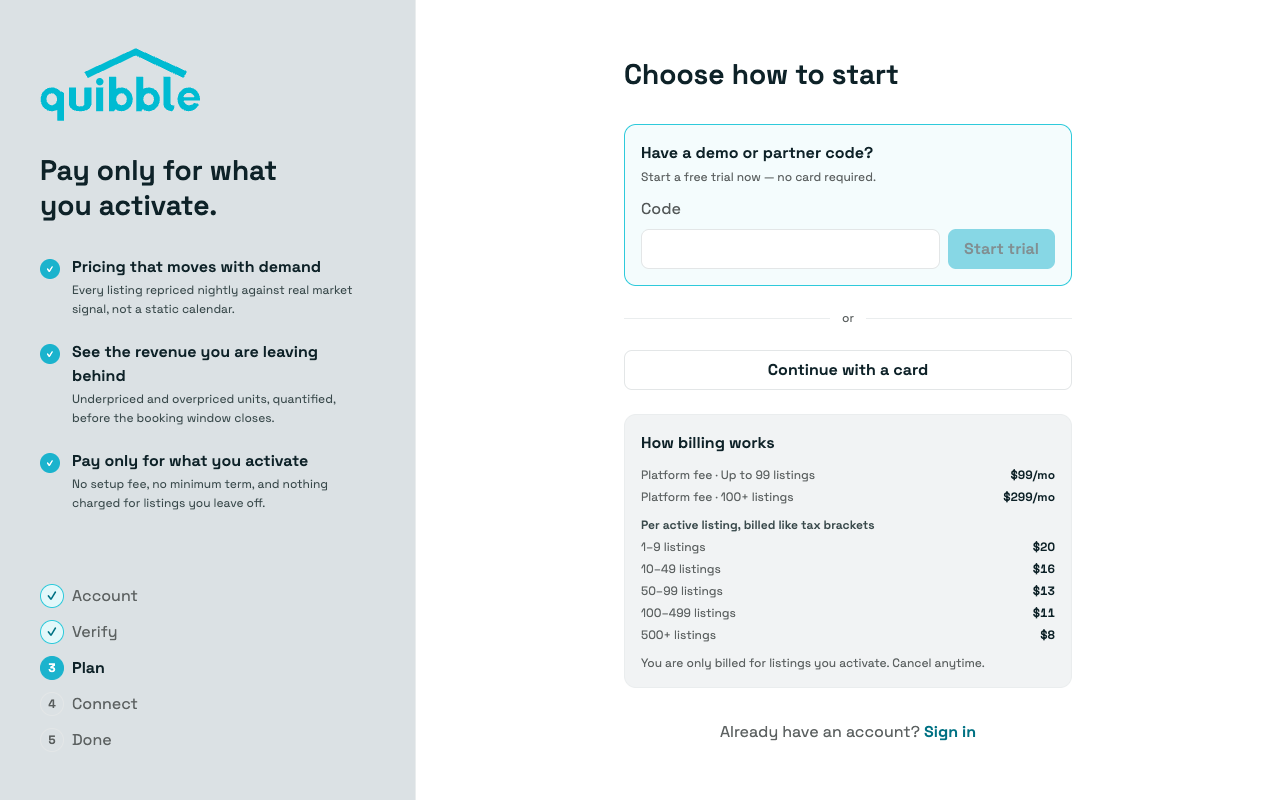
Choose how to start
Start the 14-day trial with the code from your sales meeting, or continue with a card. Per-listing pricing is shown on this step; nothing is charged for listings you leave off.
- 4
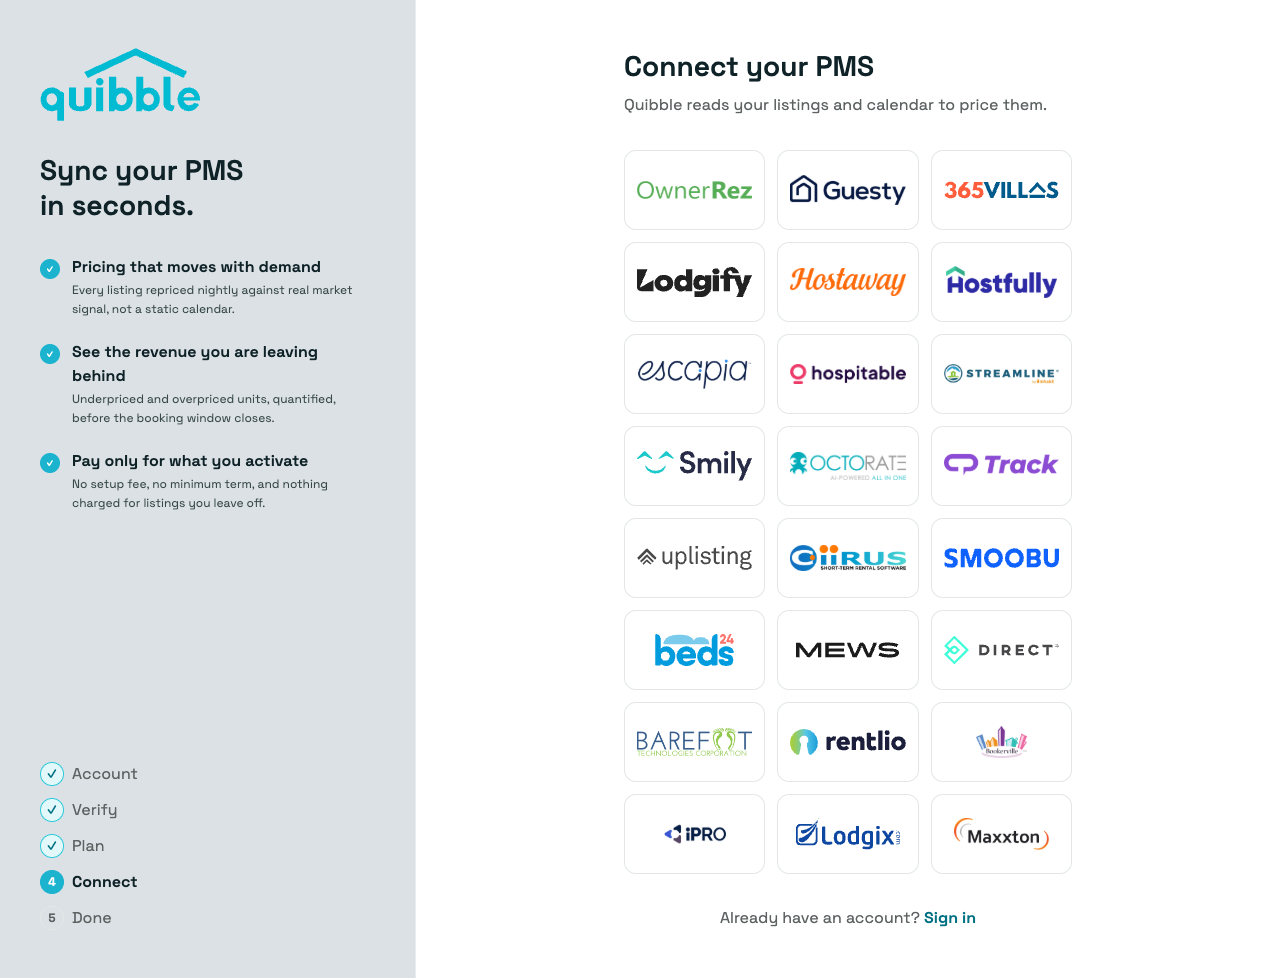
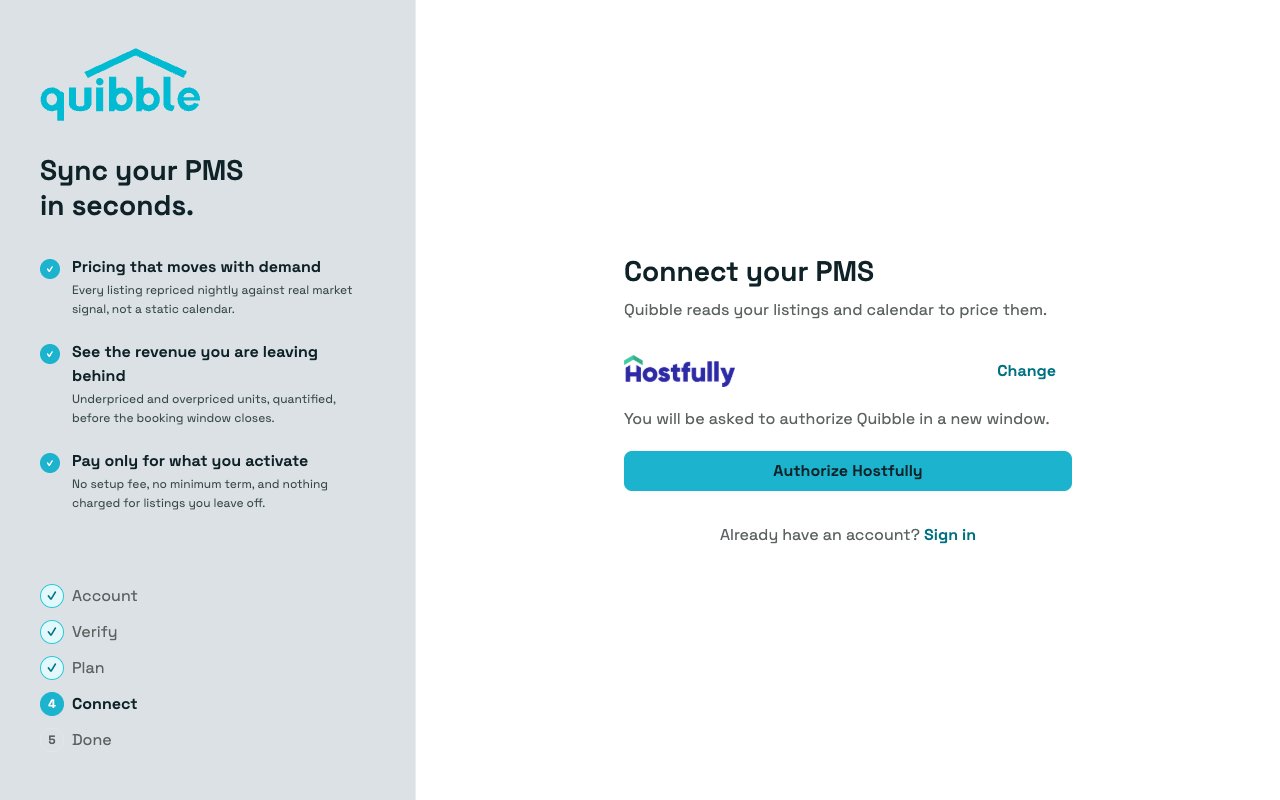
Pick Hostfully
On the Connect step, choose Hostfully from the grid of property management systems.
- 5
Click “Authorize Hostfully”
Hostfully’s secure window opens — sign in and confirm access. No codes to copy.
- 6
You’re in
Quibble signs you in and the first import starts right away — the progress view narrates each stage as it lands. It usually takes a few minutes, and we email you when your pricing is ready.
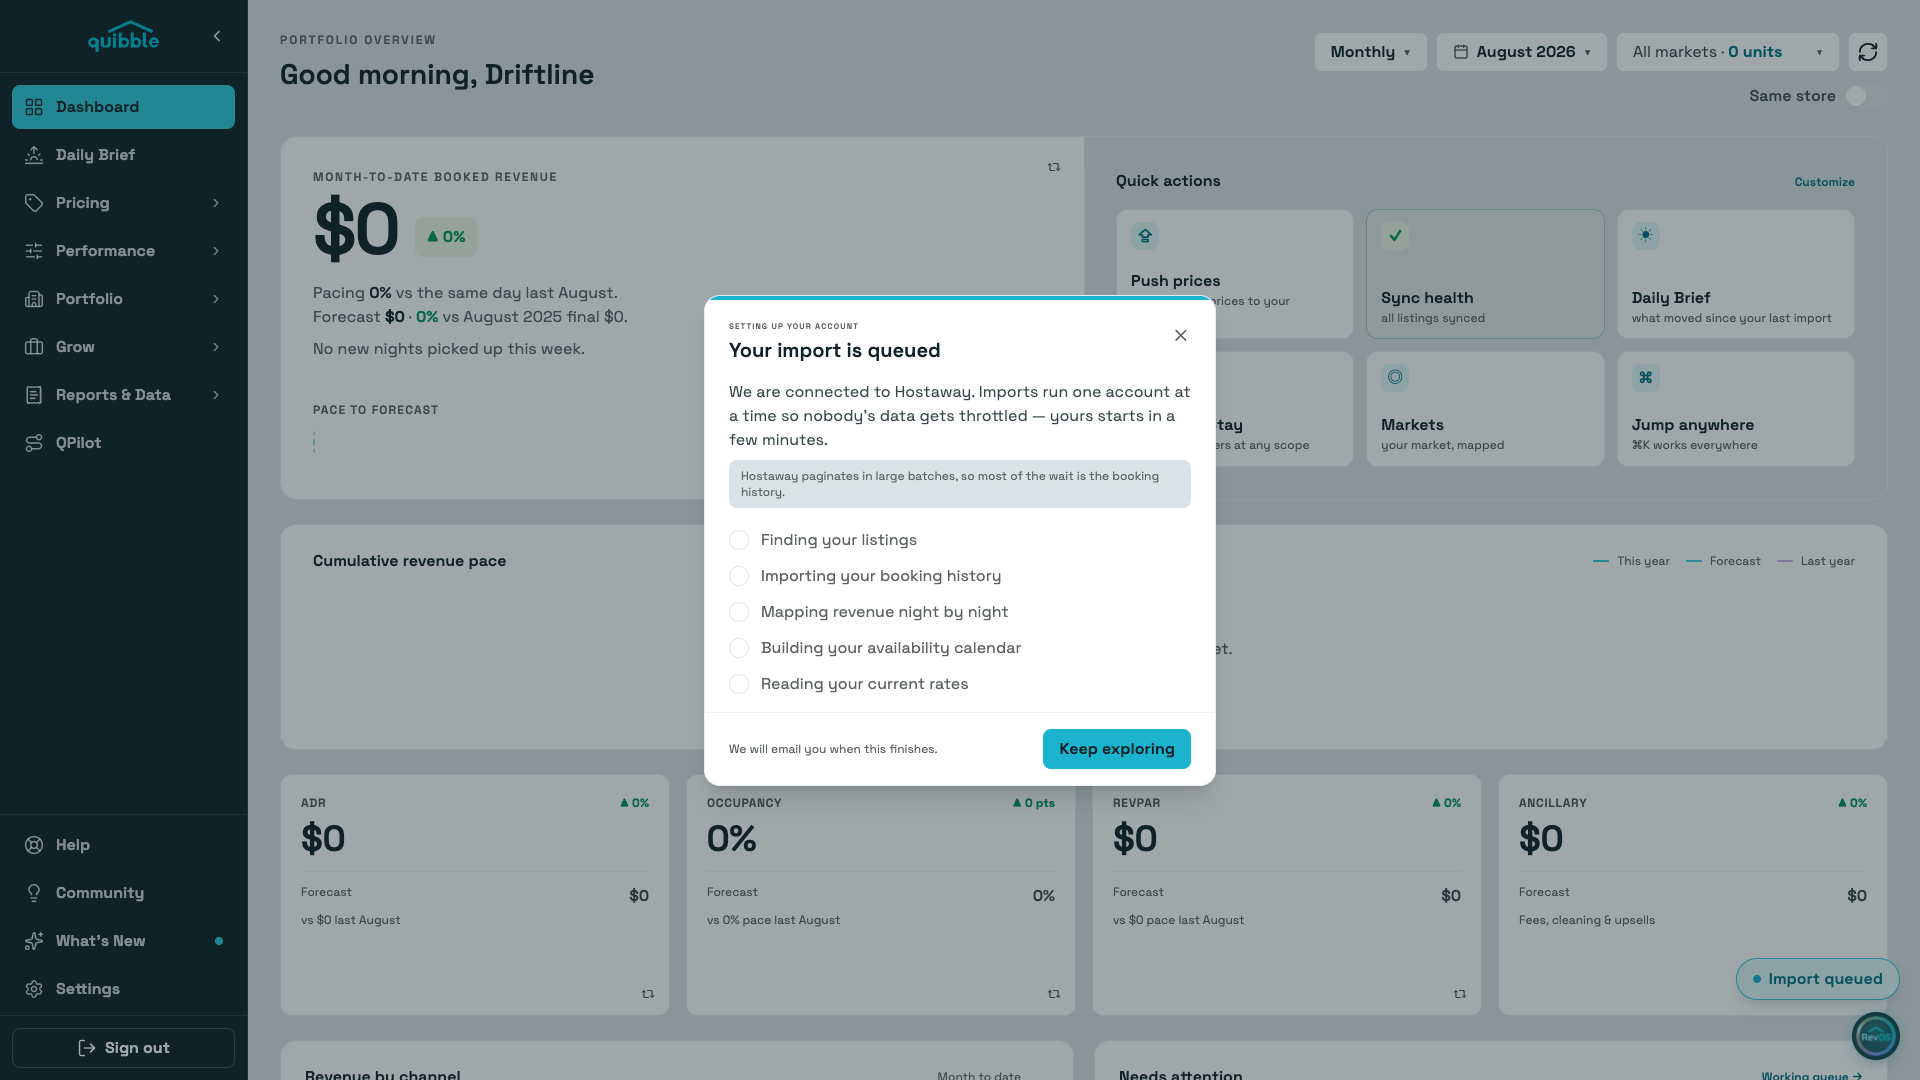
As soon as you connect, Quibble signs you in and starts importing your listings, reservation history, rates, and calendar availability. You can explore the app while the import runs — the progress view narrates each stage as it lands, and pages fill in as your data arrives. We’ll email you when your pricing is ready.